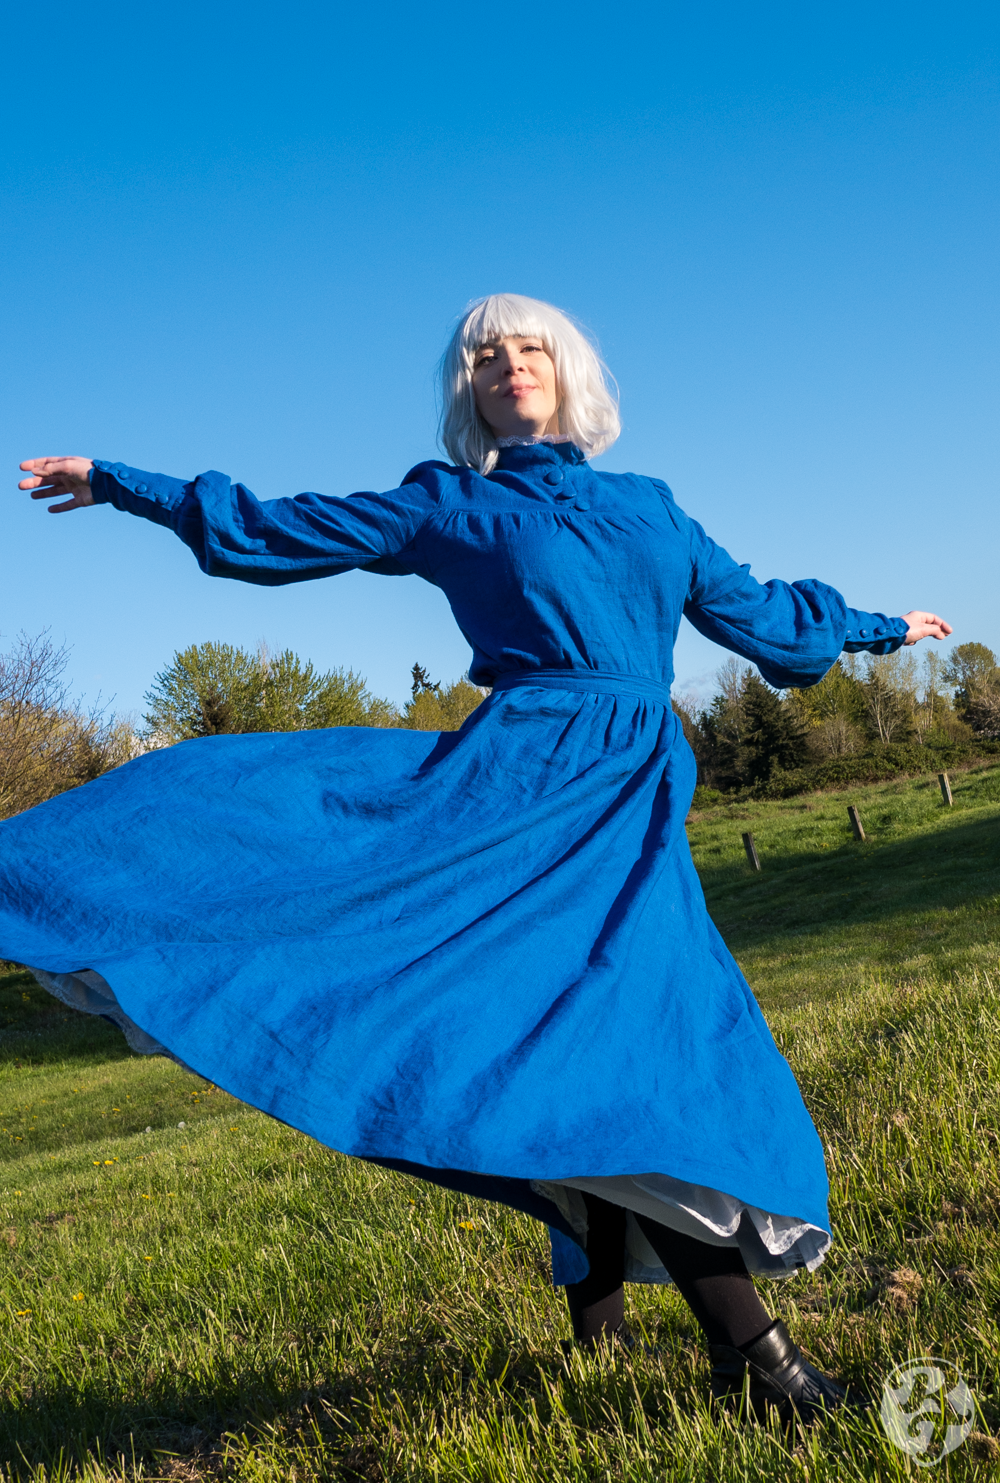
I decided to make a version of Sophie that was similar to her costume from the movie, specifically the blue dress (but not the shiny fancy one). I also wanted to add a bit of a twist and personalization to my design, helping it look more “real world” than a replica of the movie. I pulled inspiration from Edwardian Style clothing which already seemed to be what the movie based the costuming on.
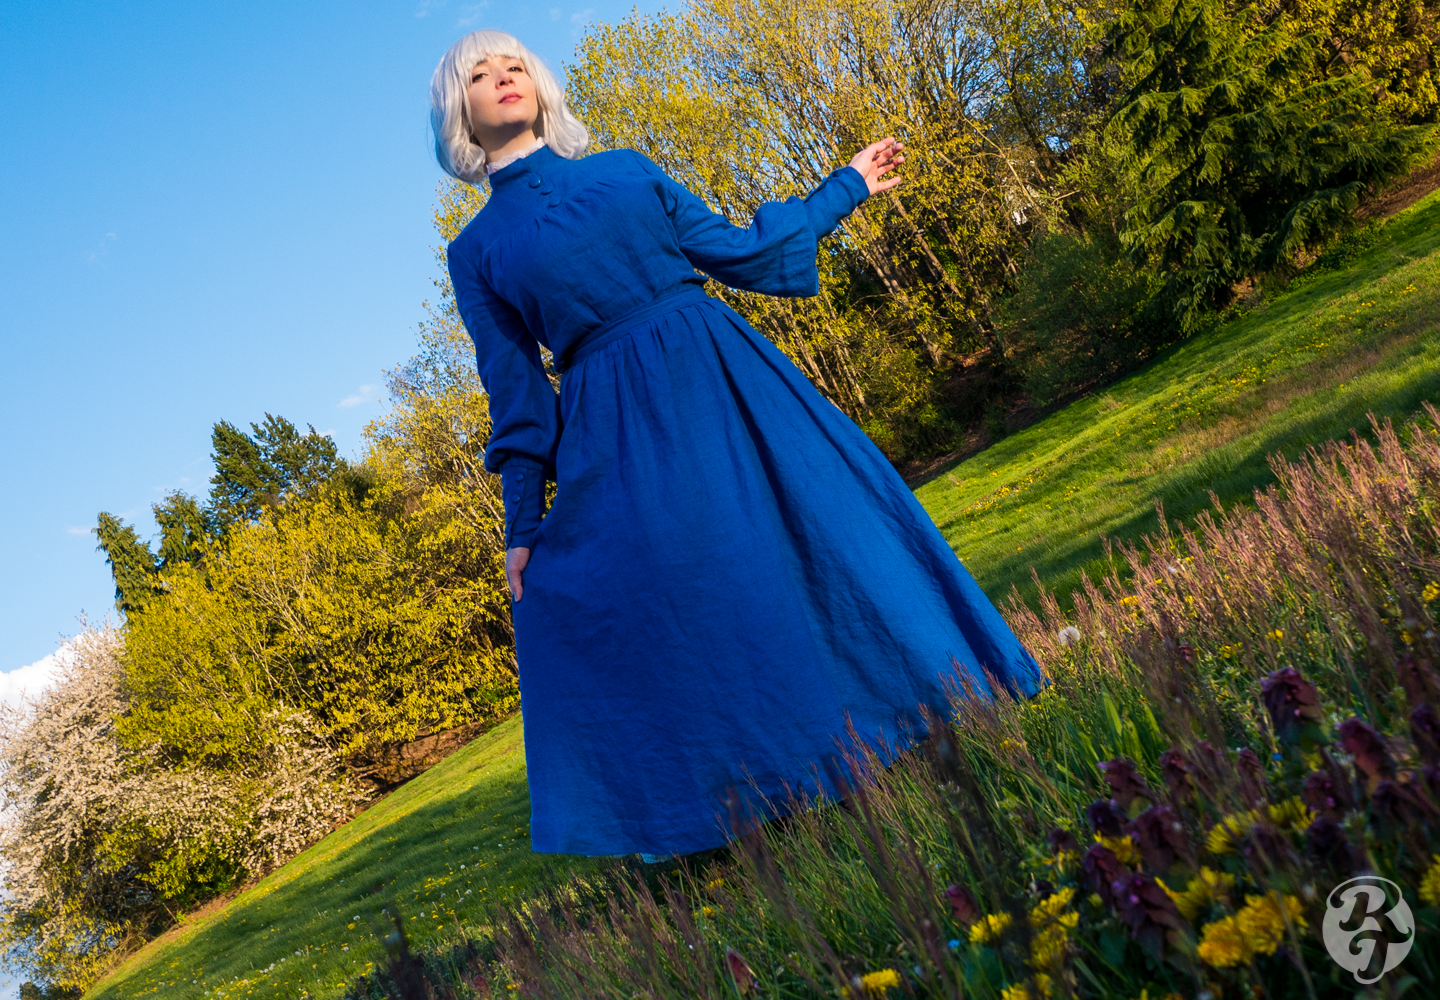
For this pattern I used several different basic pattern blocks and modified them for the style I wanted, I’ll go over each pattern used in the sections below. I love working with basic blocks and then adjusting and tweaking it’s a great middle-ground to draping or tailoring. I also have a few videos that go into fitting mock-ups and resizing patterns that may be helpful!
Top
I made my Sophie cosplay in two separate pieces, a top, and a skirt. Partially to give me more flexibility to use either for different outfits and to make the overall cosplay a little more adjustable.
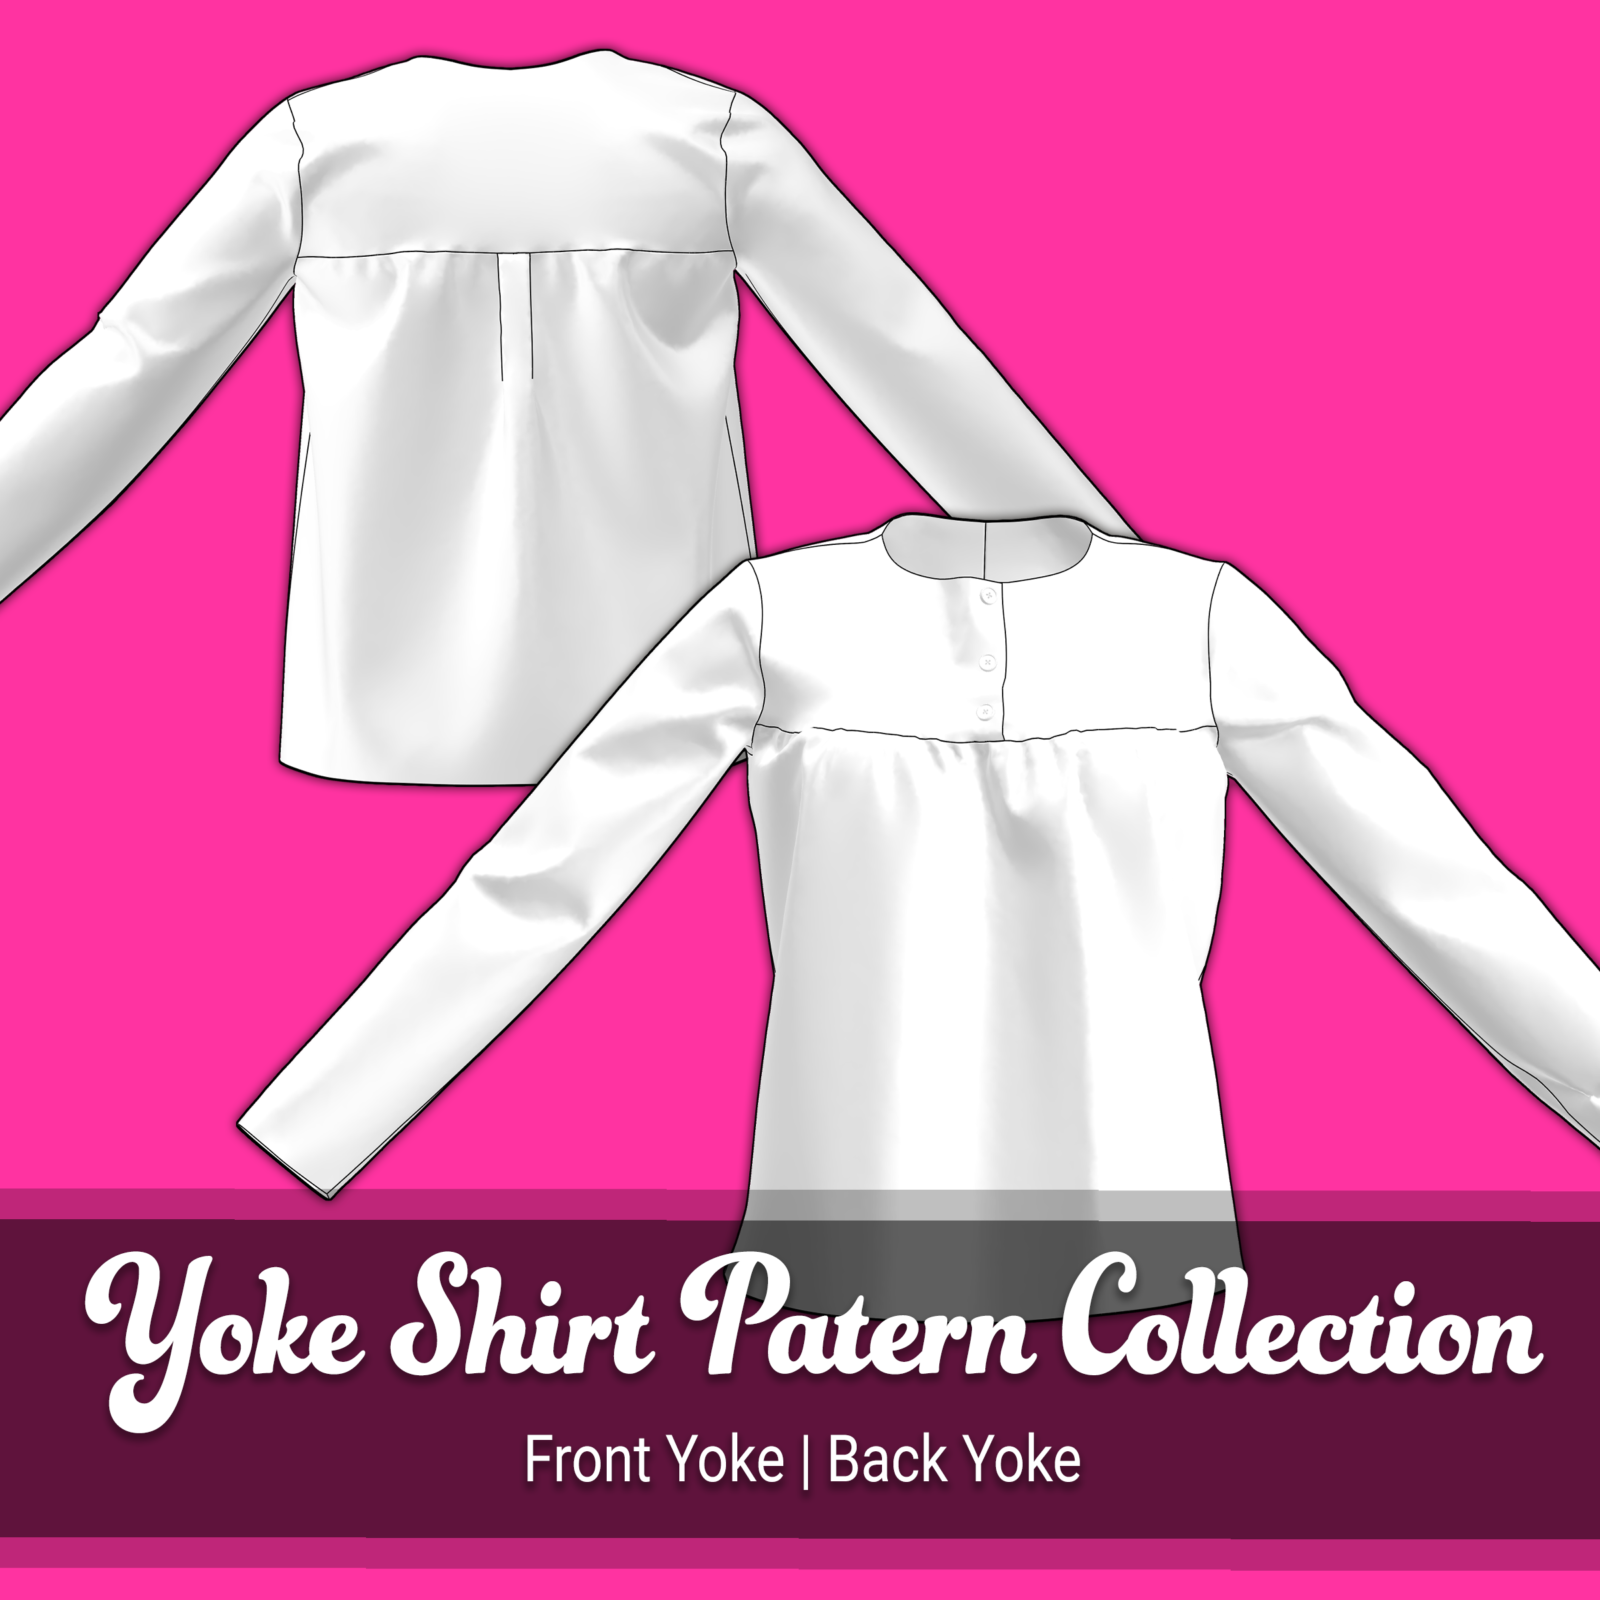
For the top, I used my “Front Yoke Shirt” basic block as a base and made a muslin mock-up to adjust the shape and the fit. I made the following modifications to the overall design to get the look and shape that I wanted:
- Reduced the width of the neckline to give a snugger fit.
- I added an additional inch at the center front to get more gathers along the yoke.
- I extended the armhole lower to make it roomier.
- I added princess seams into the front and back body to give them a more shaped waist without losing the volume at the yoke.
- I also took the side seams in about half an inch on each side at the waist.
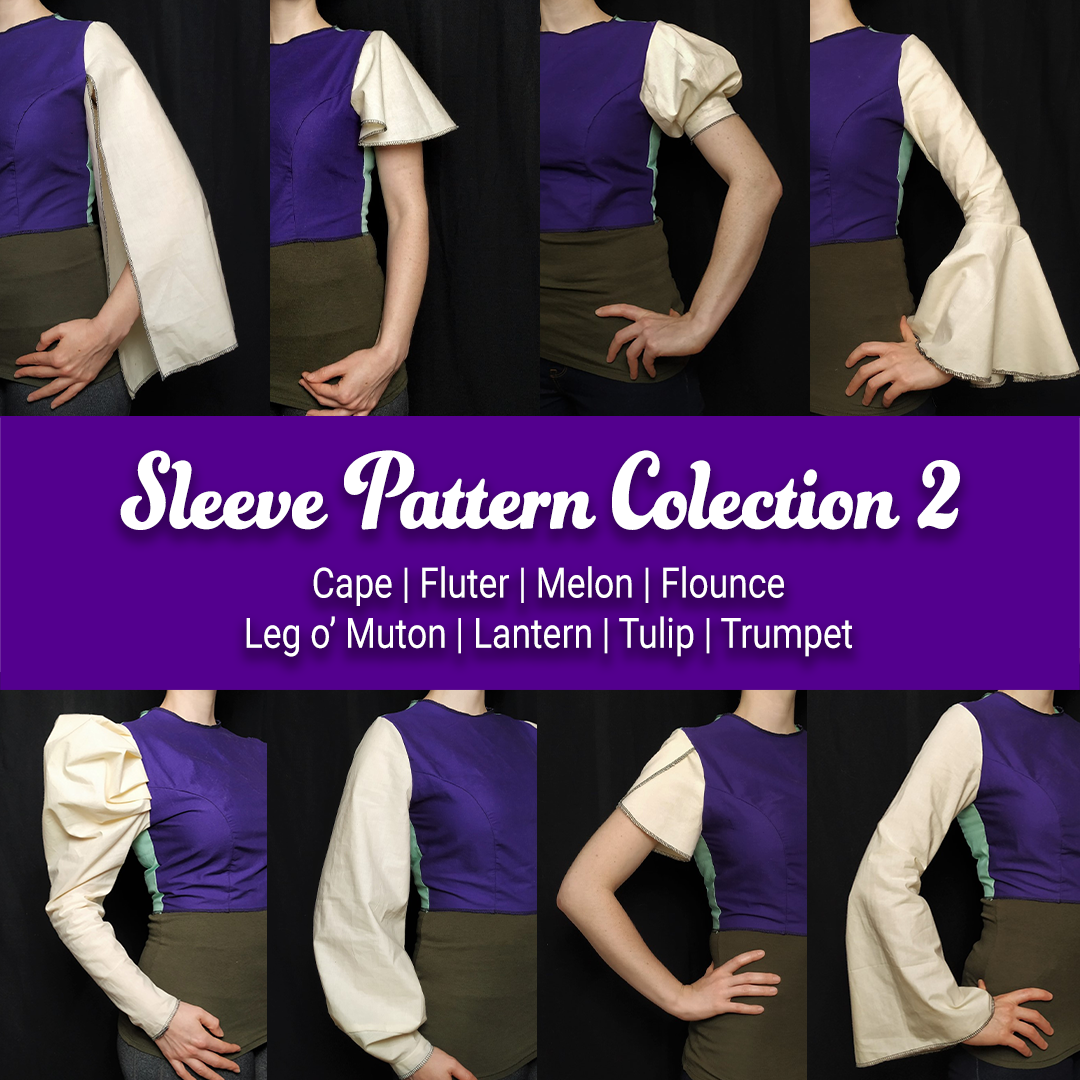
For the sleeve pattern, I started with the “Trumpet Sleeve” basic block. And similarly made some adjustments using a muslin mock-up.
- I added volume in the sleeve cap to give it some puff at the shoulder using the slash and spread method (check out this video).
- I shortened the length of the sleeve at the elbow by about 3 inches to make room for the longer cuff.
- I added a bit more rounding off on the hem to make it puff a little more evenly.
- I removed the built-in gusset from the pattern and added a full gusset into the armpit to give me the additional range of motion without adding more bulk.
For my final fabric, I used a medium weight 100% linen in Royal Blue from fabrics-store.com (the Royal Blue is currently out of stock but the Ultramarine was my other color choice). I really love the color, texture, and drape of this linen which I think add to the overall rustic feeling I wanted from the cosplay. Because linen frays a lot, I recommend serging or stay-stitching the edges before assembling them together. You can find more details on assembling the pattern as part of the Yoke Pattern block, but in essence, it is assembled the same way as a princess seam bodice.
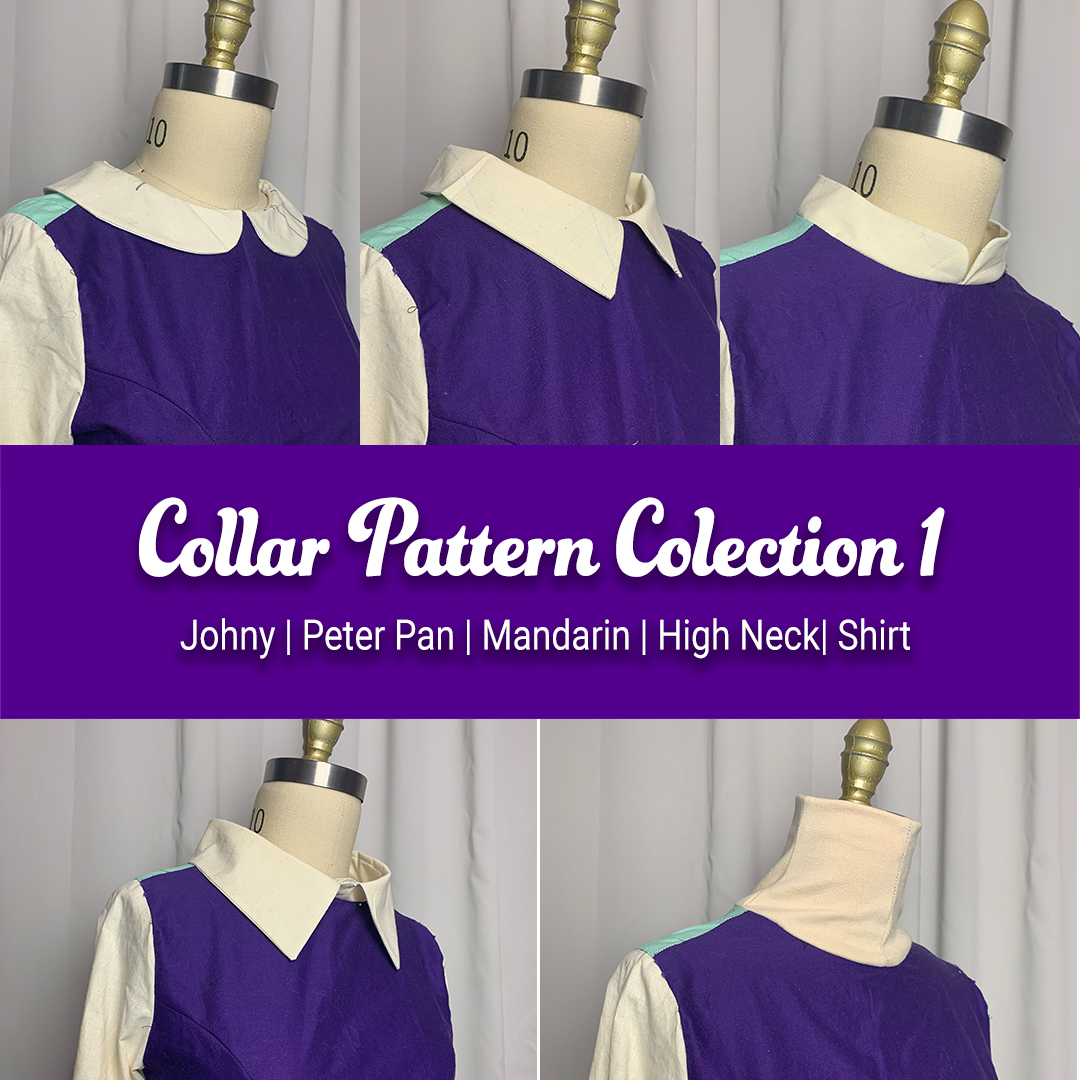
For the collar I used my “Standing/Mandarin Collar” block pattern, making a few adjustments to the size so it fit the smaller neckline of the bodice. I also added lace trim to the inside of the collar.
The finishing touches included fabric-covered buttons, 3 on the yoke and 4 on each sleeve, as well as hand-stiched button holes as I found the machine buttons holes in the linen were a but messier than I liked.
Skirt
For the skirt, I made a long A-line shaped skirt to give a nice amount of volume and motion. You could use a modified version of my A-Line basic skirt block, or draft one up using a measuring tape and a fair amount of floor space.
I added pockets into the side seam, this tutorial was a super helpful guide to figure out how. You really do want to install the pockets much higher than you think, I learned this the hard way and ended up doing them twice.
I gathered the waistband to the desired size using a neat trick I learned from TikTok where you sew a zig zag stitch over a piece of string and then pull the string to the size you want. It’s a great way to get an even gathering and it’s a lot more secure than pulling your stitches. Once I had the right size I basted the gathers in place.
For the skirt closure, I added a placket to the center back. Hat to Hem has an awesome tutorial that I followed on how to do this. I chose to do a placket to again add to the rustic look and to add some ability to adjust the size of the waistband without making it elastic. I wanted to have more flexibility to wear this skirt for other costumes and places like the Ren Fair. I then use 3 hooks and eyes in the back to secure it closed.

Finishing
Underneath the skirt, I wear a petticoat which is just one I purchased online and hemmed to the right length. The shoes are just some black ankle boots that I already owned.
The wig is the Epic Cosplay Aura wig in silvery grey. I trimmed the back to be shorter, mimicking the idea of what happens if you just lop off a ponytail or braid, as well as trimmed the bangs to the right length. Lastly, I straightened the wig out and then did some loose curls for more of a textured wavy look.
