Blackguard
Necropolis
August 2016
I’m known for moderation in many things (maybe), but cosplay is definitely not one of them. The story of creating the Blackguard from Necropolis goes something like this:
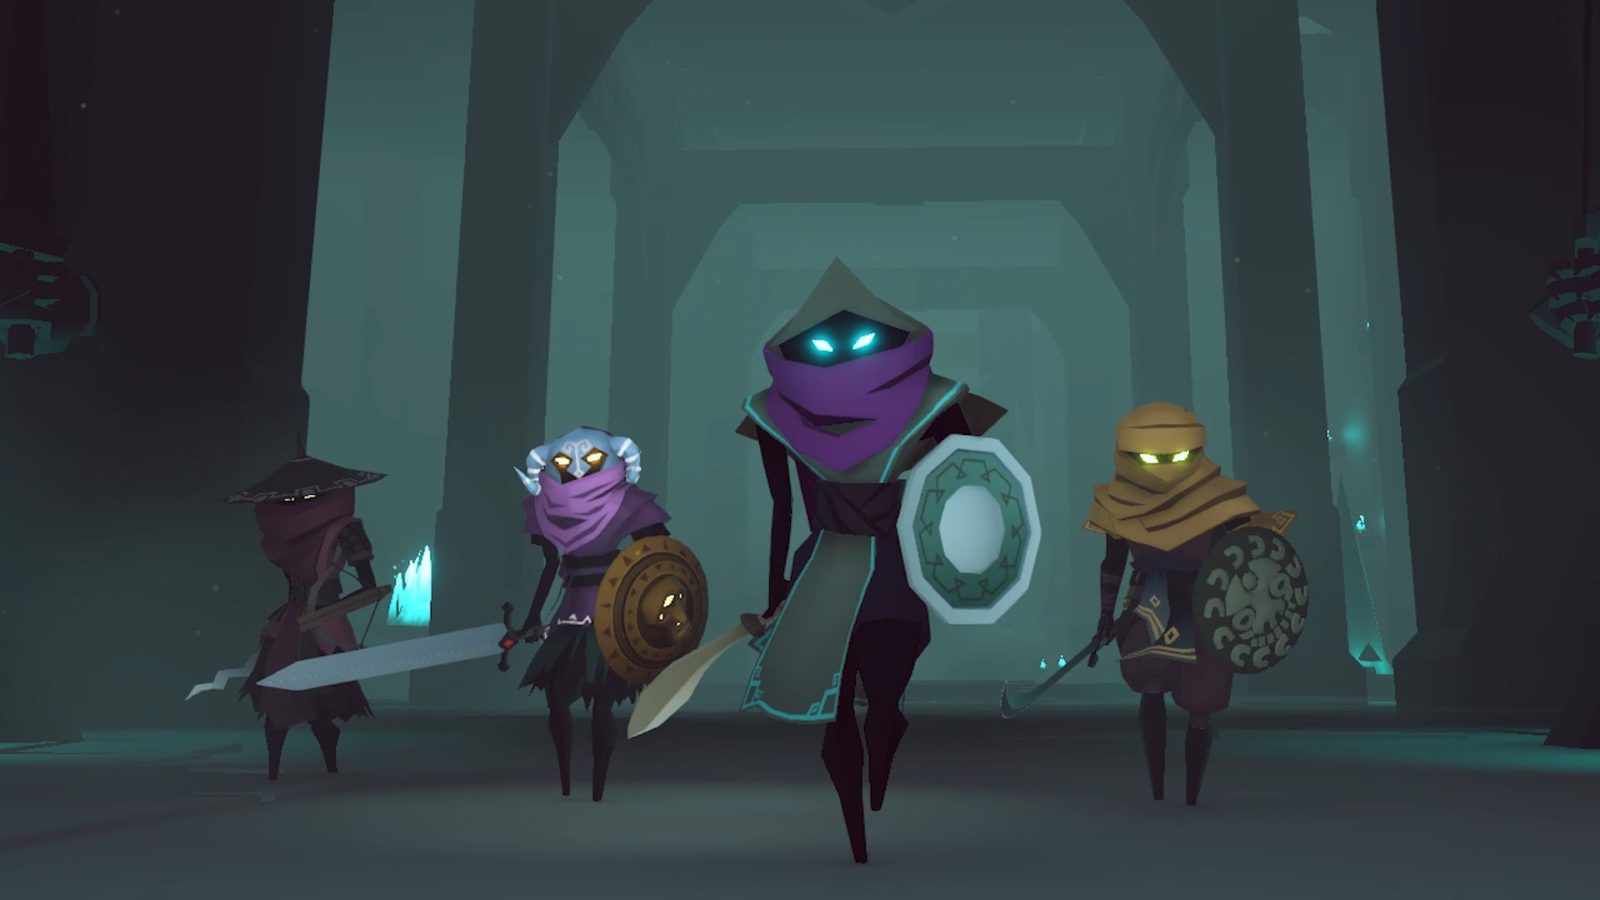
Summer break is soon, I think I’ll start streaming cosplay/creative because it seems like a fun thing to do and people keep telling me it’s a good idea. Hrm I guess I could start with Shadowrun CorpSINs cosplay. Oh look at this tweet from Harebrained Schemes showing the Blackguard from Necropolis. Wow that’s a nice costume and wouldn’t be too hard to make. Nah that’s a bad idea I already have a bunch of cosplays to work on already, you know all the CorpSINs stuff. Well I’ll just tweet at the HBS people to tell them how cool the design is. Oh dear they tweeted back, oh no they would be super happy about cosplayers. Well I guess I have to do it. Crud.
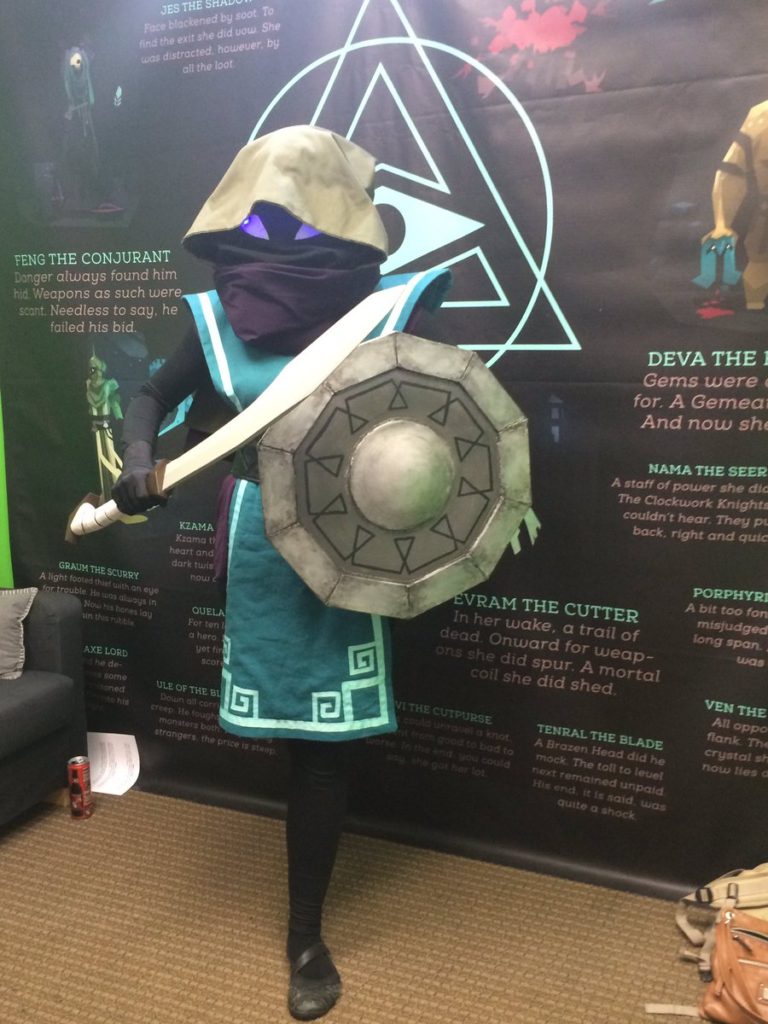
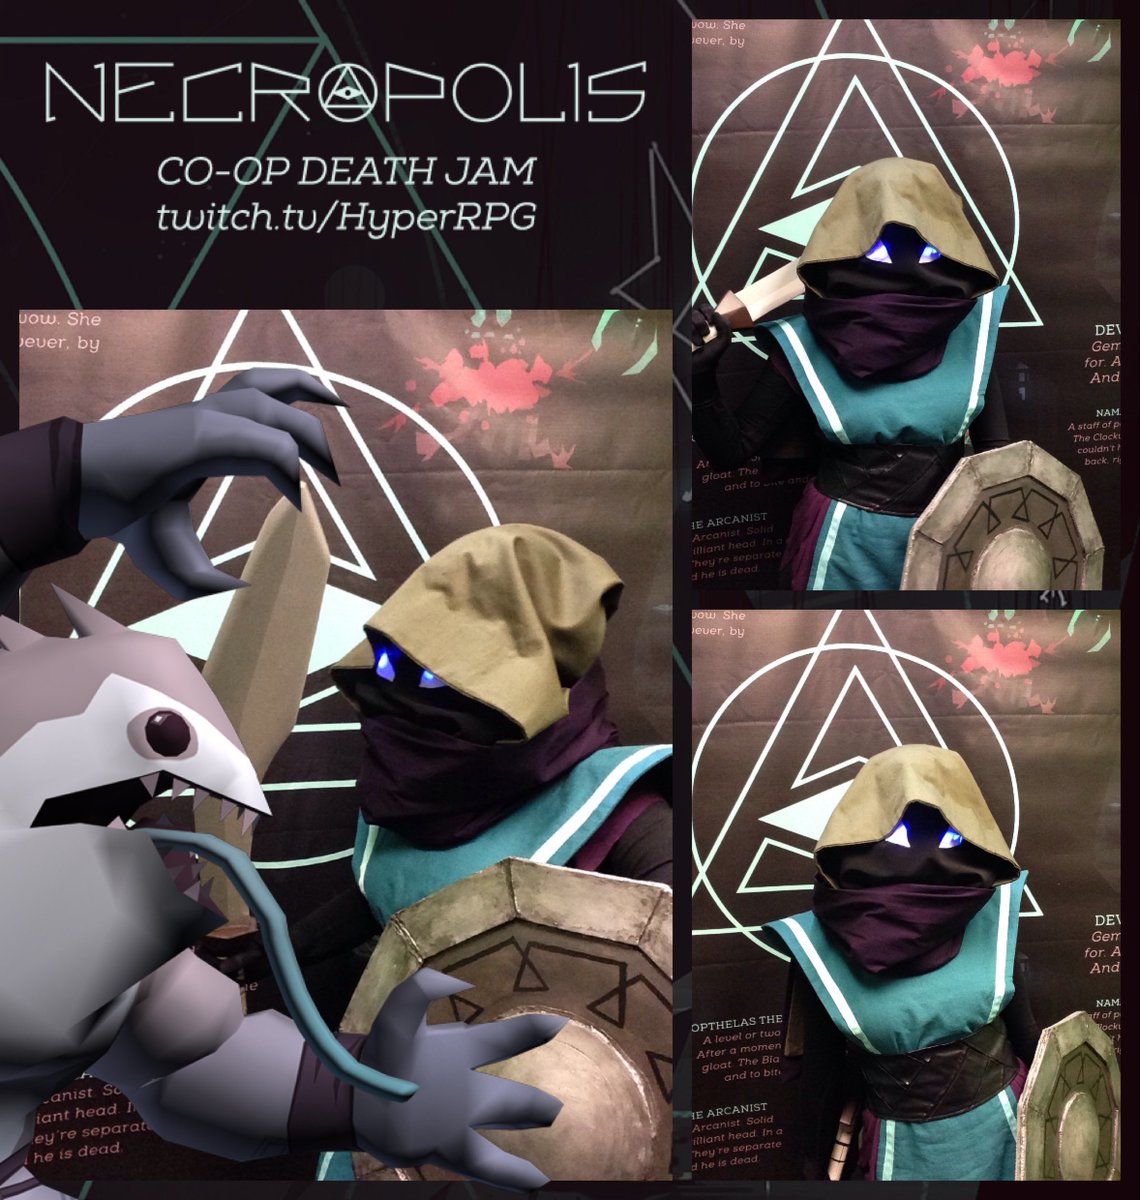
Long story short, I ended up making a blackguard from necropolis cosplay for the live stream launch event, and it was my first cosplay I streamed my progress on. All in all it wasn’t too complicated of a cosplay in terms of construction – mostly fabric which is for sure my wheel house. So let’s break this cosplay down:
Tabard
Overall the construction was very simple, a long enough strip of fabric, with an hourglass sort of shape (going in at the waist and out at the shoulders and knees), with a hole big enough for a head. I used a linen look fabric from Joann and doubled it, sewing the sides together and turning it inside out then top-stitching the neck hole.
To make the shoulders stick out I used heavy weight interfacing, on the inside layer of the tabard, and had the shoulders cut to a rounded point that stuck out about 2 inches farther than my shoulders.
Lastly, the for the trim I used two widths of grosgrain ribbon, 3/4 and 1/2 in and pinned it in place, about and inch out from the out edge, the decorative bits used the narrower ribbon, and folded them into shape. The ribbon was then top stitched down. I deiced to only do one side, in part do to laziness, and in part due to the concern that I would never get the two sides to line up properly.
Belt
The base material for the belt was a bottom weight cotton. The fastening was a simple strip of Velcro at the back. The top texture was created by cutting strips of pleather (about 1.5 inches wide) and sewing them to mimic the pattern on the belt, almost a pseudo weave. These striped were the top stitched, the pleather had the advantage of not fraying. Lastly the top and bottom edge was folded over and top stitched to finish.
Hood and Cape
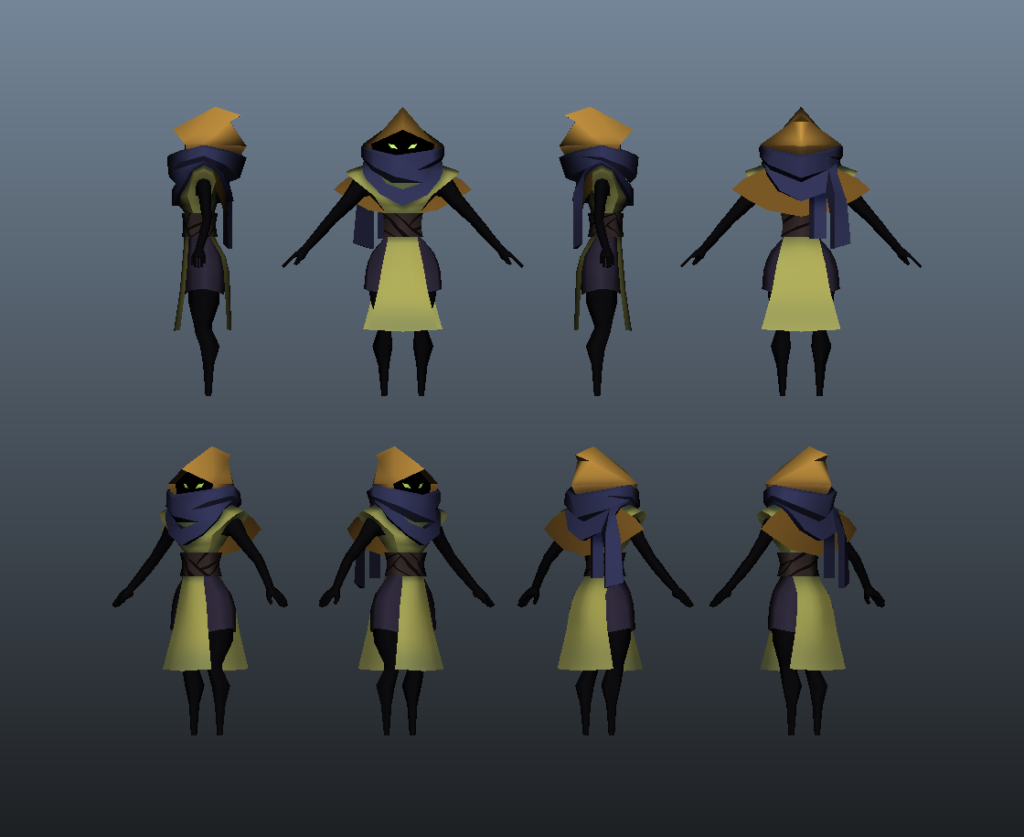
For the hood I used a bottom weight sateen. The hood and cape were a very simple pattern, I used a standard big hood pattern, essentially a long rectangle that when folded over would be long enough to reach from shoulder to should and then go over the head. The depth of the hood was enough that it would stick out from my head by about 2 – 3 inches and overall be very roomy. The back seam was also at an angle to give a slight peak (liripipe) to the back of the hood that would flop down. I double layered the hood and ironed medium weight interfacing to the inner layer just around the brim of the hood to add some structure and help it be all sticky-outy.
The cape portion was just a partial circle, it did not need to go over the shoulders per the original design, just reach from arm to arm and curve nicely at the bottom. I think mine is about a 1/4 circle, with a notch cut out for the neckline, and a layer of interfacing to help it stick out more. The was then attached to the back portion of the hood, and a tie was put in front for a closure, as it would be covered by a scarf I wasn’t too worried about appearance.
Scarf
Rather than trying to create a very large scarf that could wrap in a super specific way, I created a static loop that would wrinkle and give the impression that it was wound around a stupid number of times. The scarf was created in two layers an inner ring that was the height I wanted it to stand at, approximately 10 inches, with some heavy weight interfacing to give it structure. The other layer was then sewed, so the whole thing created a tube, the out layer was taller than the inner layer and ends up folding over slightly top and bottom to disguise the seam. As it is larger it also ends up wrinkling to give that multi-layer look. The scarf was then seamed in the back to finish.
The last portion of the scarf was the two tails, these were cut as rectangular strips so that when sewed to the top edge of the inner layer they would hang down to the right length, they were double layered so as to be finished front and back.
Mask
To create the mask I used a semi-opaque fabric (essentially a dense mesh knit) in a semi circle-esque shape. I cut out the eye shapes to match the design, and then covered the holes with white thin cotton fabric stitched to the inside. To make the lighting effect I attached (though lots of trial and error) some small blue LED lights, which gave a good glow. I attached the mark to the inside of the hood using snaps around the top and side edges, this allowed it to be removed for those times when seeing was preferential. Overall visibility was pretty low and was best when I was in brightly lit areas to provide more contrast with the outside. I tried to make sure the lights were about my actual eyes, but as the hood was loose it has a tendency to move around when walking.
Shield
Because props seemed important, I made a very basic w shield using EVA foam floor mats. I cut one mat into the right mostly circular shape, and then I use the second mat to create the outer right using math, and geometry (it was supposed to be 10 sided). The inner circle was formed using a heat gun and shaping the bump in a bowl. The whole thing was assembled with copious amounts of hot glue, and sealed using a mod-podge and water mixture. The shield was then painted with a combination of silver paints and the black lines drawn on with sharpie at the end, before a final clear sealant was applied.
Underthings
Mostly pretty simple. I wore black leggings, gloves and long sleeve under armor shirt to give the black silhouette. The under shirt was a purple loose t-shirt dress that I already owned, and just had to cut the sleeves off of, but I did consider just sewing a t-shirt dress.
And Voila, you are ready to face the Brazenhead.


