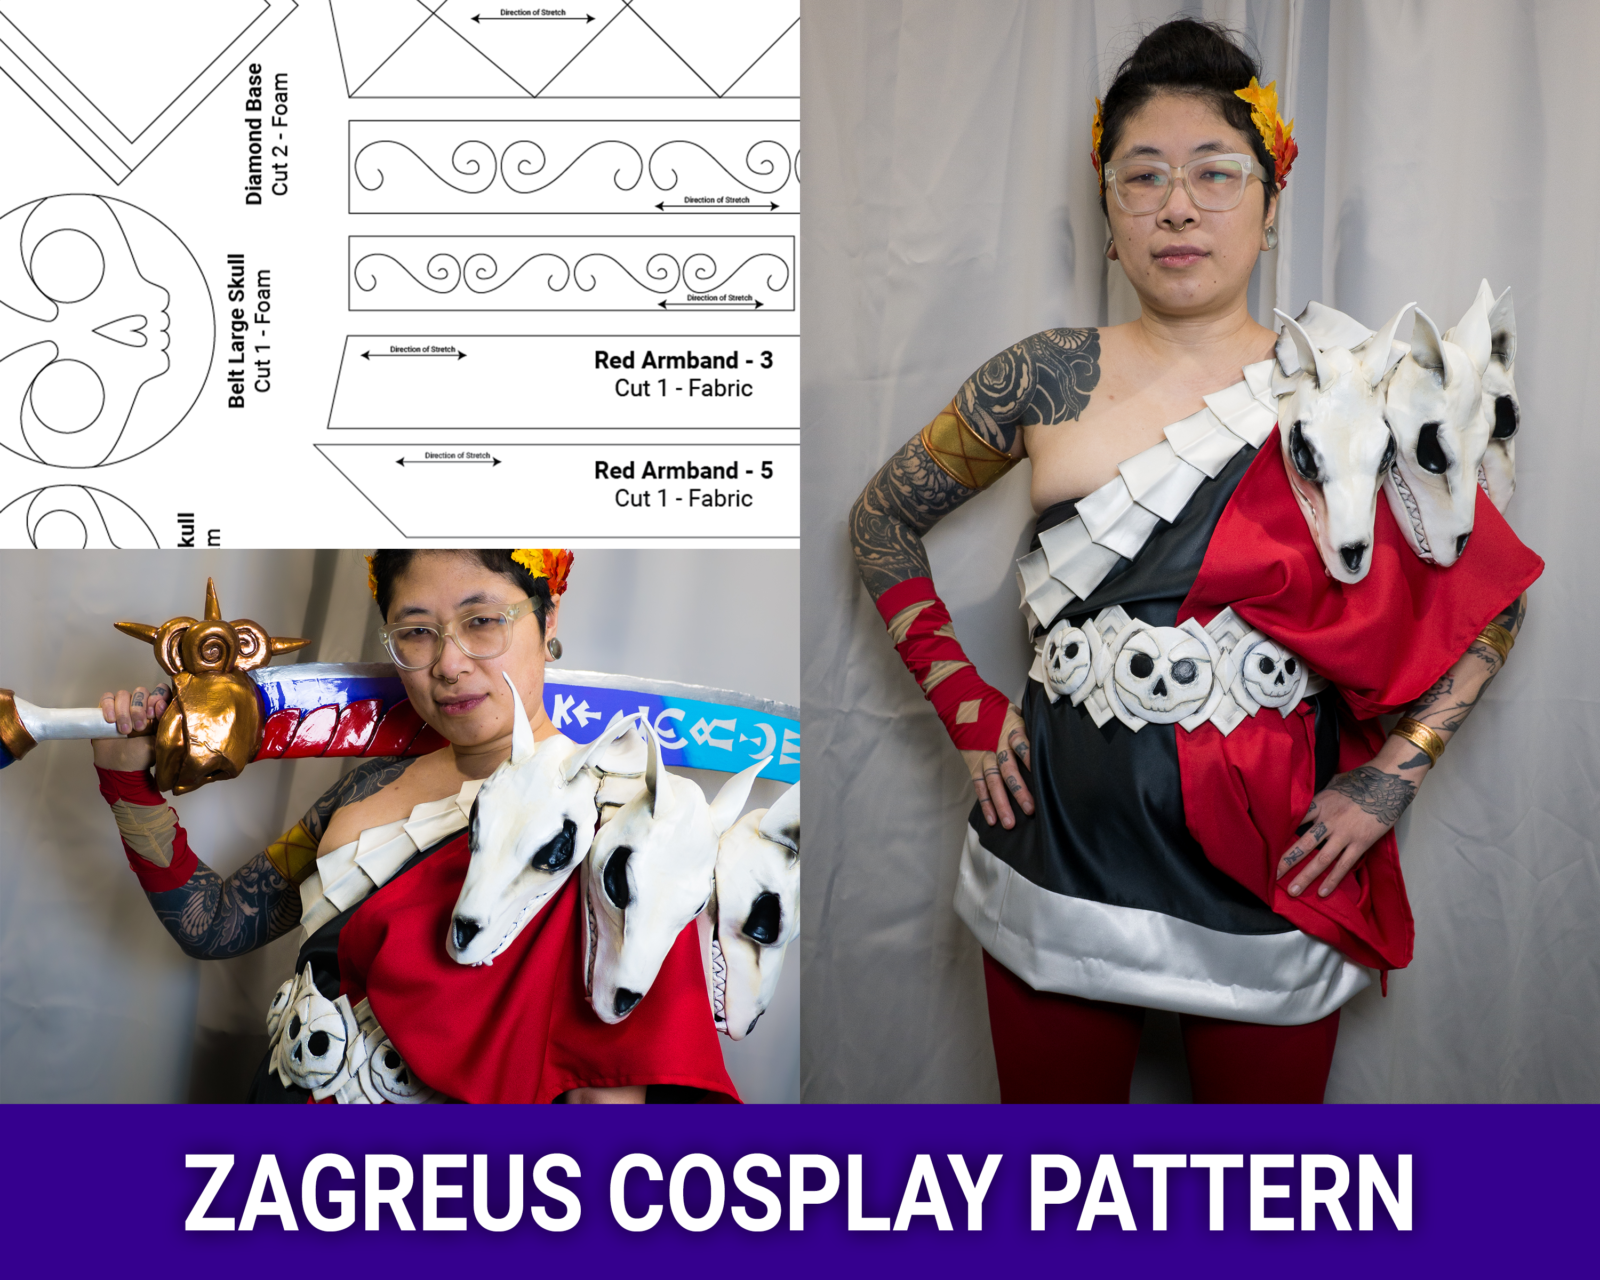
Zagreus was a little easier than Meg, but certainly not without its own challenges. It was really nice though to be able to take the learnings from my first Hades build into the second one, and I could even reuse a few patterns pieces! Though I did learn that when I make a couples cosplay for some reason I think of the second cosplay as an extension of the first, like an elaborate prop… so I had a very skewed sense of how long this build was supposed to take…
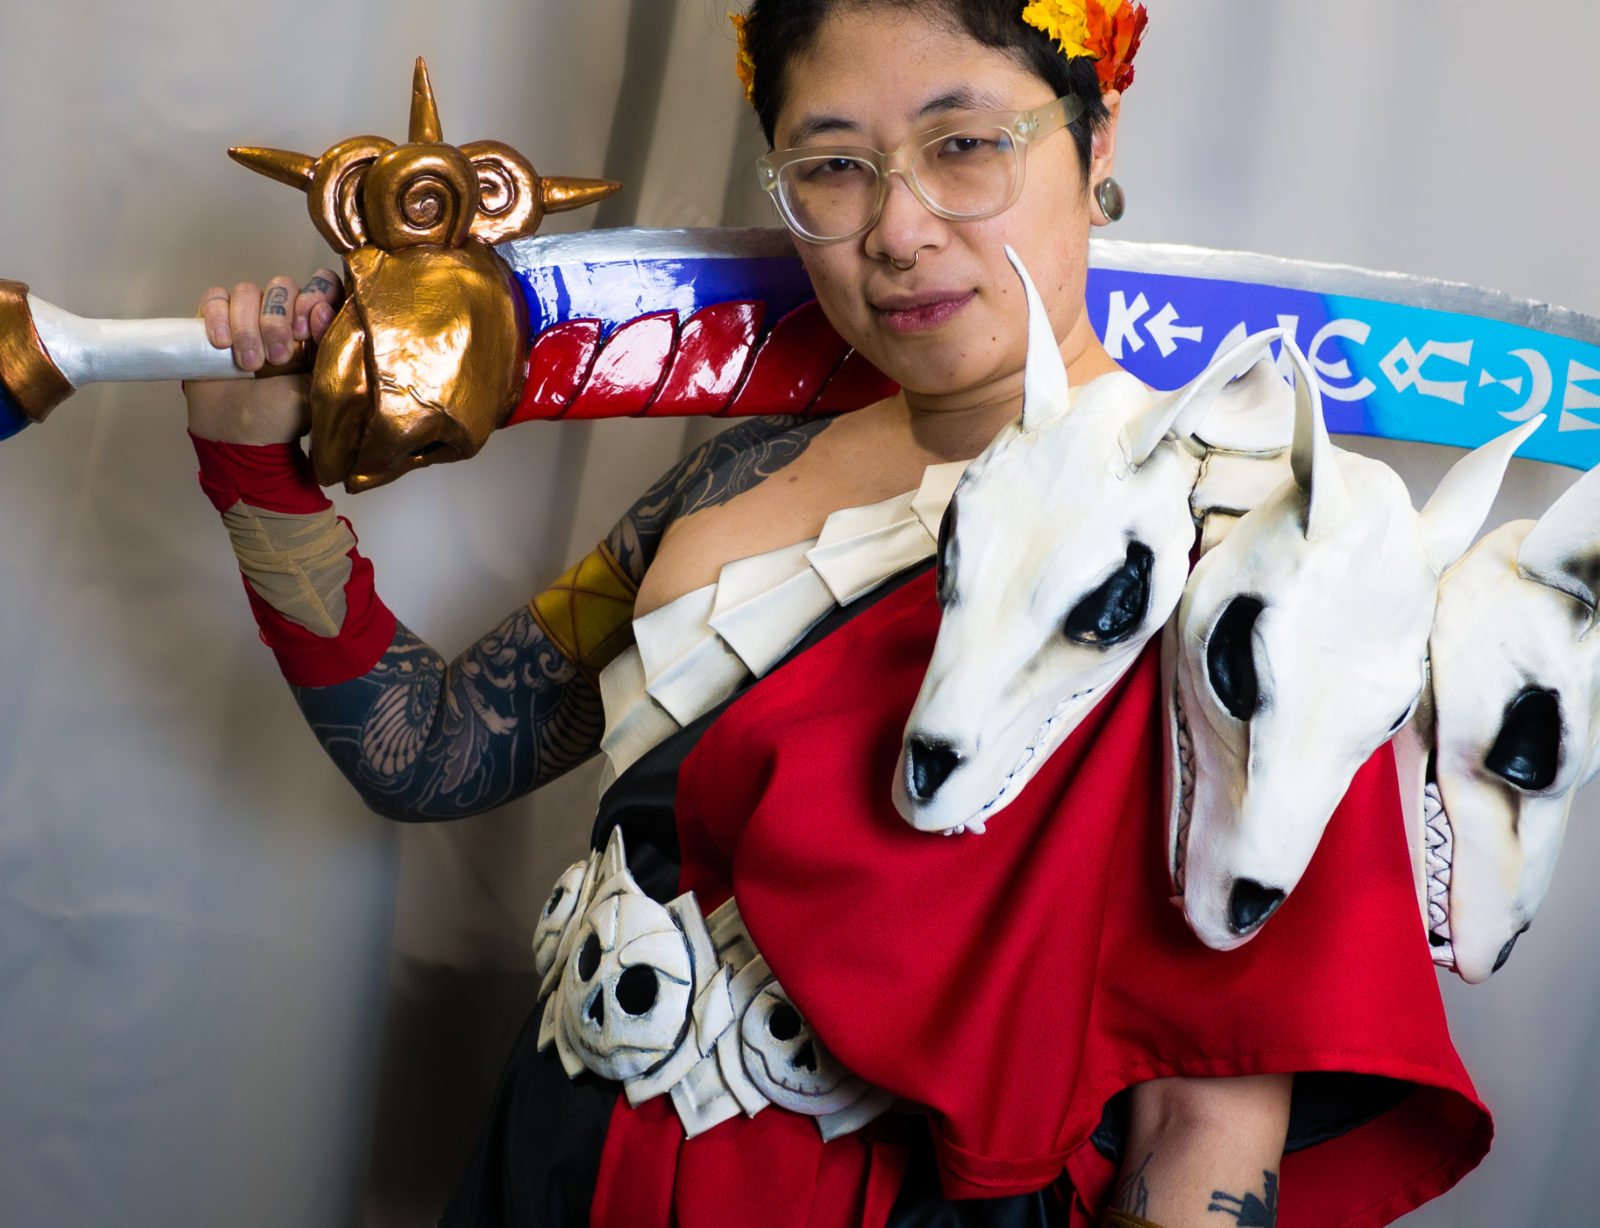
This cosplay and tutorial was made possible by my generous Supporters, if you are able to do so any amount on Patreon is truly appreciated.
For a visual walkthrough of the parts and pieces of this cosplay check out my video:
If you are looking for more information on how I made Megaera head to my other tutorial post.
Purchase the pattern for this cosplay in my store.
To jump to a specific portion of the cosplay:
Leggings
The leggings were made from Blood Red nylon spandex from Blue Moon fabrics. I used a very basic legging pattern based on the ones I had made for Mermista. I ended up with a side seam on my pattern, but I would recommend removing the side seam for a cleaner overall look. I intentionally chose a slightly darker red to add some variation and contrast with the brighter red on the sash, as well as meaning I didn’t have to worry about matching the fabric colors directly.
Tunic
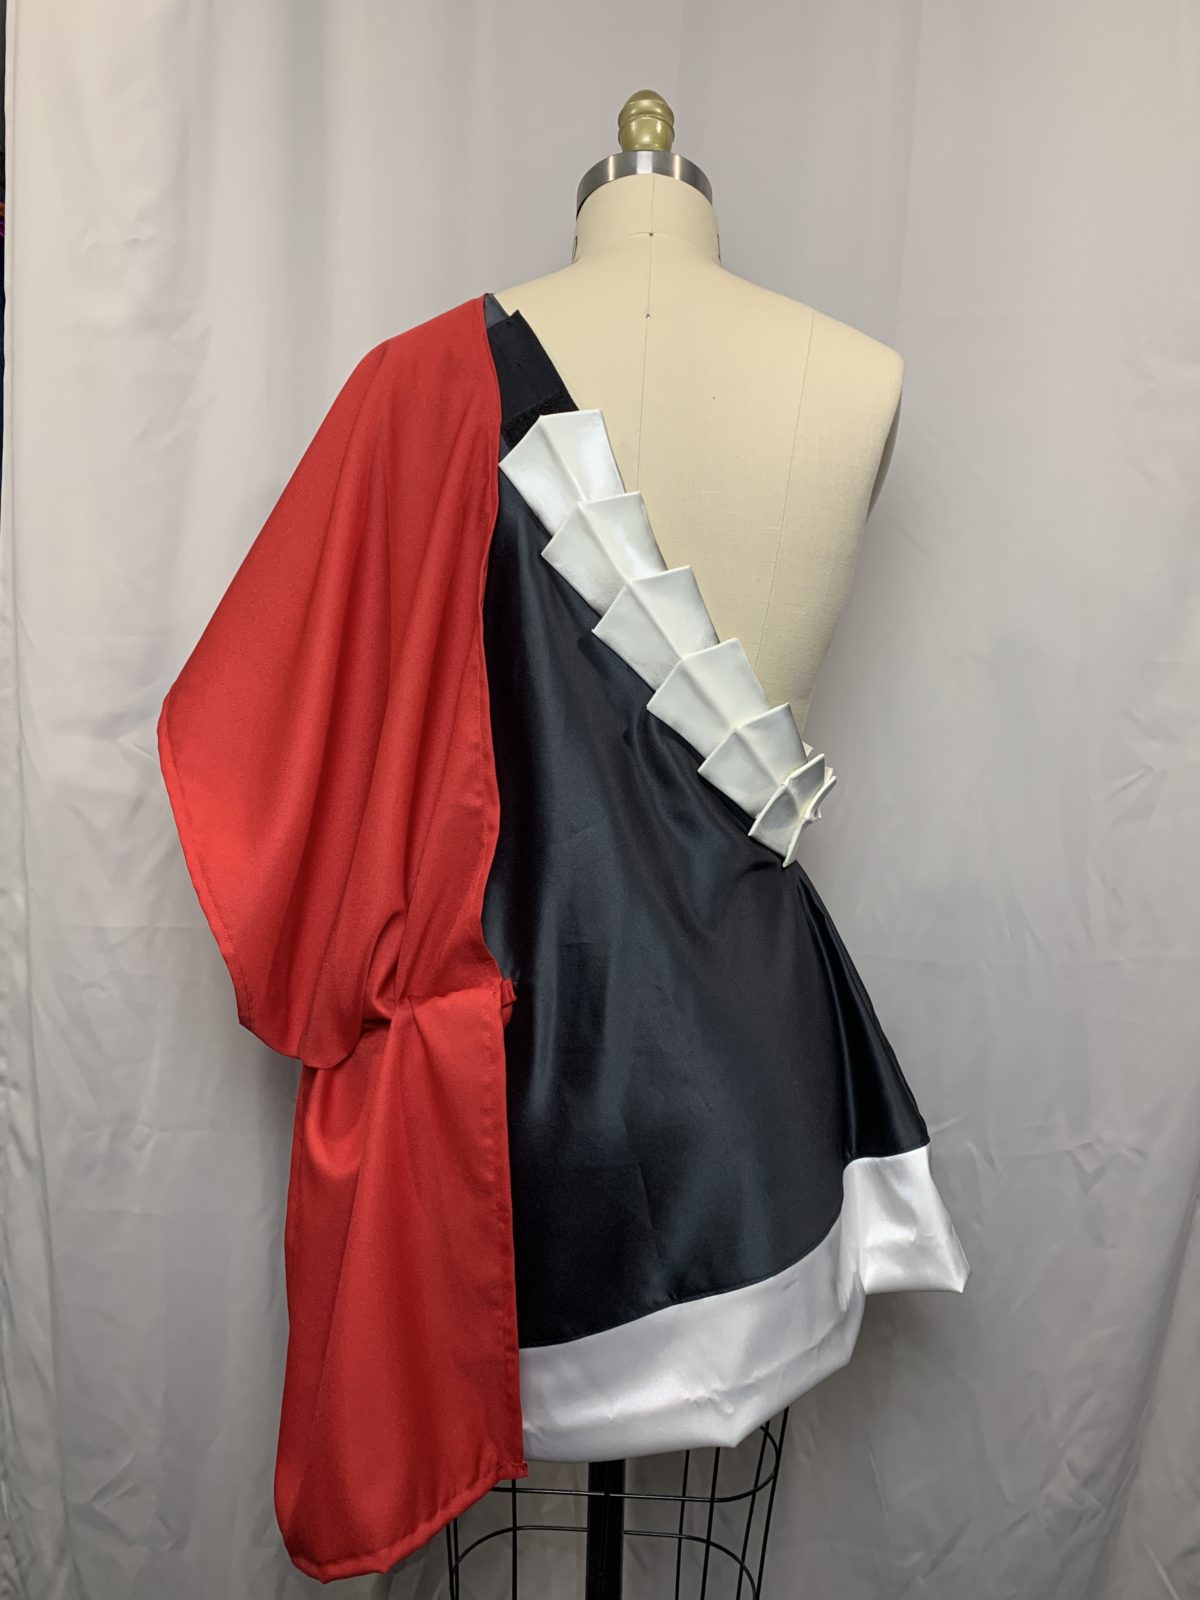
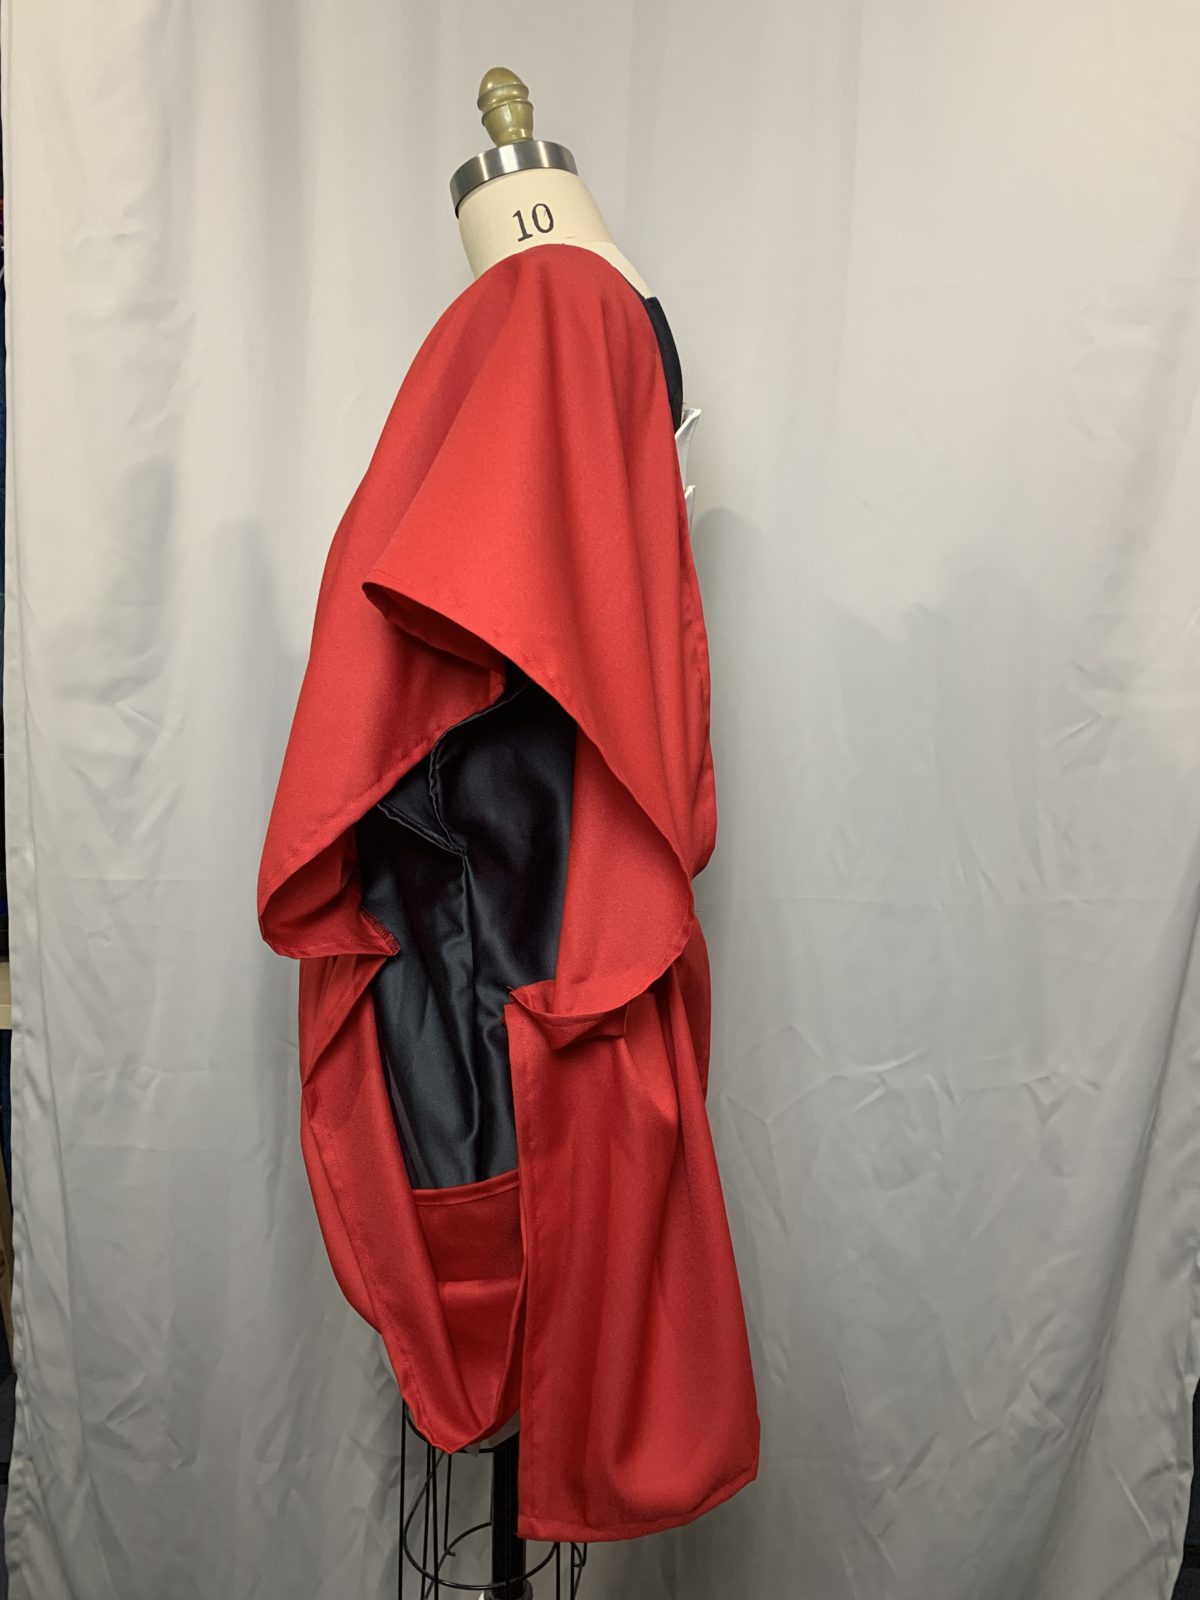
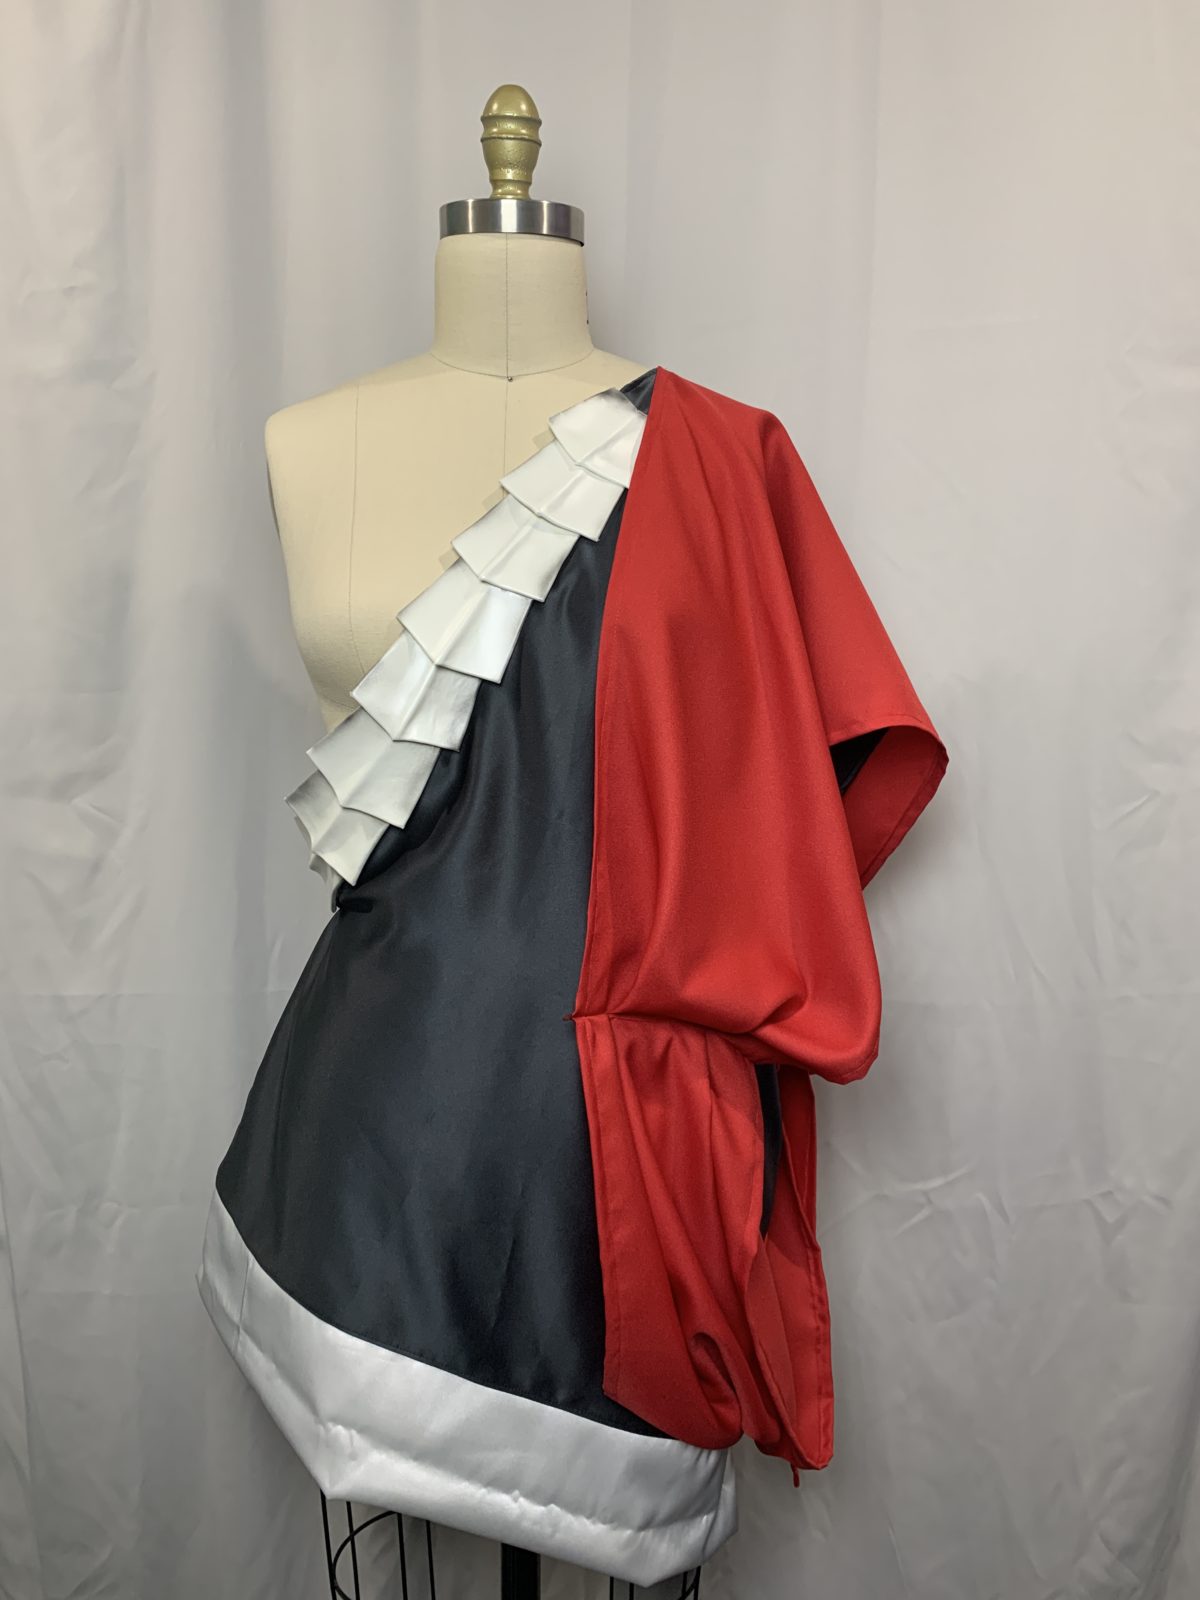
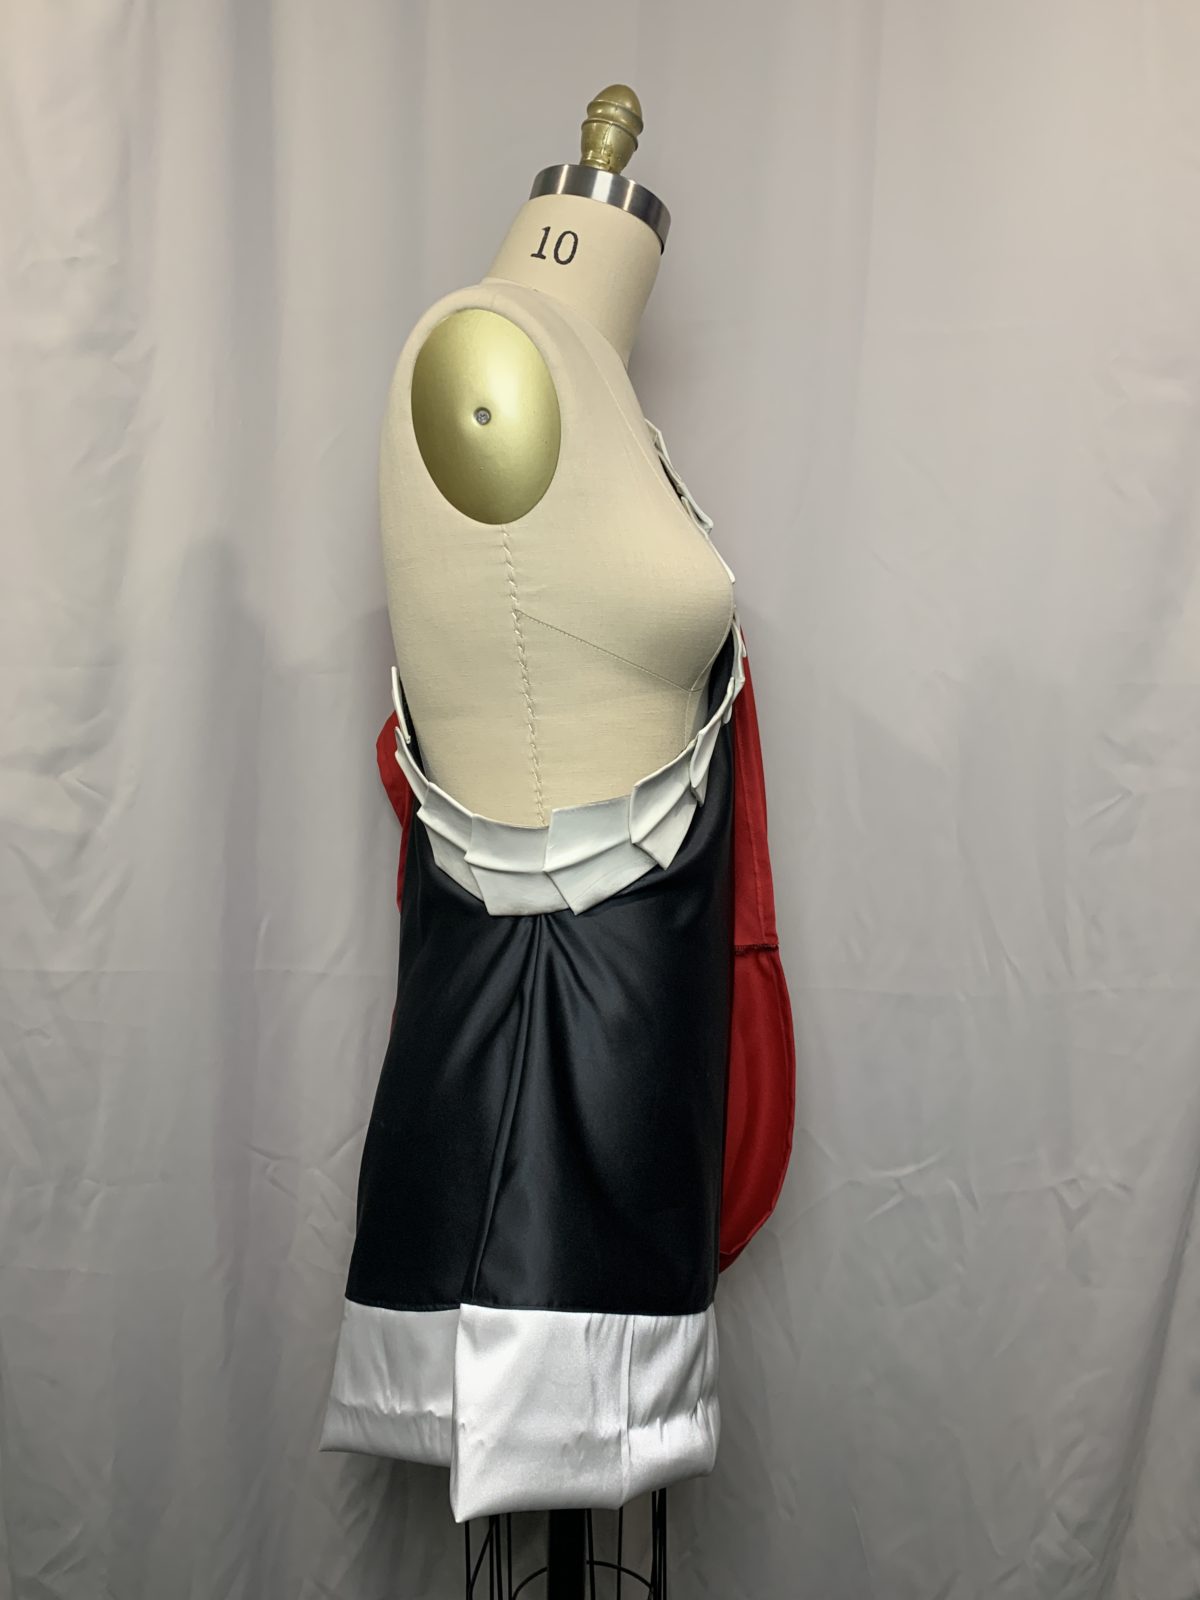
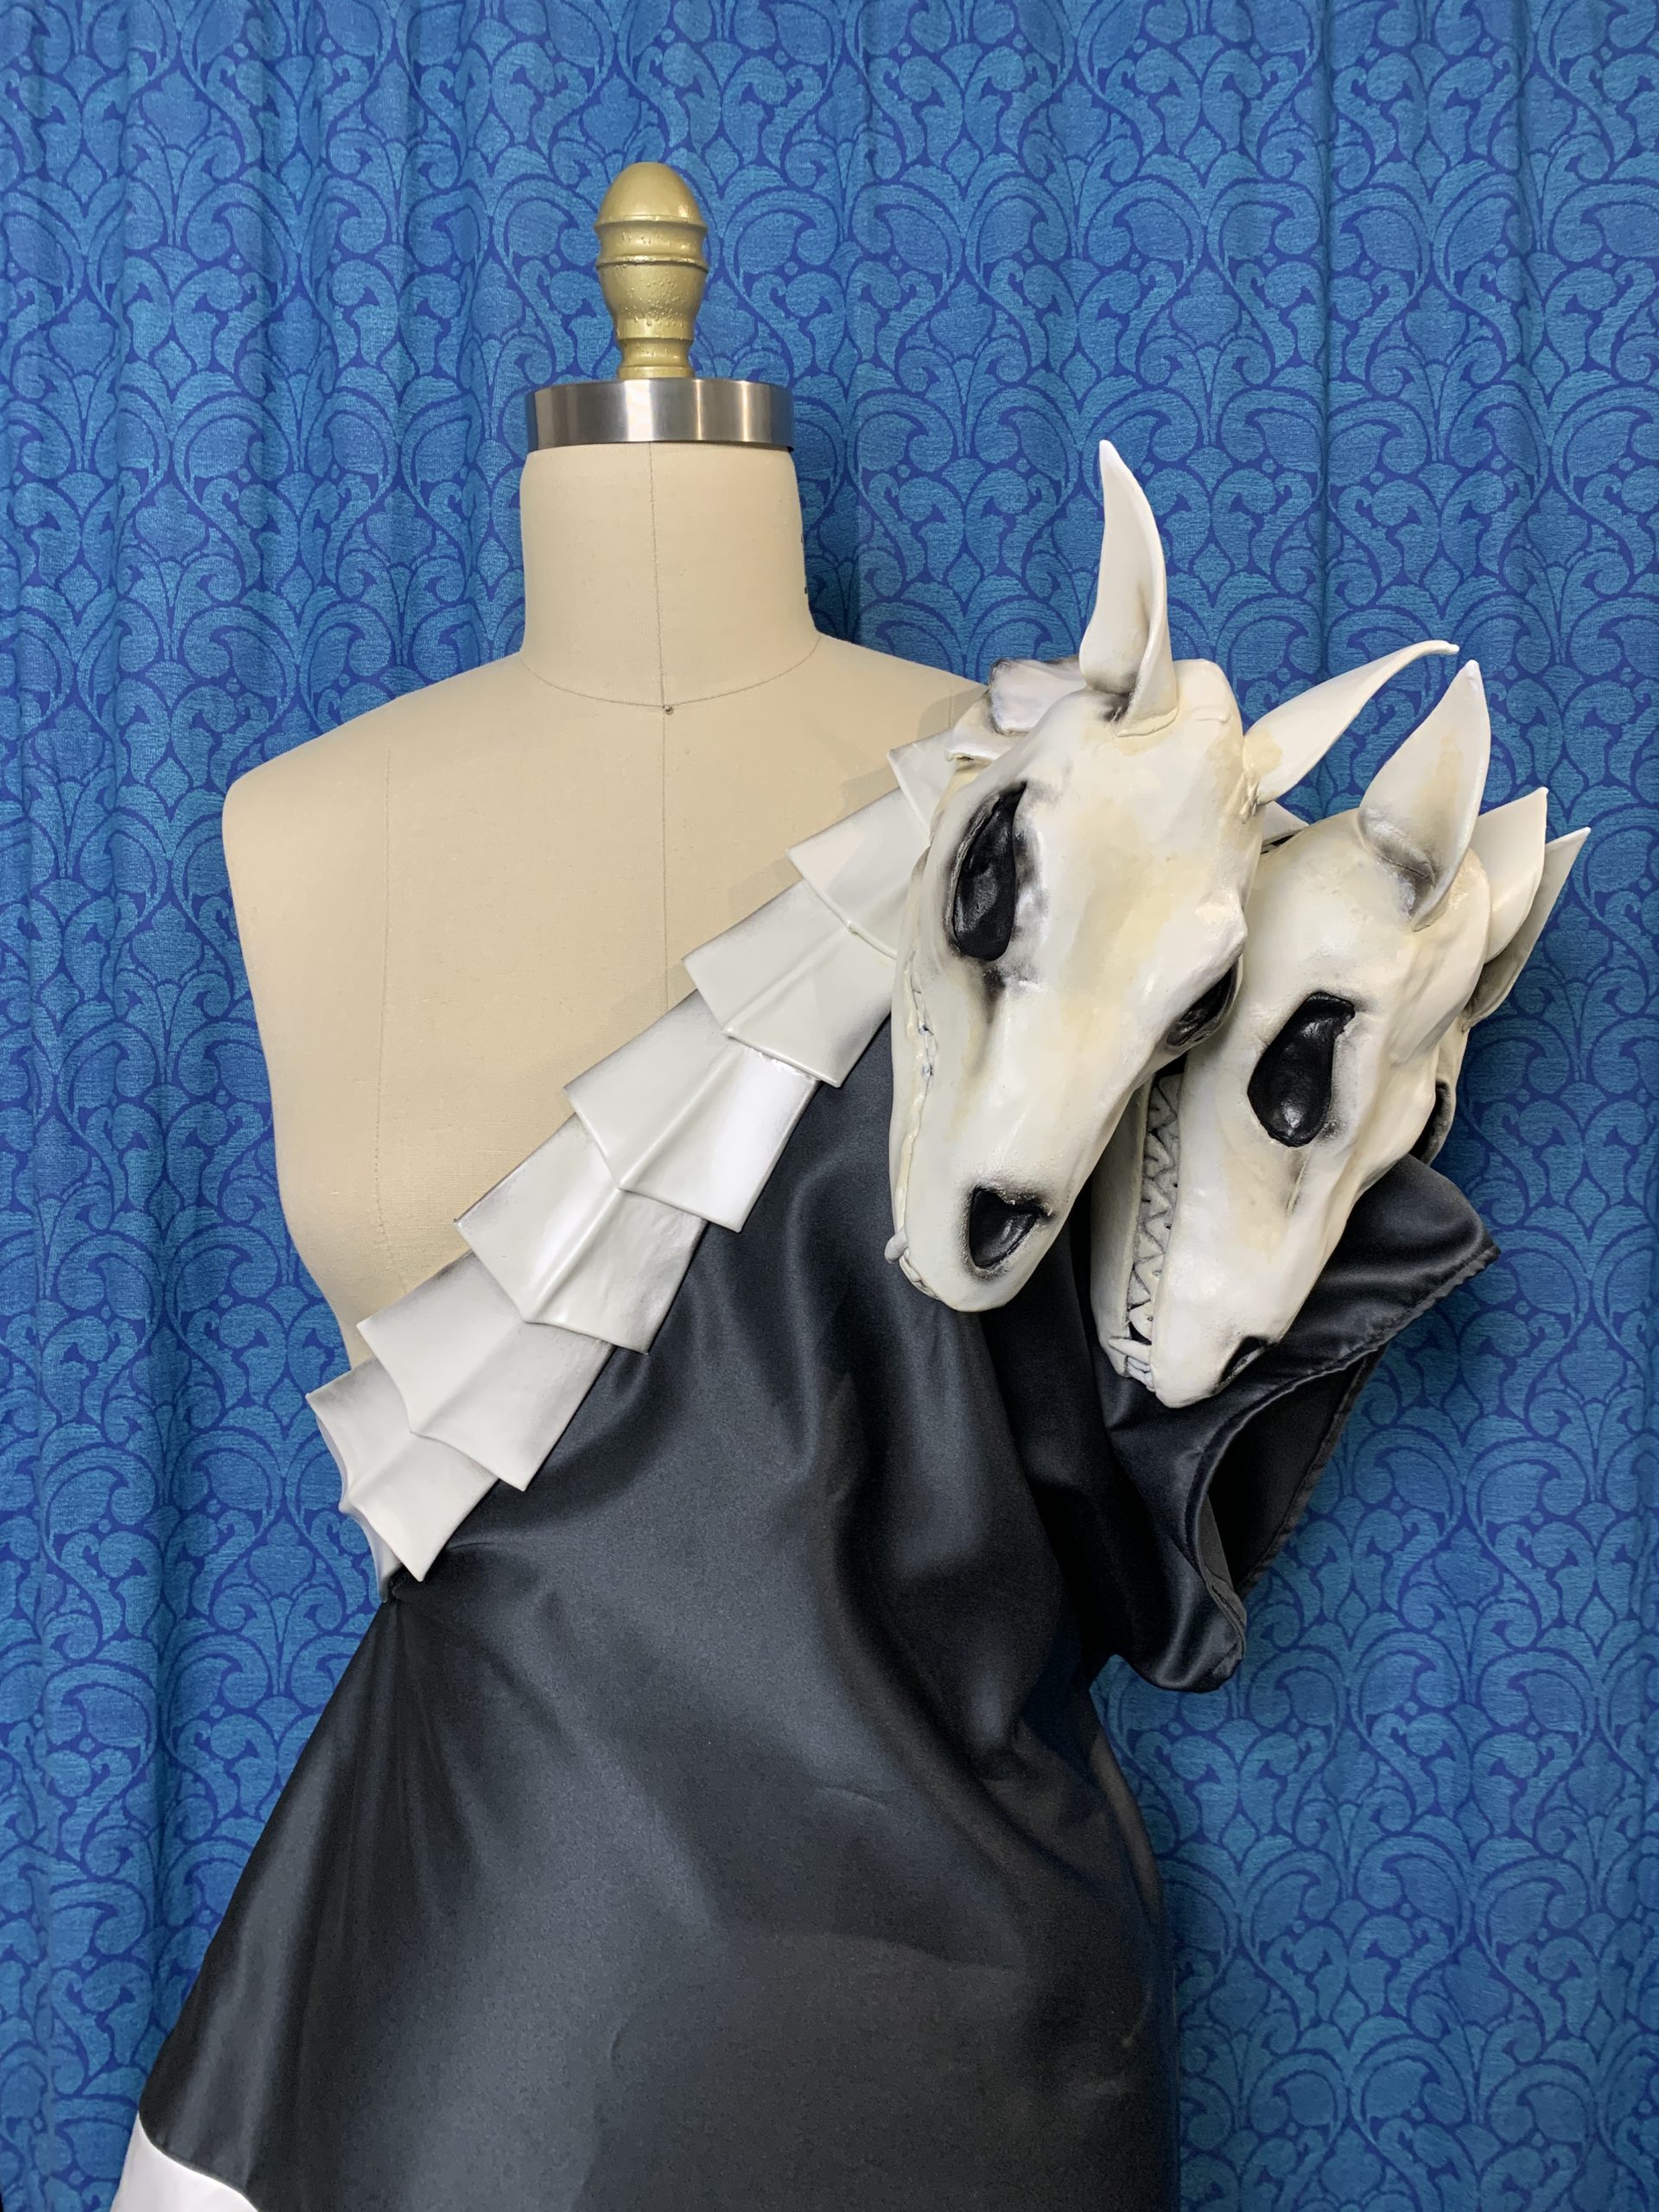
The tunic (it’s still not a toga), is made from a Charcoal Grey Matte Satin and the trim is an off-white satin. The basic shape is a rectangle that folds over the shoulder and is then stitched at the side seams and hemmed. The tunic Velcros in place to the front and the back of the strapping on the Pauldron to stop it from slipping off the shoulder.
The sash was made of a long strip of red crepe satin, the total length was around 75 inches, so I needed to seam the strip from the 60in wide fabric. I hid the seam from joining the two pieces in the front where the belt would sit at the waist. And in the back I hid the seam where the ends connect and the little tail hang over. I then stitched the sash in place at the shoulder and the waist, adding in a few pleats at the waist to help give the draped shape.
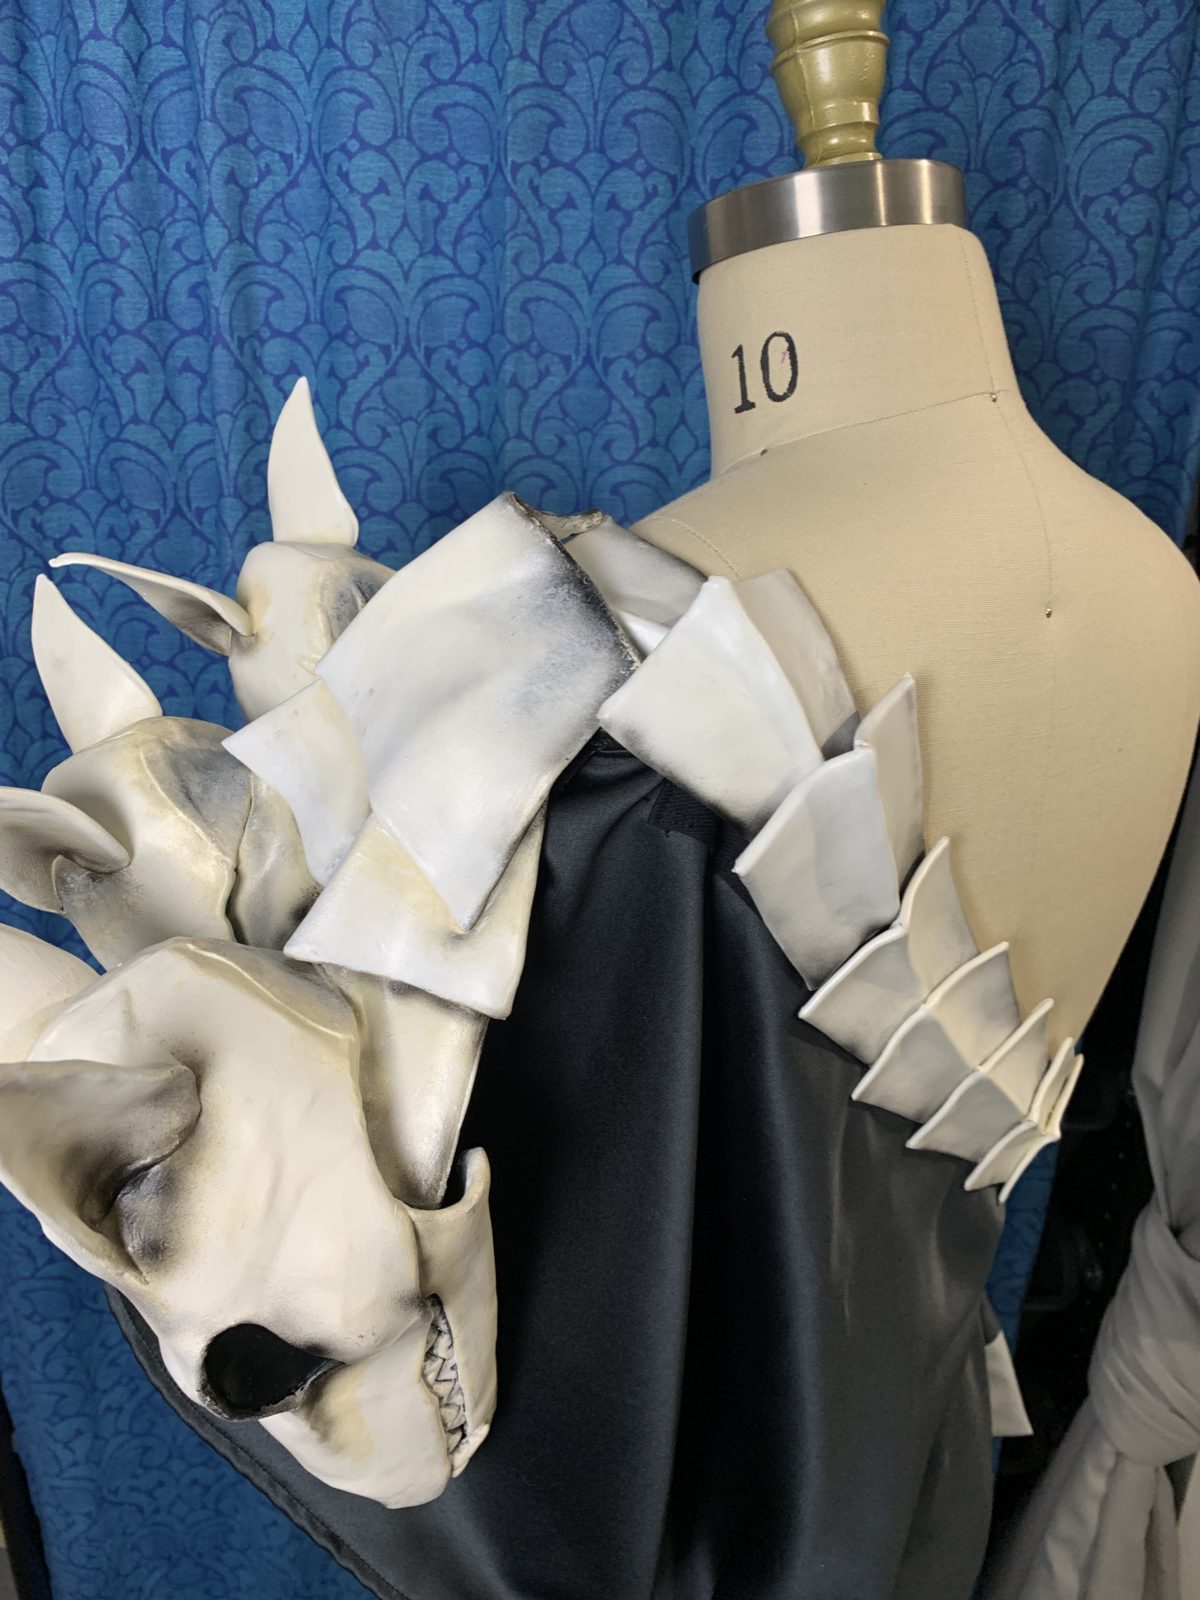
The bone trim was made from 2mm EVA from, pinched down the center and glued to hold the ridge shape, and then coved in white pleather. The pieces were airbrushed at the edges to add dimension and then glued directly to the tunic.
Belt
The belt base is made from 2mm EVA foam, there are two square sections in the back, and three round sections in the front. Each section was made separately with a layer of 2mm foam glued on for the raised sections, then covered in white matte pleather spandex. The sections were then painted to add additional dimension and lastly glued together.
The skulls were each made from a base of 2mm EVA foam covered in worbla and heat formed to get a slightly curved shape. They were then painted using Plaid FX paints. The backs of the curved were filled in with extra EVA foam before being glued directly to the base pieces.
The belt strap was made from the same white matte pleather spandex used to cover the EVA foam. The closure was done by sewing Velcro onto felt, which was glued to the back to the decorative section, with corresponding Velcro on the belt strap.
Pauldron
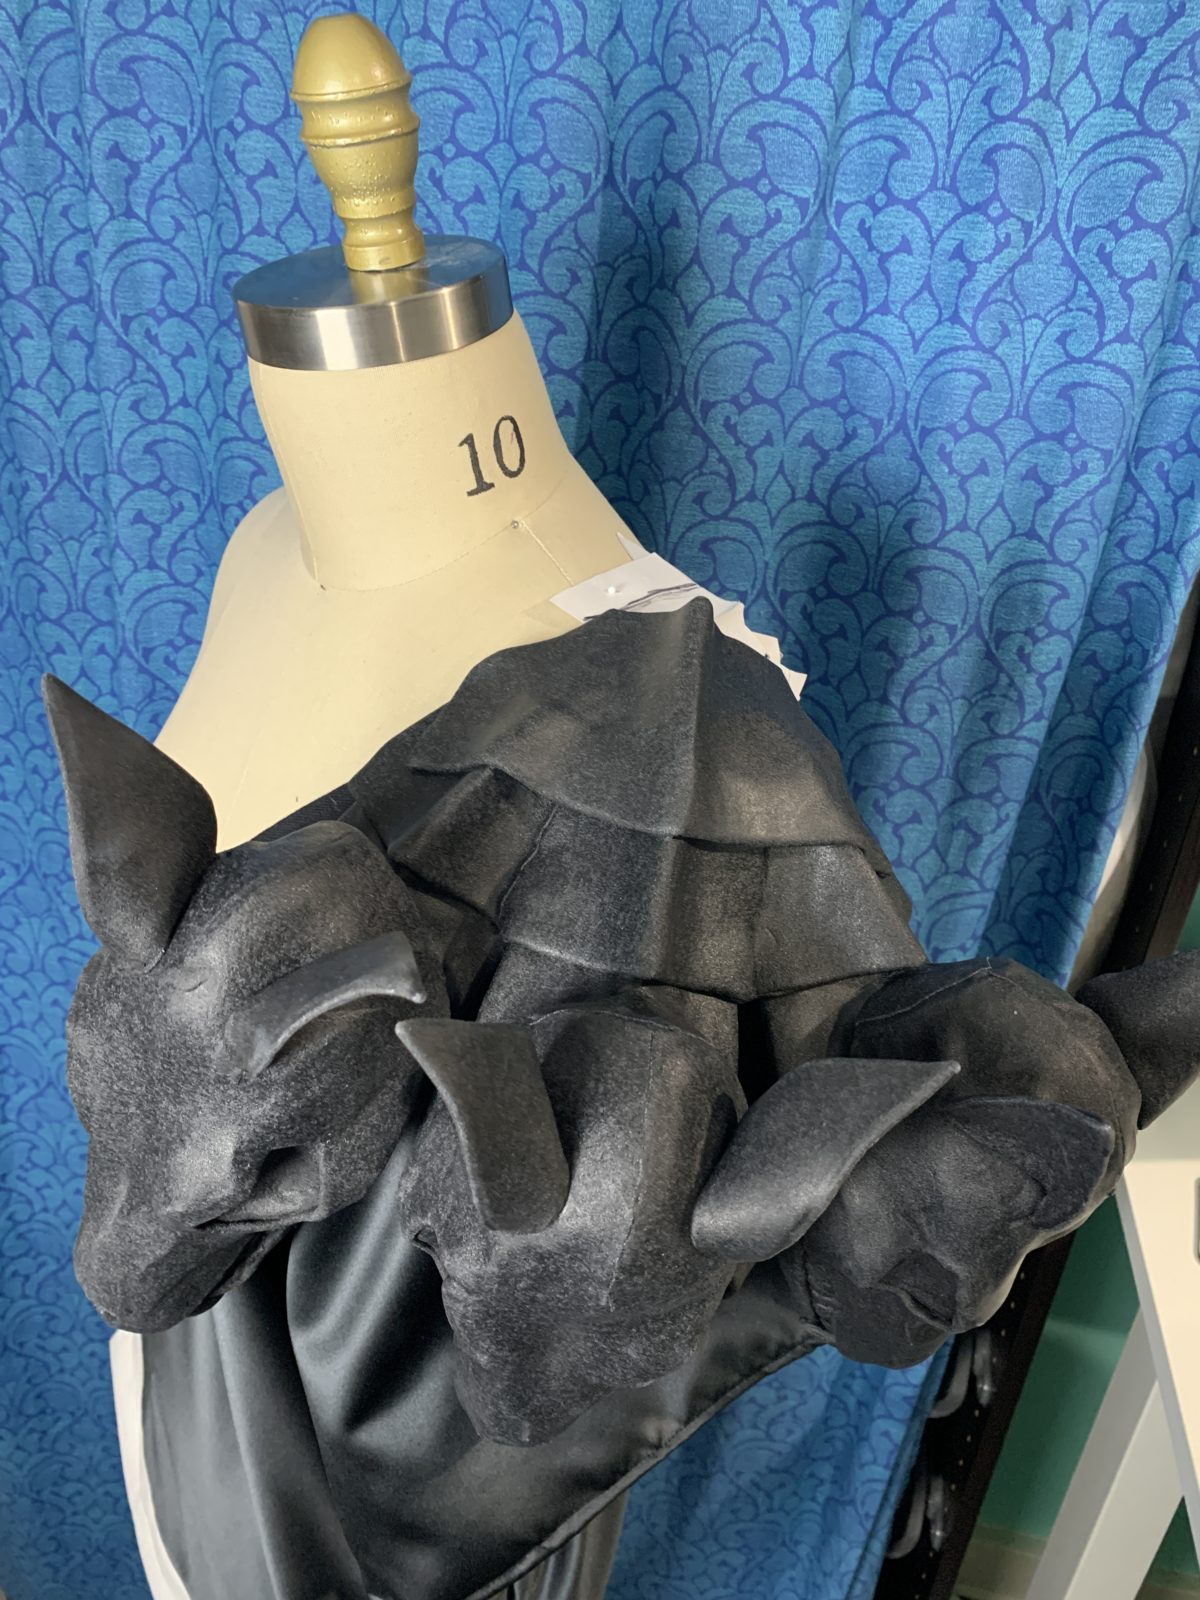
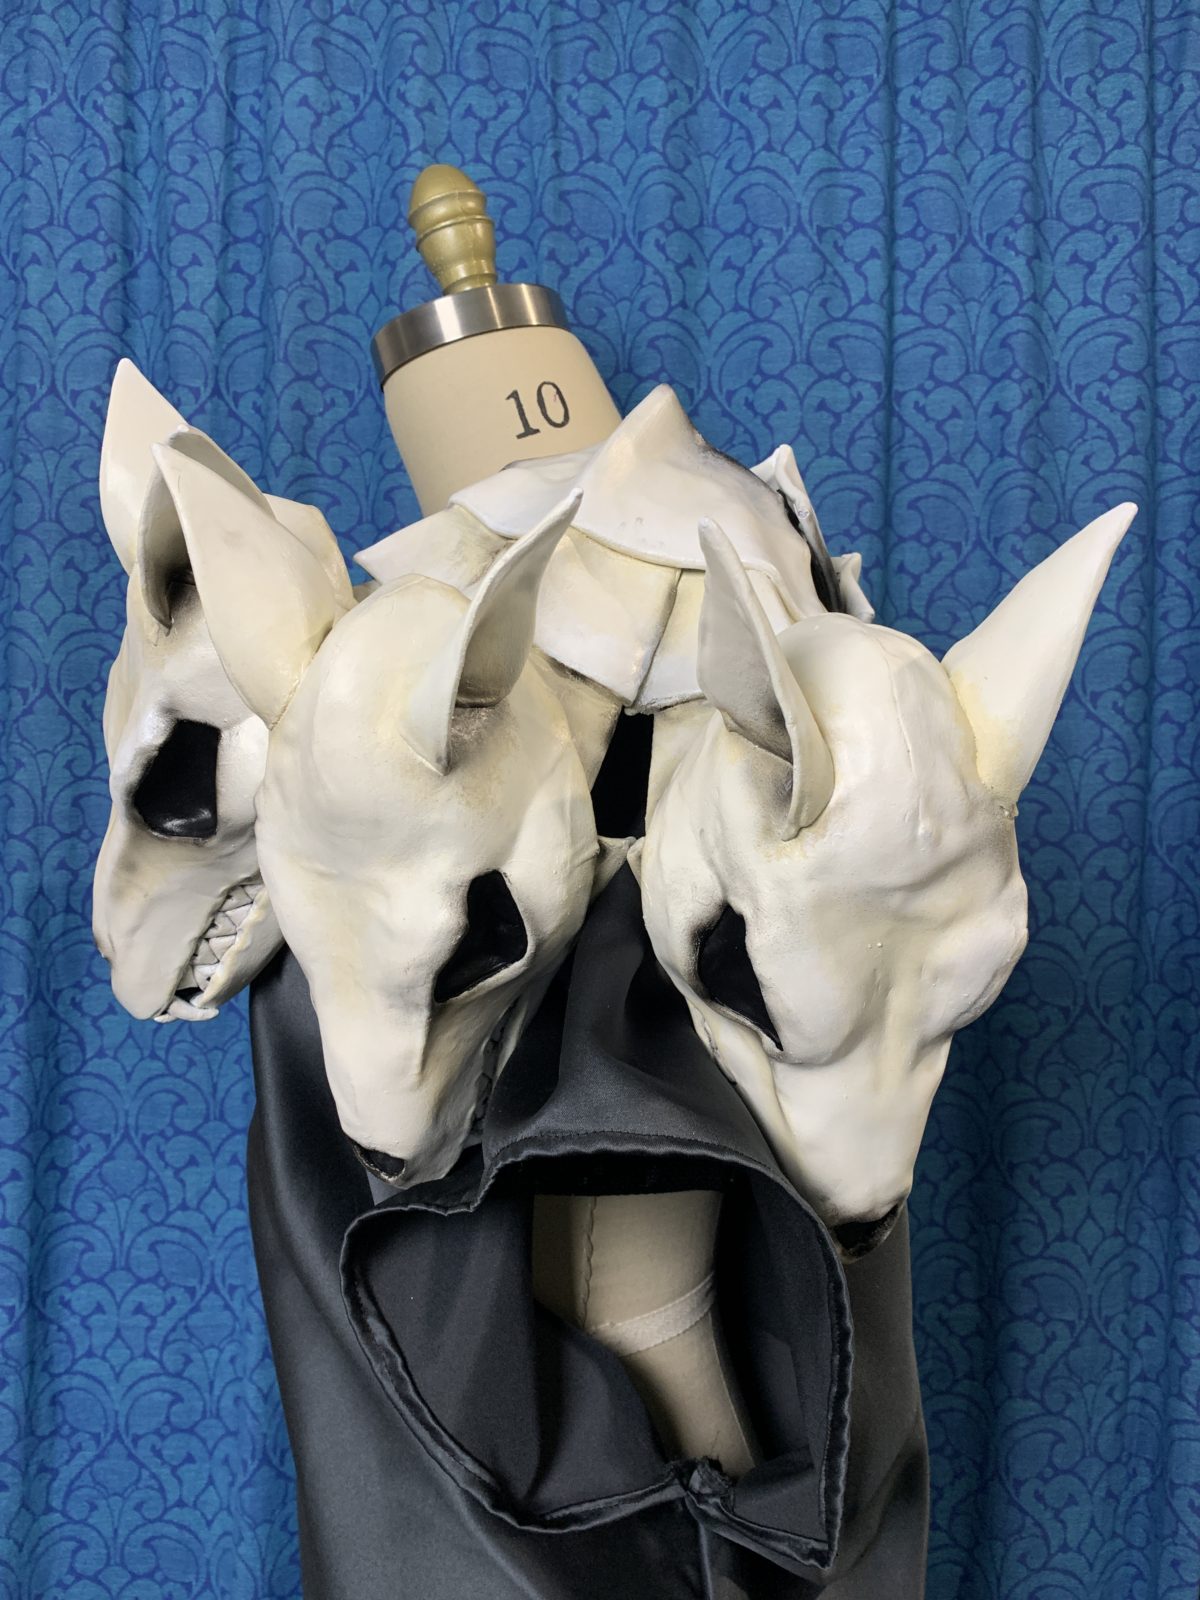
The dog skulls were made with a base of 2mm EVA foam, using the Kamui Cosplay Wolf Skull pattern printed at 75%. I simplified the pattern slightly to make it easier to work with at the smaller size, and used 2mm foam as I only needed a base and it was easier to work with. I then covered the skulls in Worbla Black Art. and added ears and teeth to the base design. I added spine sections to the base of each skull and then used the adhesion of worbla to attach the spine pieces together.
Because the worbla added a fair amount of weight to the pauldron I created a torso cross strap that buckled in place under the bust to keep the pauldron secure. I glued a canvas backing under the spine sections of the pauldron and used that to sew the strapping to.
I added three additional spines that were not attached to each other, just glued to the fabric to help blend the pauldron into the bone-trim on the tunic. The pauldron was painted using various Plaid FX paints and finished with a matt sealer.

Greaves
The greaves are made with a base of 2mm EVA foam covered in Worbla, and then painted PLaid FX paints in silver. They have a zipper in the center back in order to take them on and off. For more detailed information on making Worbla greaves you can check out my Zagreus greaves video.
Armbands
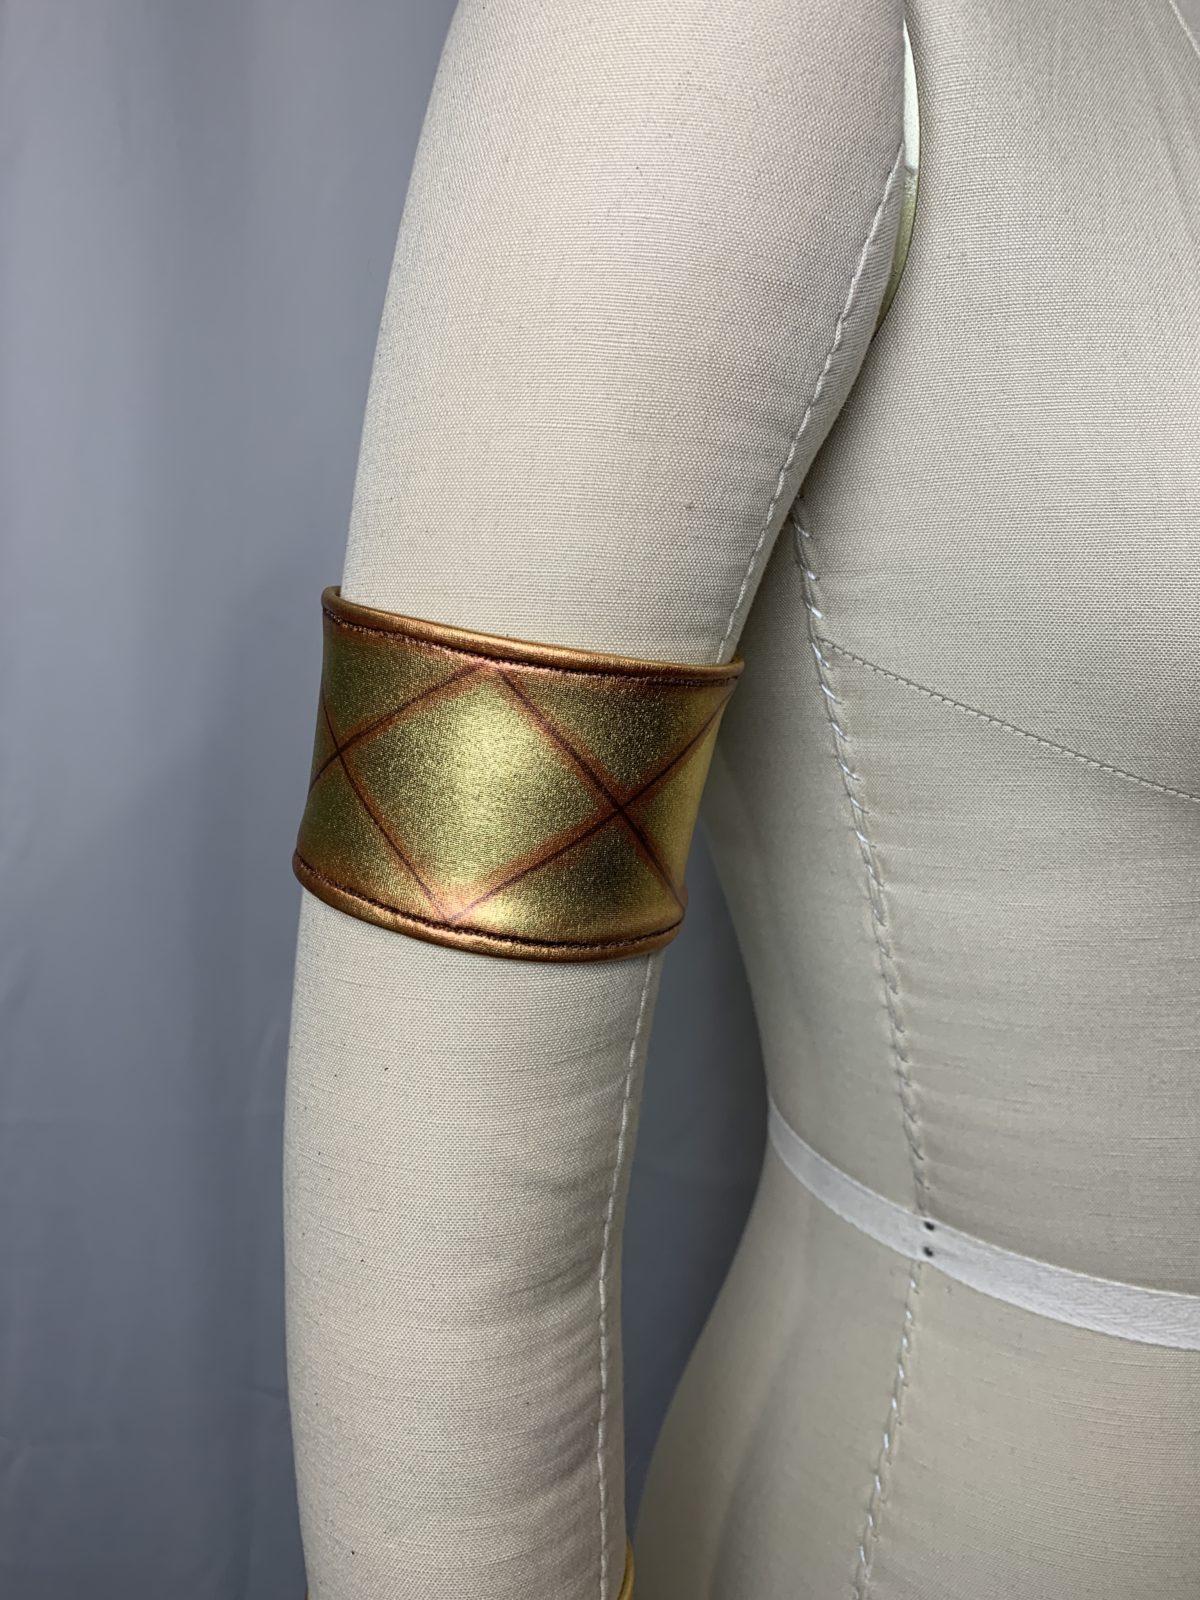
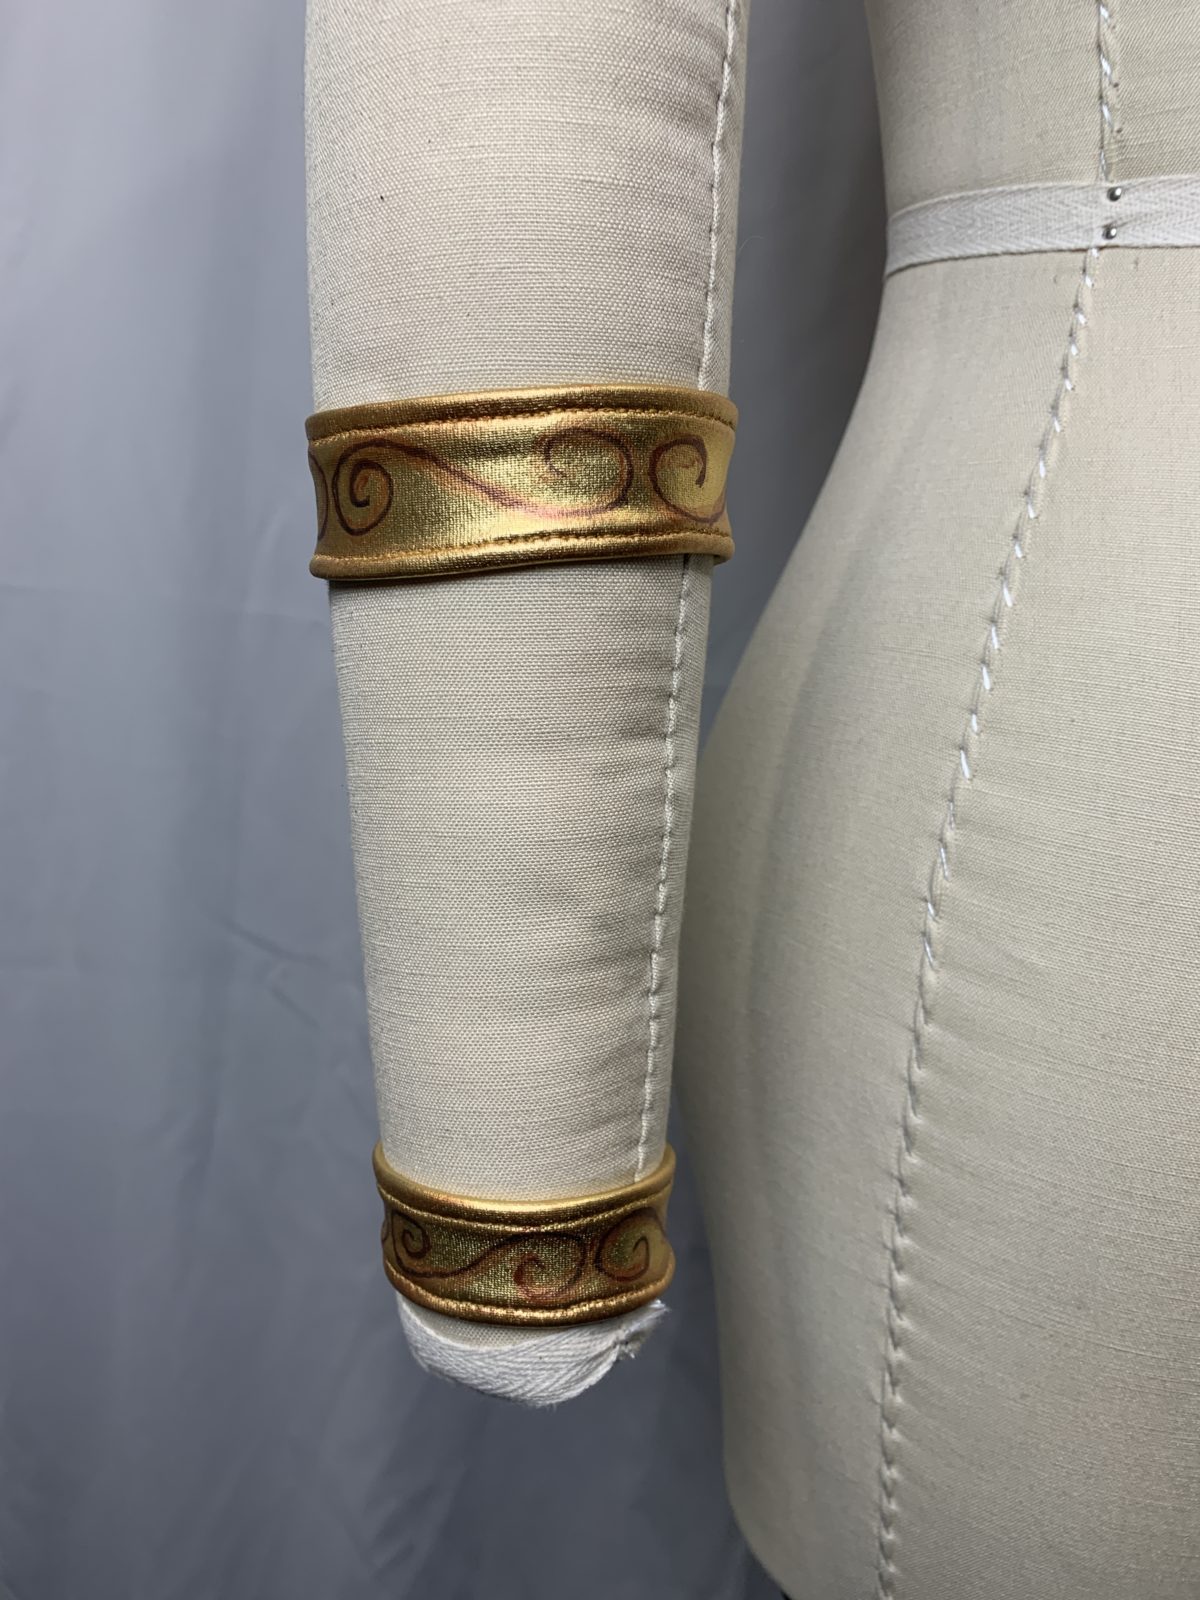
The gold armbands were made as band of gold spandex, doubled layered with a sturdier spandex fabric as a backing, for more stability. I then topstitched the edges using a stretch stitch and added the shading with copper Plaid FX to blend in the stitching. The designs were done with fine-tipped permanent markers and then blended using Plaid FX paint.
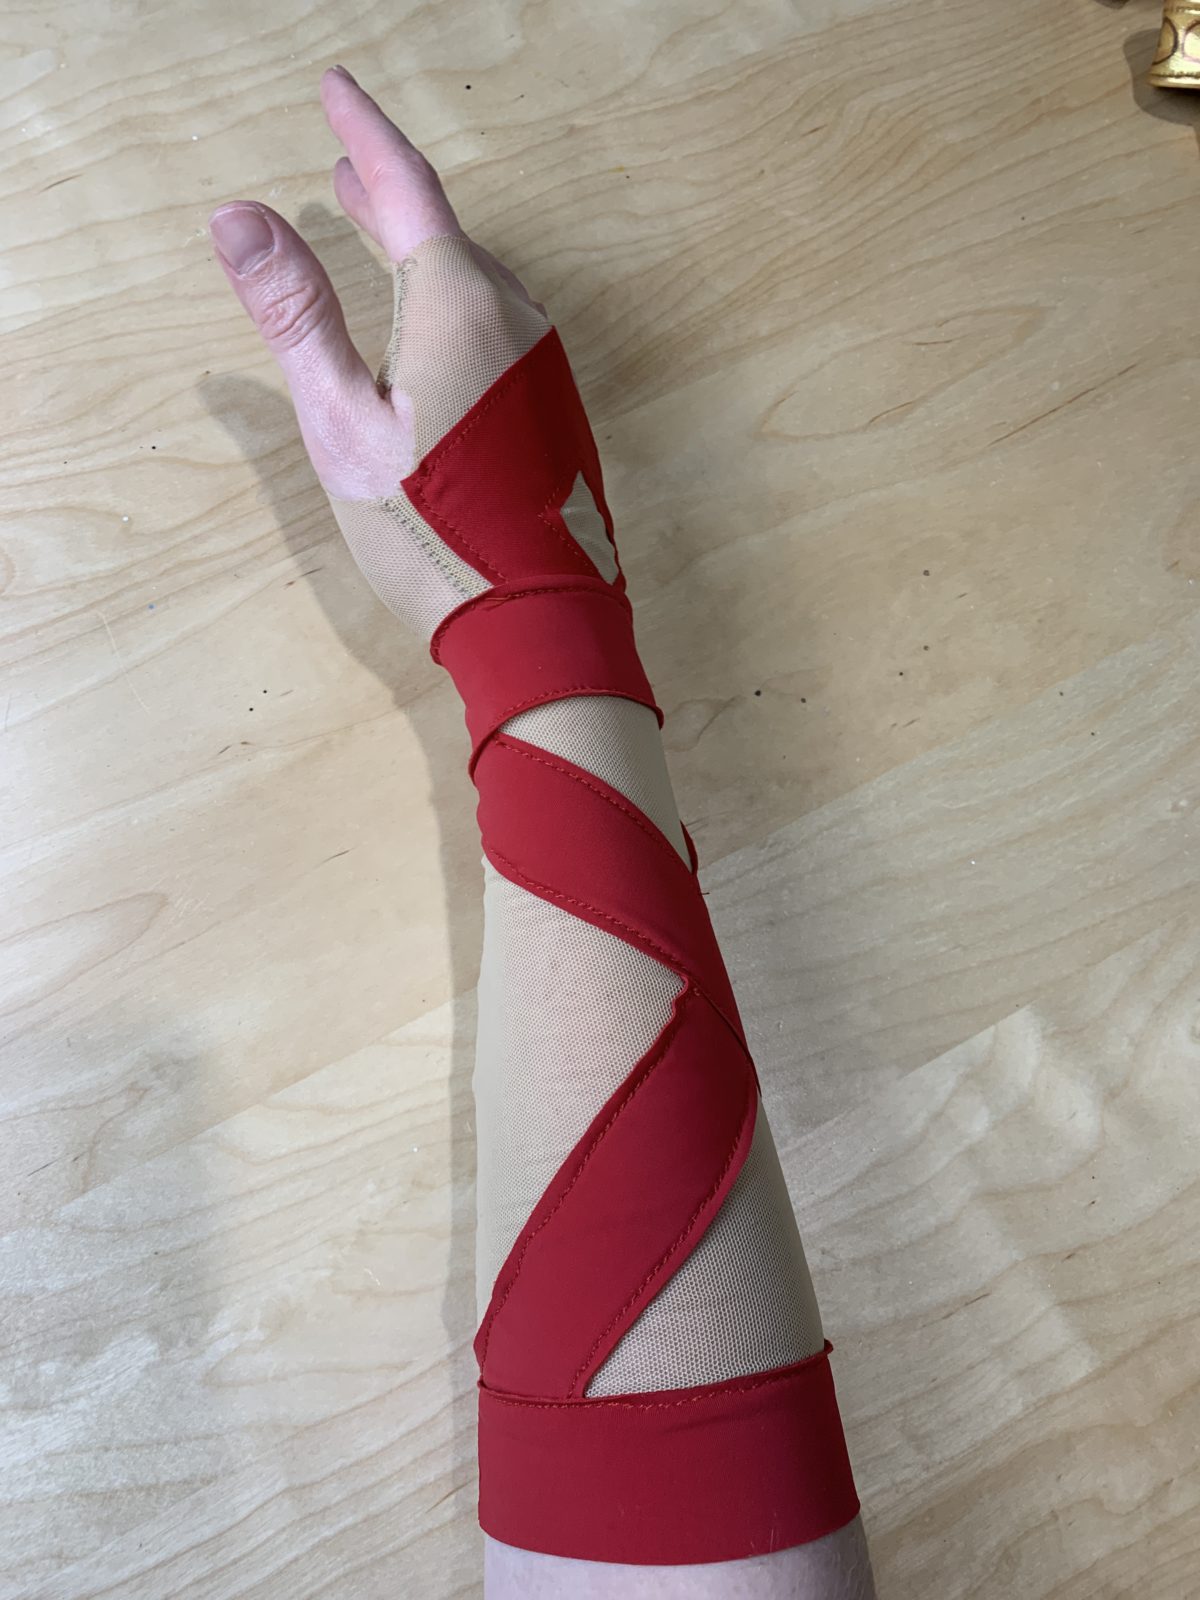
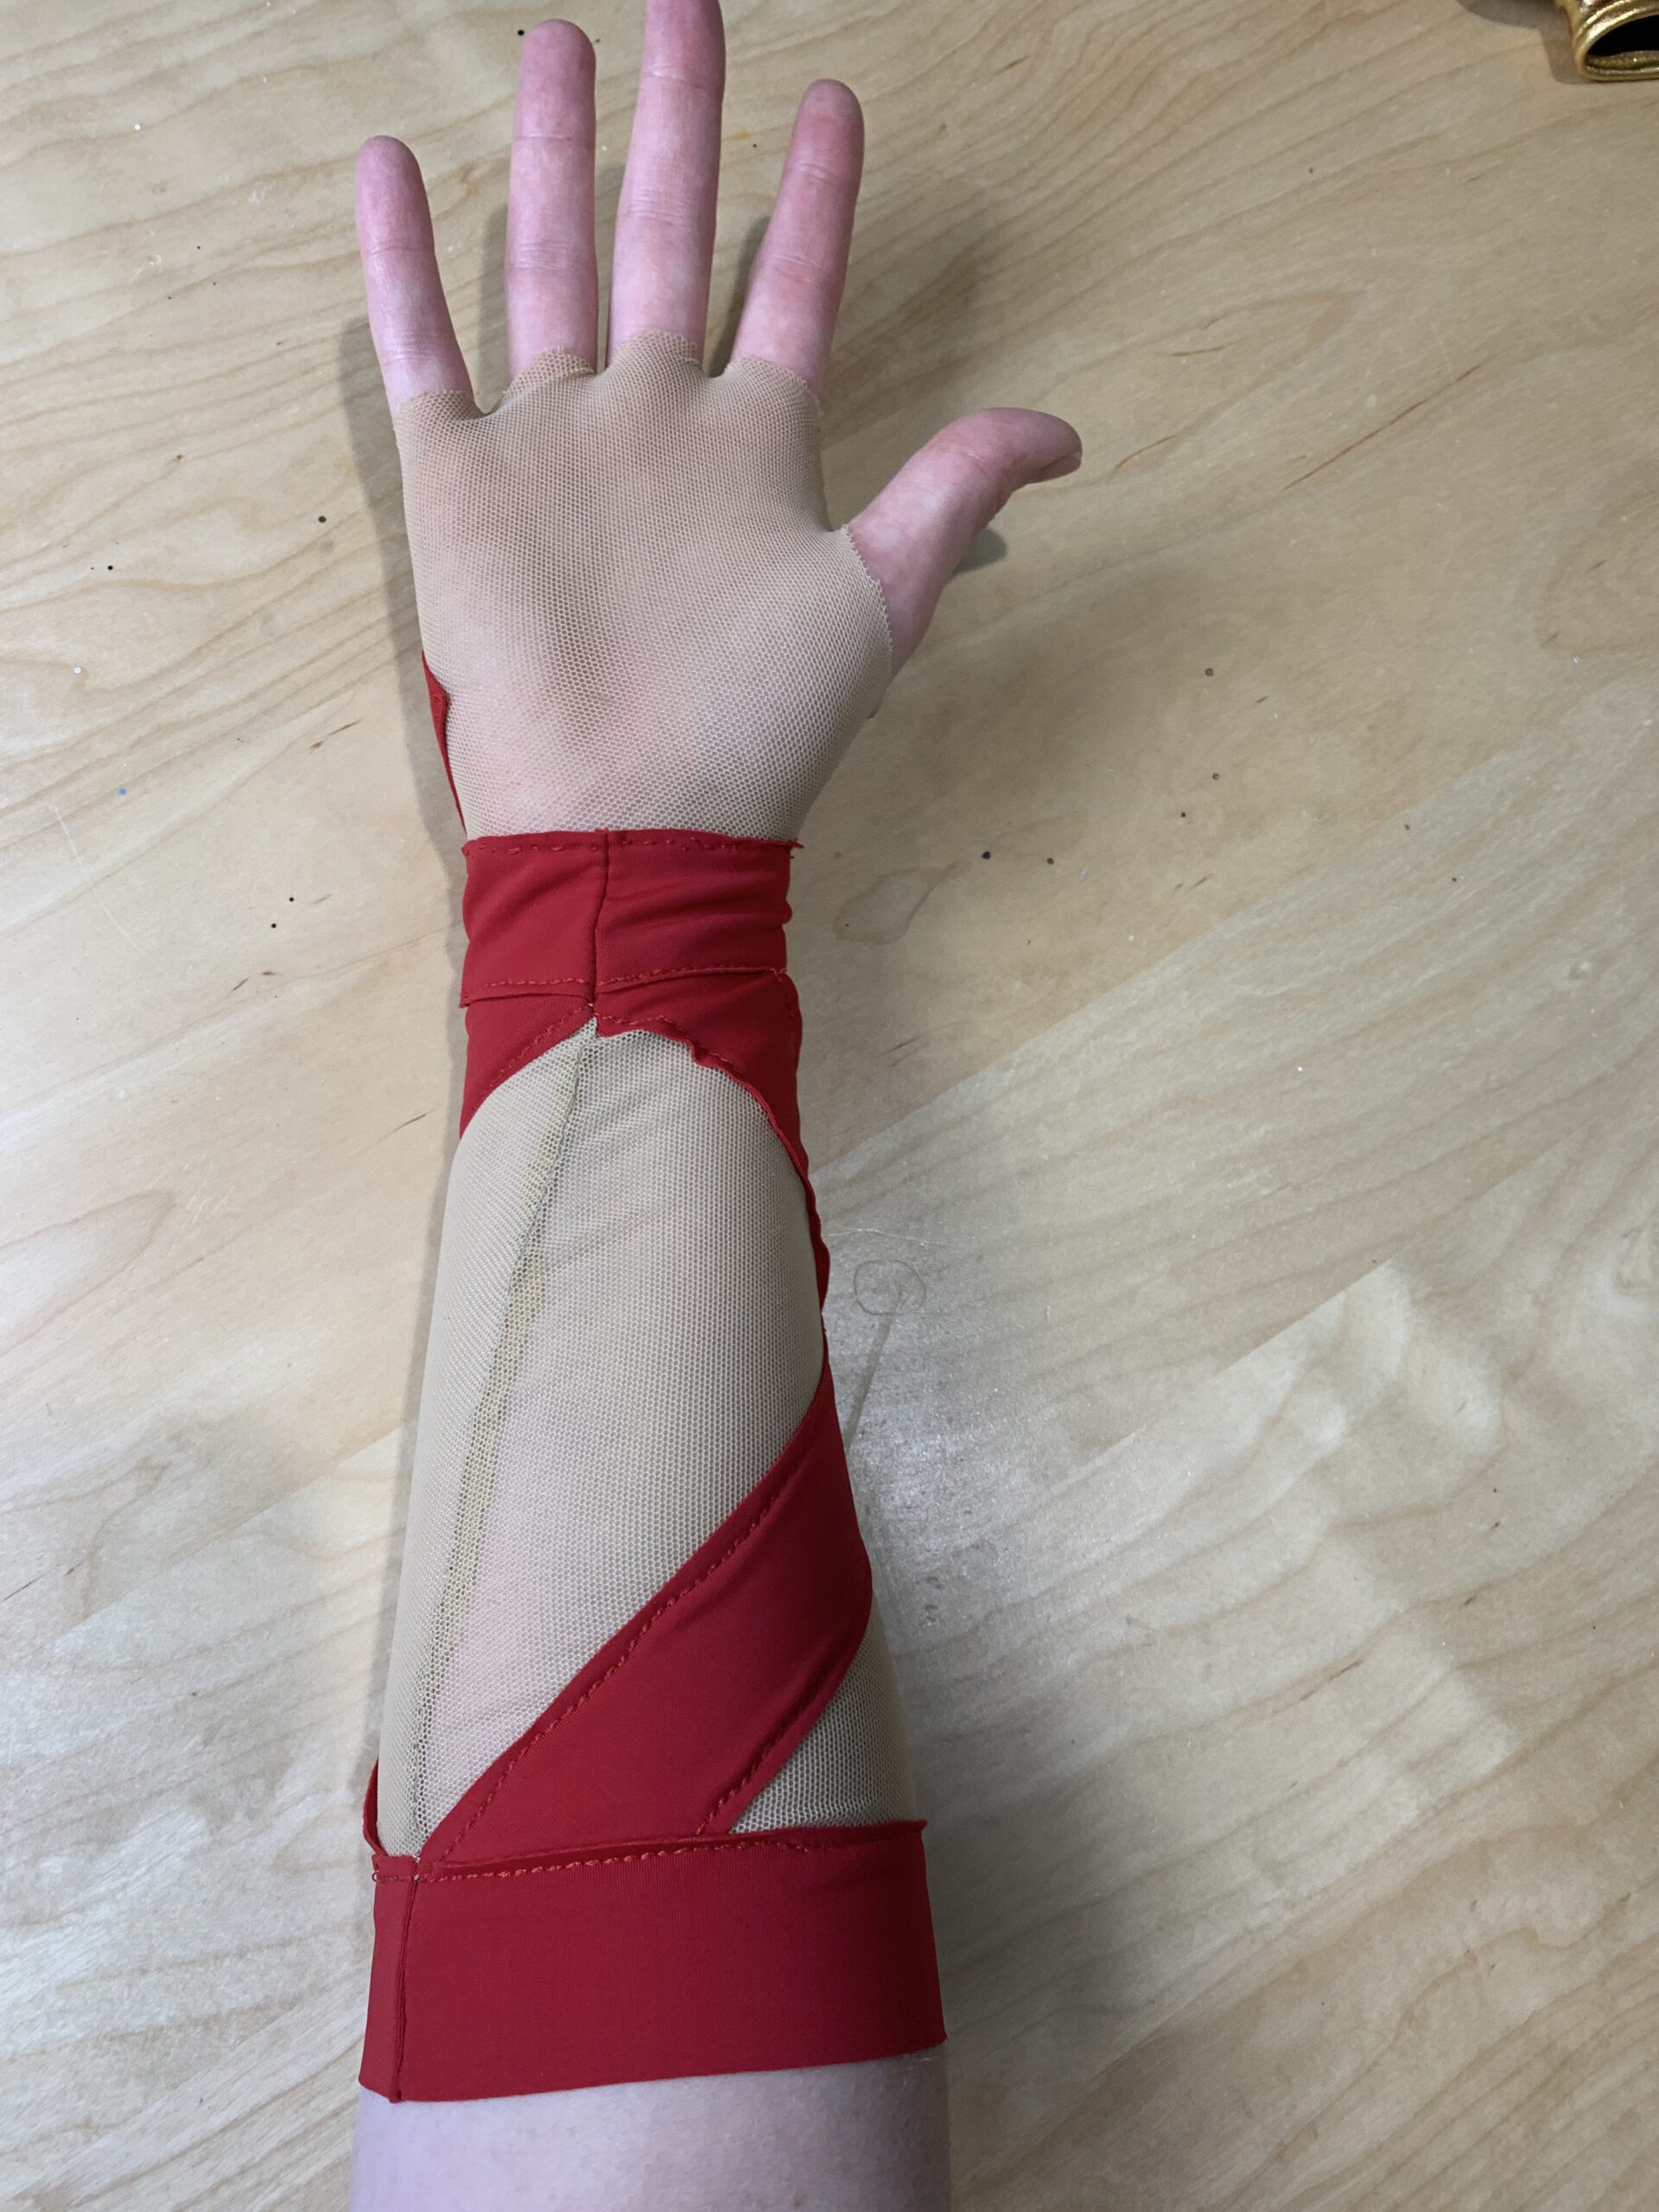
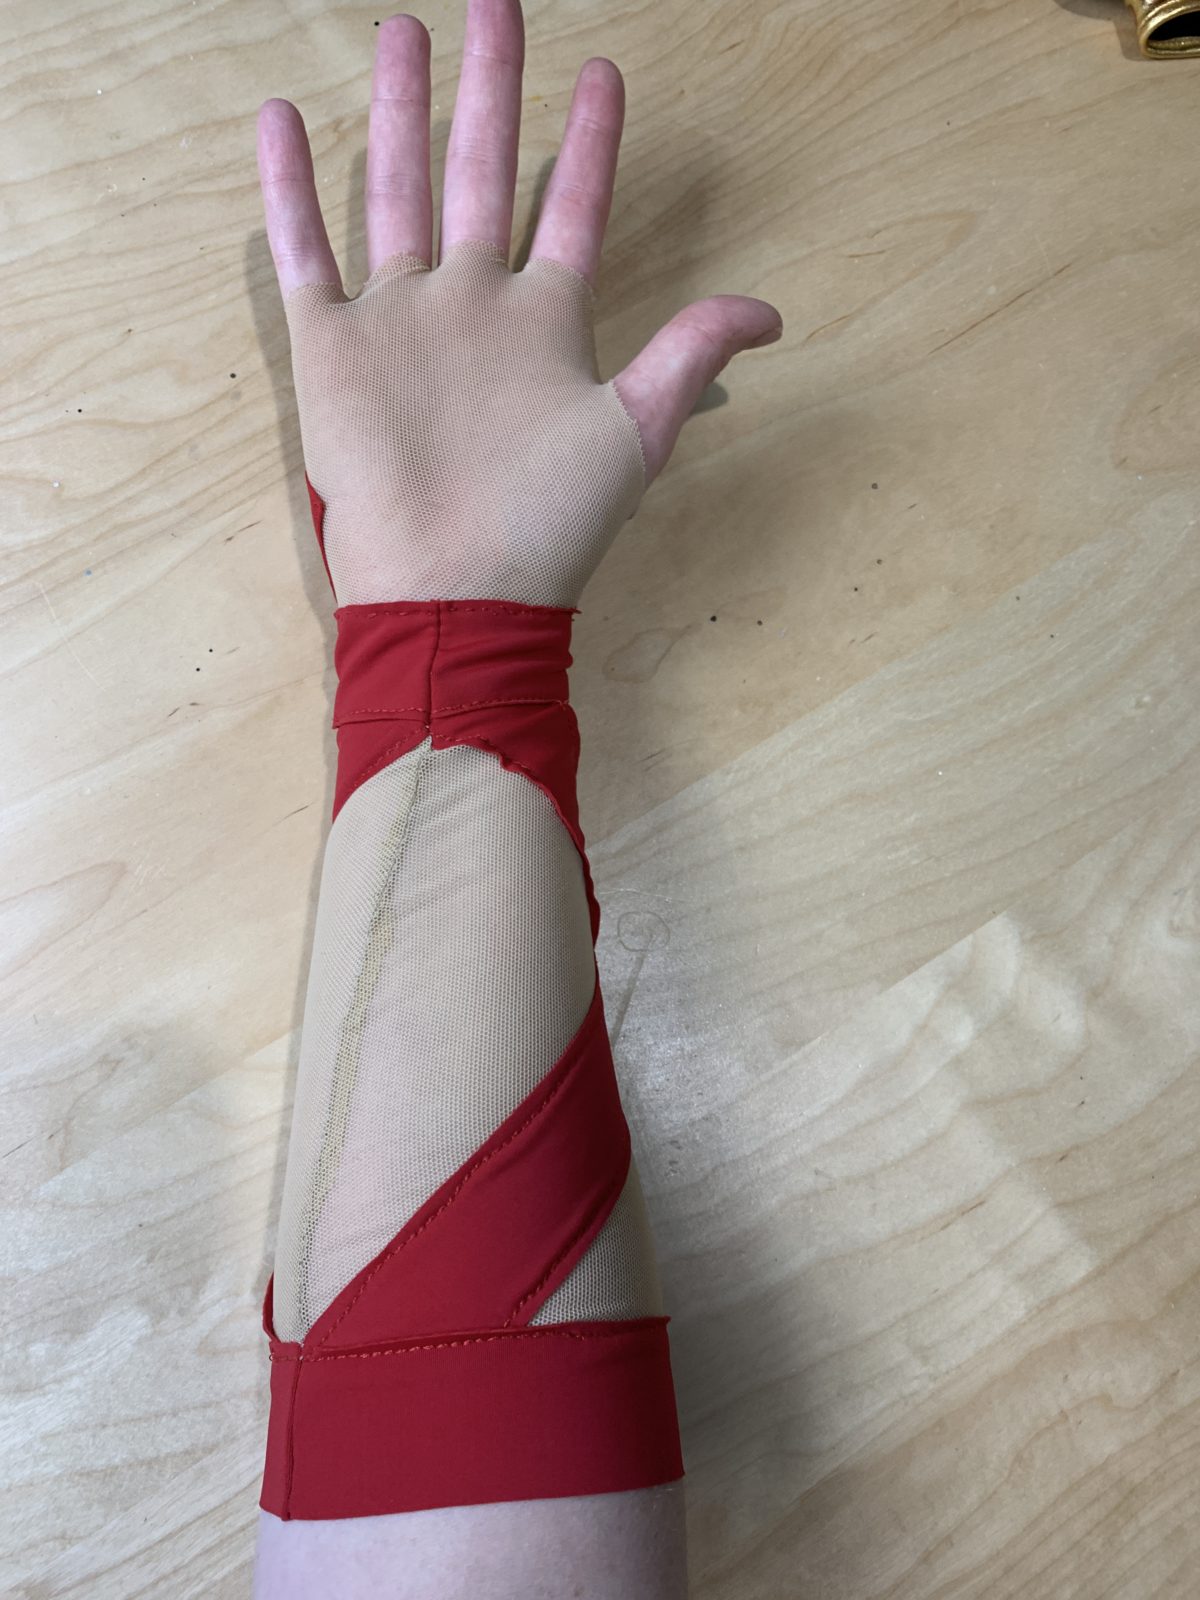
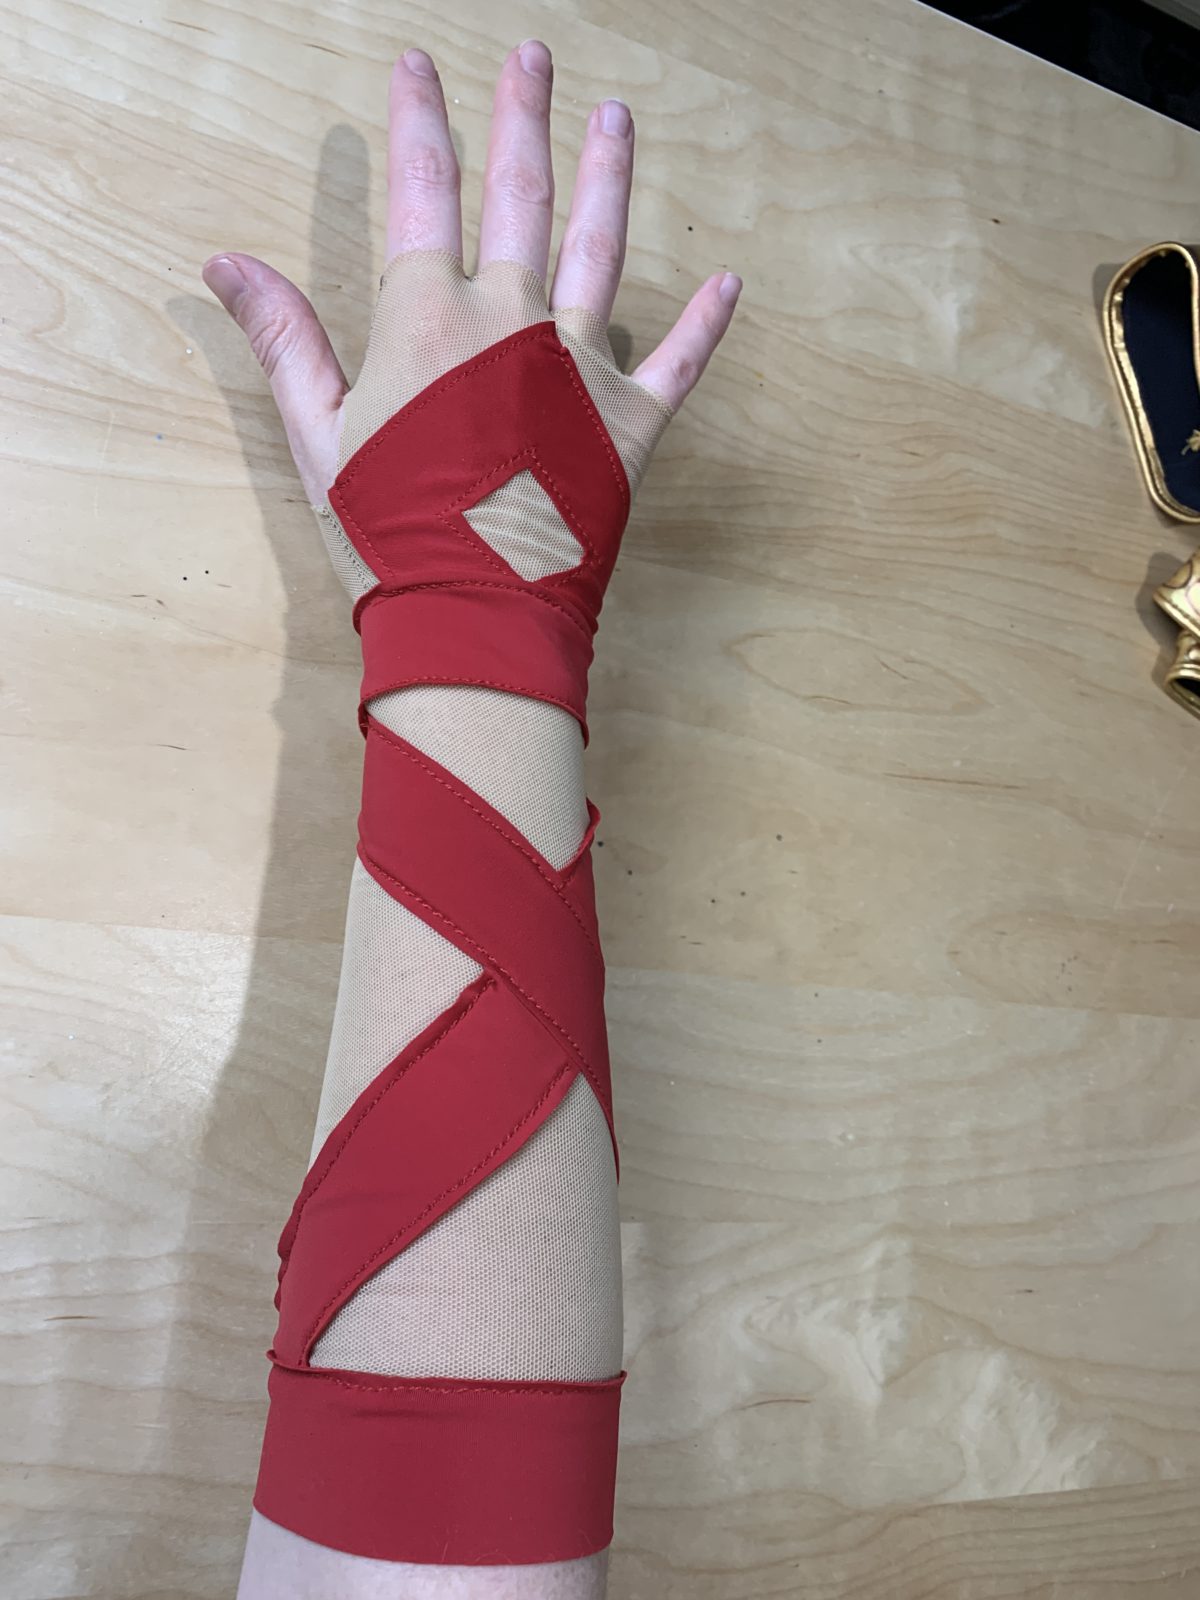
The red armband was made as a base power mesh fabric in Steph’s skin tone. I top-stitched the red strips onto the power mesh while the mesh was still flat. I then stitched the sleeve portion closed. After sewed the glove portion to the sleeve portions, I ended up needed to hand stich this section as it was too small and fiddly for my sewing machine, as well as stitching the points in between each finger on the glove.
Feet & Laurels
For the feet I purchased yellow toe socks, which I airbrushed red over the top to create the gradient from the ankle to the toes. I glued one some fake nails for the toes that I hat painted yellow to match the yellow of the socks using Plaid paints and sealed with clear nail polish.
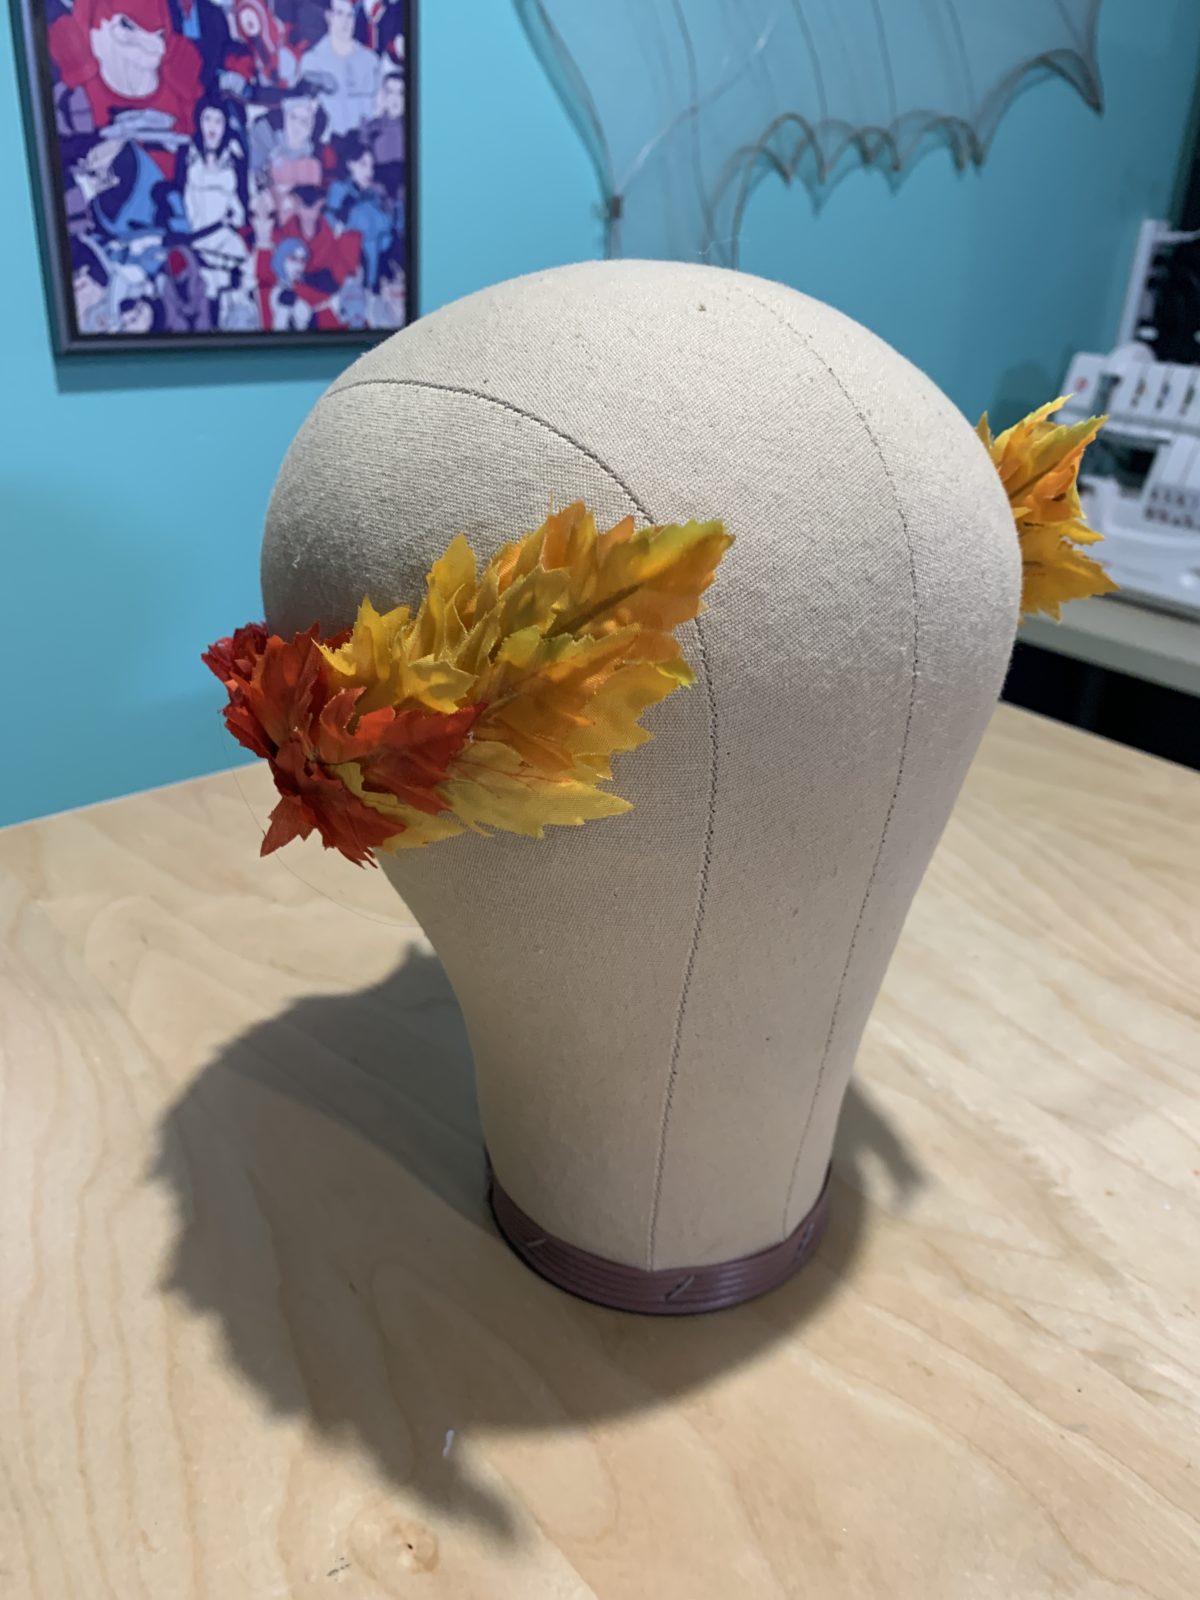
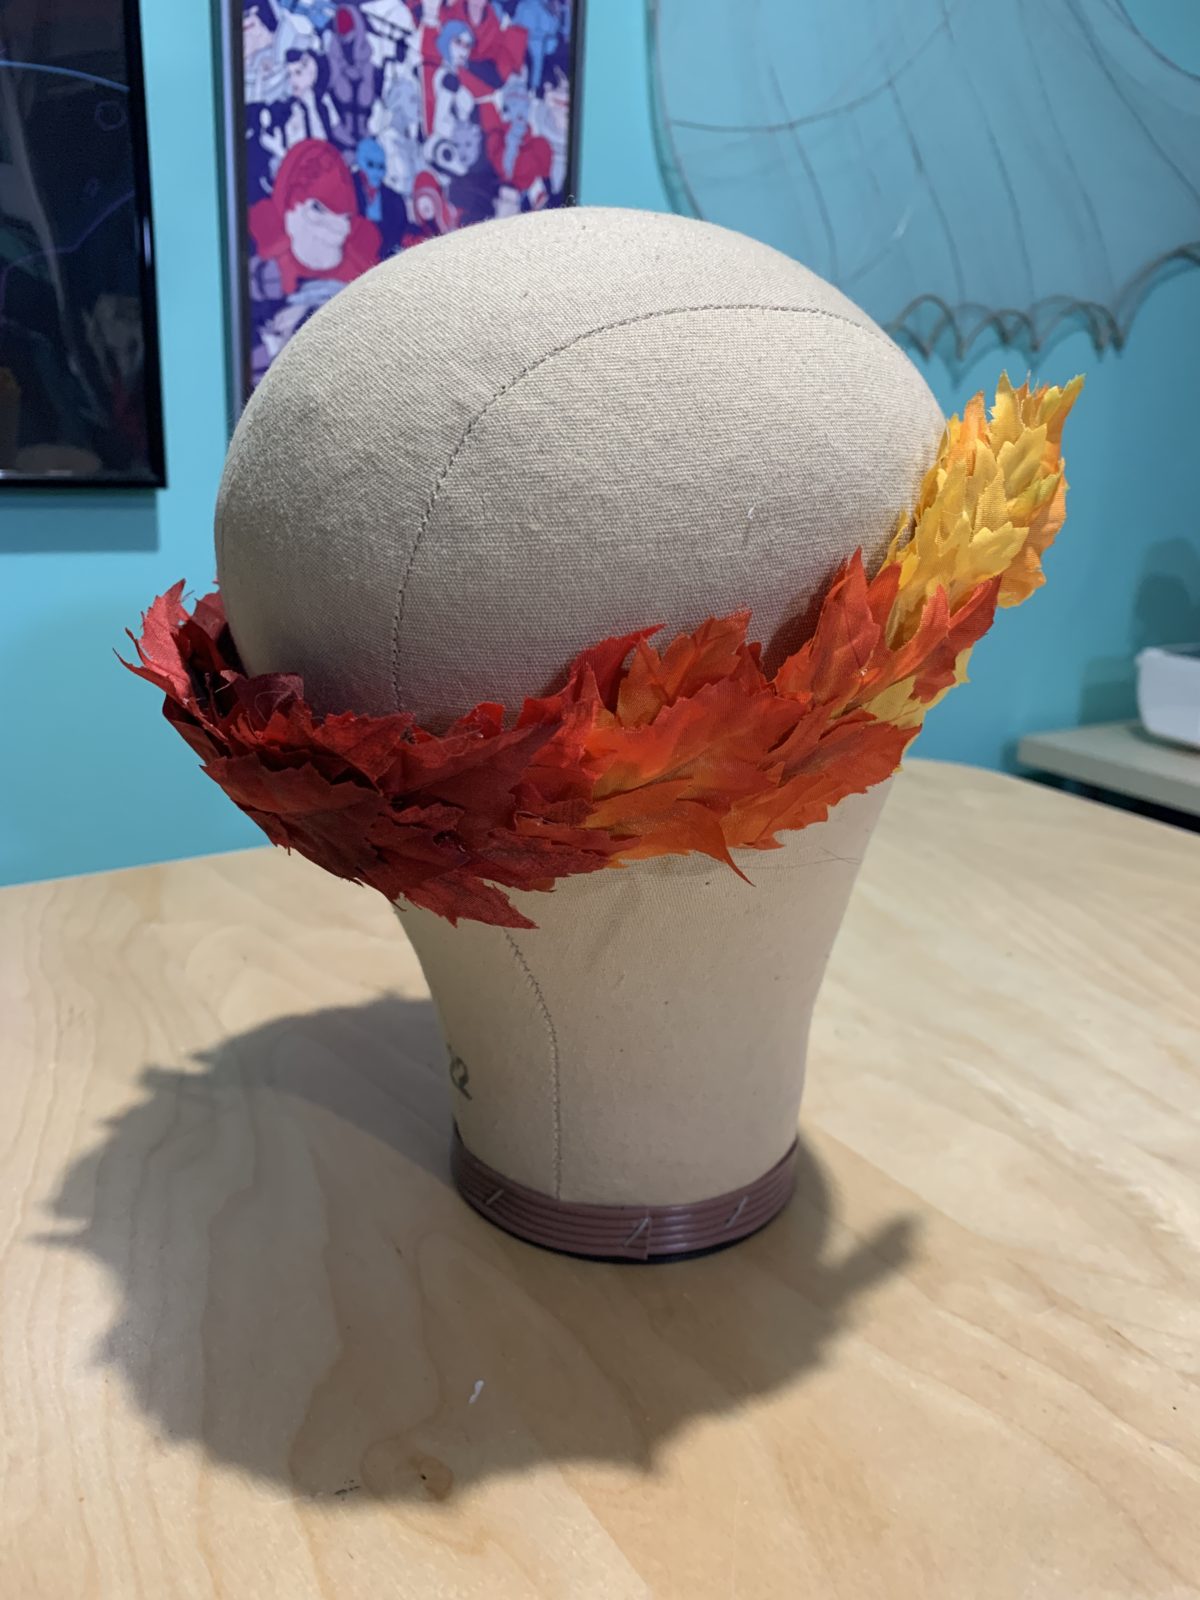
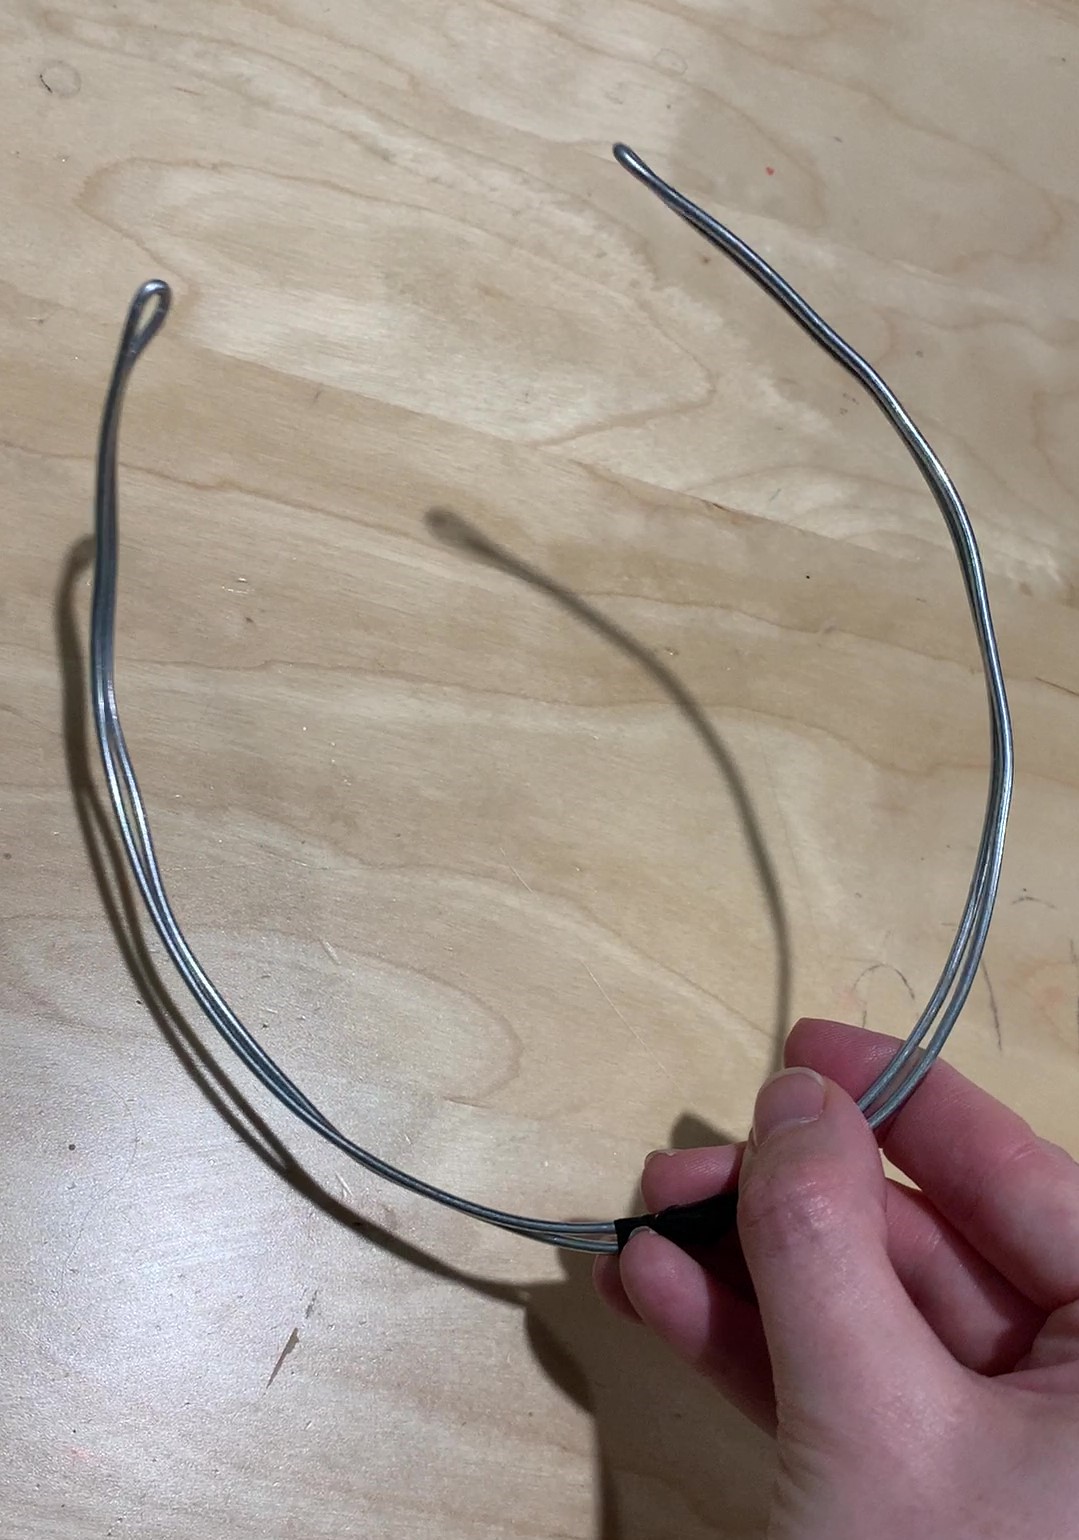
The laurel was made as a base of 12 gauge wire double layered, then covered with 2mm EVA foam, to both make it more comfortable and give a surface to adhere the leaves. The leaves were made with pre-purchased red, yellow and orange fake leaves which were cut to the right shape and then glued in overlapping layers.
Sword
The sword is made with a base of EVA foam covered in Worbla, and then painted Plaid FX paints. For more detailed information on making the Nemesis sword check out the tutorial video.

