I’ve said this before, but I really love doing group cosplays. There is something so fun about having a bunch of people running around from the same show, the sense of camaraderie is excellent, so of course when Steph wanted to join me as Mermista as was incredibly excited to build part of her cosplay!
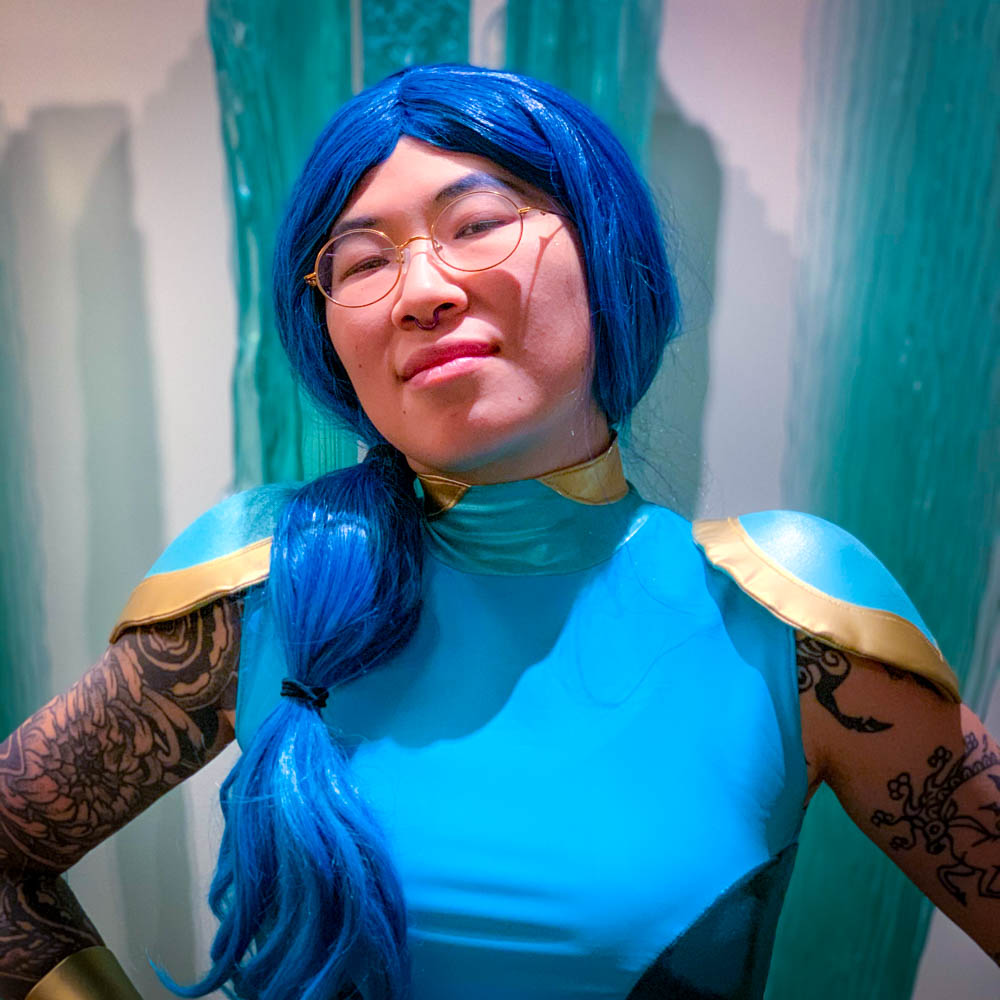
Steph definitely had Mermista’s “Ugh I am so over this” look down to an art, everyone loved it when they took pictures (including me)!
This cosplay and tutorial was made possible by my generous Patrons, head over to Patreon to check out the full set of photos, exclusive wallpapers and many other rewards.

For a visual walkthrough of how we made Steph’s Mermista cosplay, check out my video:
If you are looking for information on how I made She-Ra head to my other tutorial post.
Purchase the pattern for this cosplay in my store.
To jump to a specific portion of the cosplay:
Body
The first big challenge with making Mermista was picking the fabric, her outfit has three different shades of blue and coordinating the differences between them so all the materials still looked good together was tricky.
We decided to use a Mystique dot pattern for the dark blue sections, a lot of cosplayers use a scale style pattern but Steph wanted something not quite so busy but not completely matte, the mystique was a good middle ground for this to reflect the slight texture on this part of the outfit you sometimes see in the show. We purchases the Mystique Foiled Spandex in Emerald/Blue, which gave a great deep greenish blue color.
For the lighter blue we went with Matte Nylon Spandex in Light Turquoise. I purchased them online from Blue Moon Fabrics (without getting swatches but luckily they worked super well together). I used about 2 yard of both fabrics. lastly the lightest teal was the Matte Mystique Fabric in Mint from Joann, about 1 yard.
For the gold I used about 1 yard of Yaya Han Pleather Fabric in Gold, I liked the more matte gold for this cosplay to contrast the high shine of the Mystique.
Top
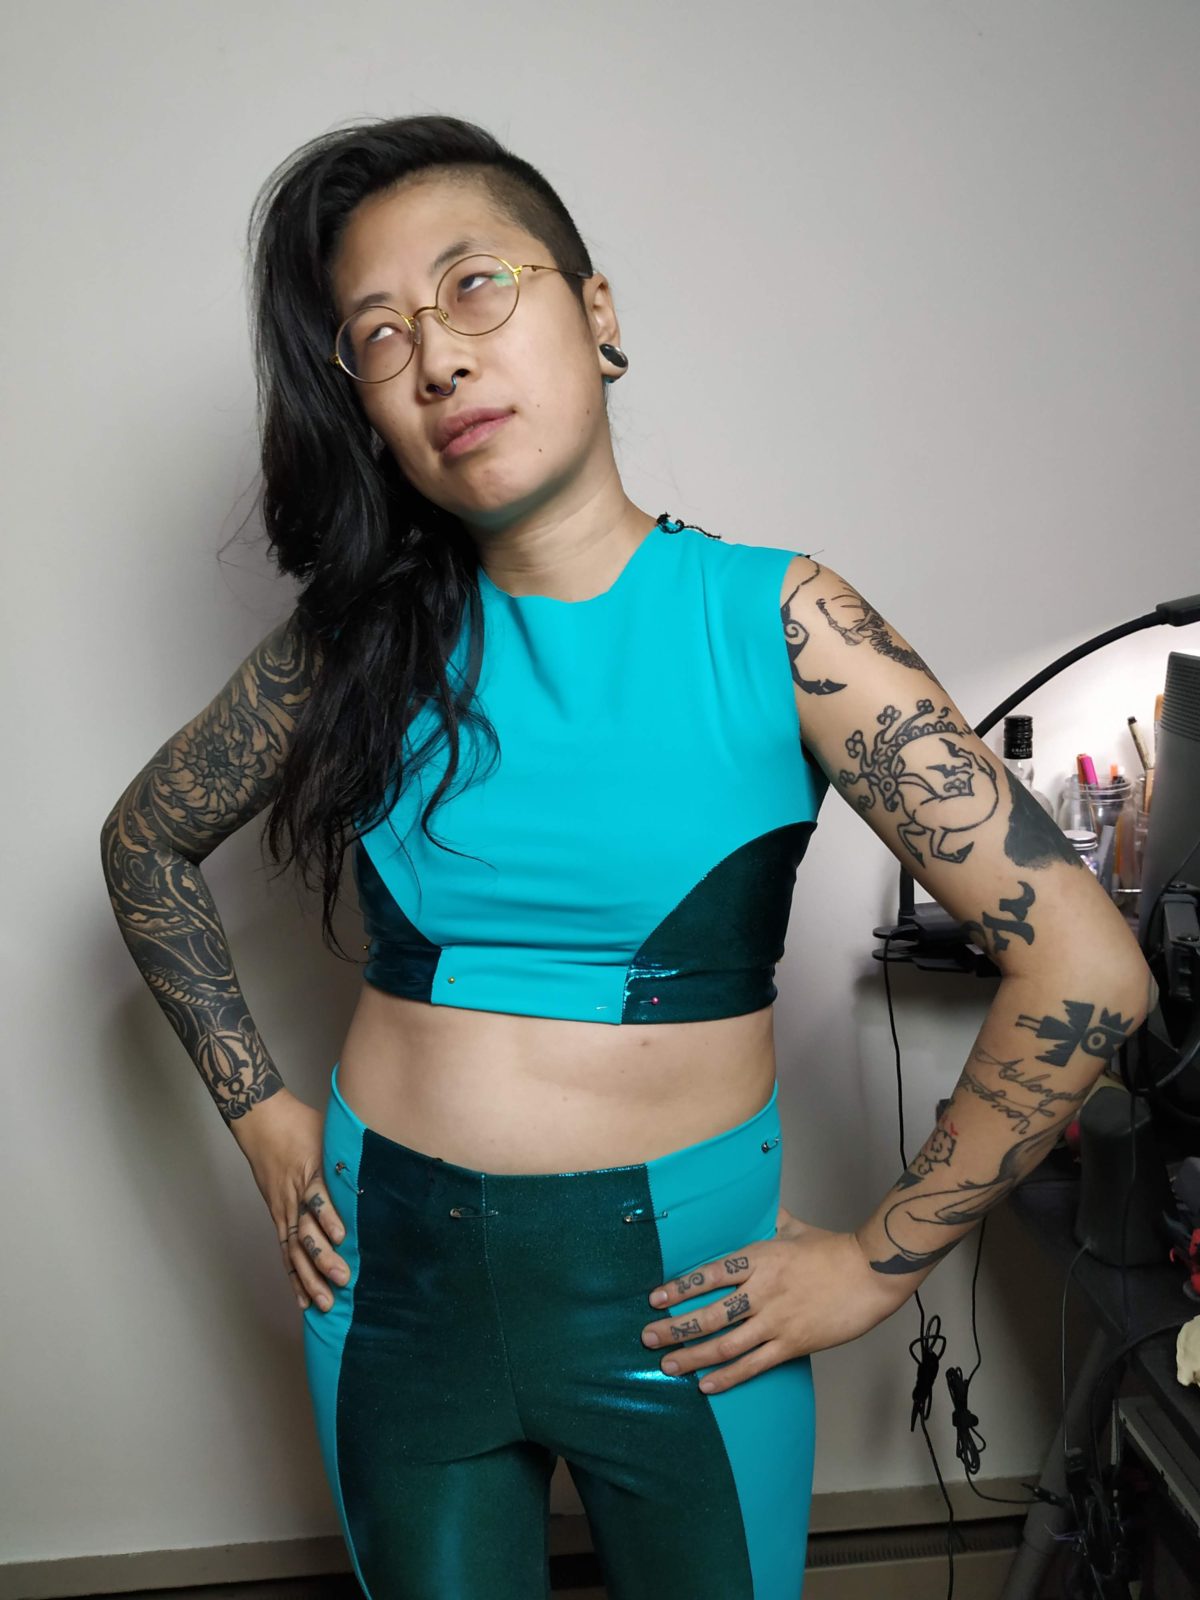
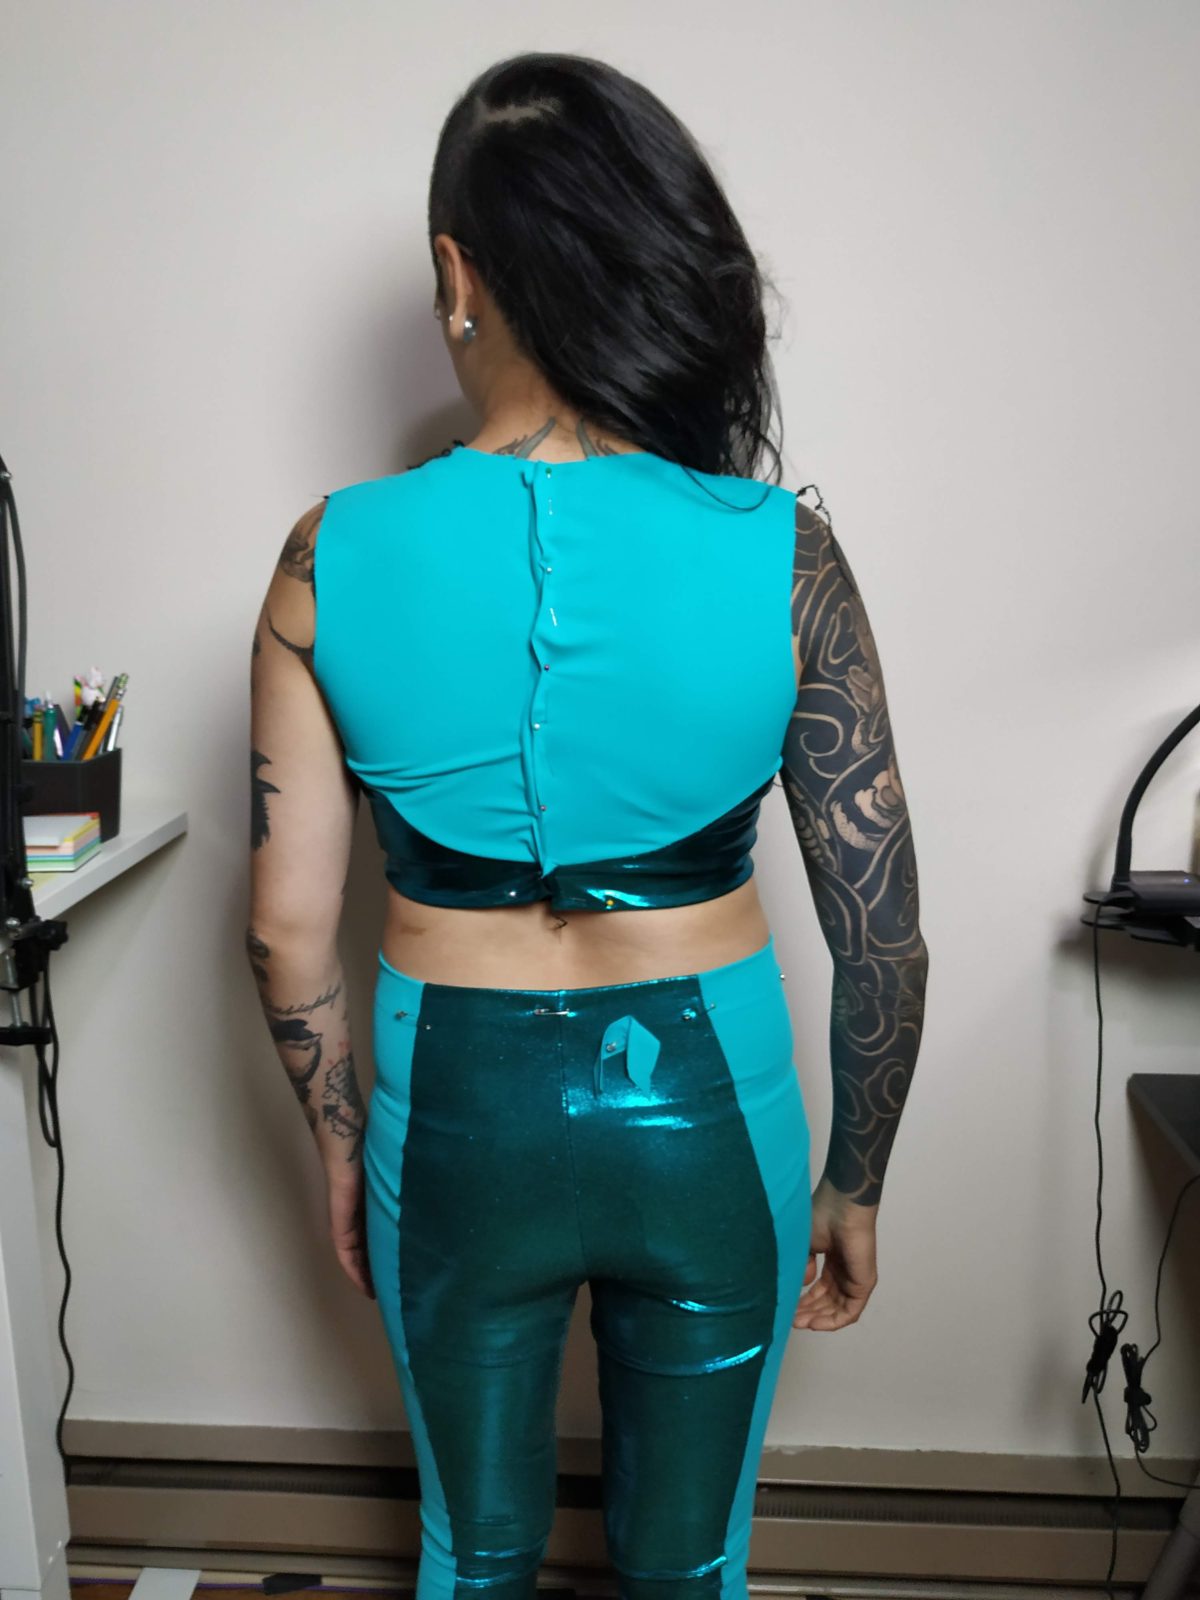
I started with a very basic two piece block for the top, and then drew on the lines for the different colors, and cut each of the pieces out of the fabric. I stitched the turquoise fabric to the dark teal, making two pieces for the back and a single piece for the front. I then sewed the back pieces to the front at the side and shoulder seams. Steph was very obliging in going through a few fittings.
Next I drafted a simple collar, and cut it out of the light teal fabric. I used Wonder Under to stabilize the gold portions to the collar and then top stitched them in place. Once the gold was attached I then stitched the collar to the neckline of the shirt. Lastly I added a zipper to the center back, only about half way down (enough to allow is to slip on over her head), and hemmed the bottom of the shirt and arm holes.
Pants
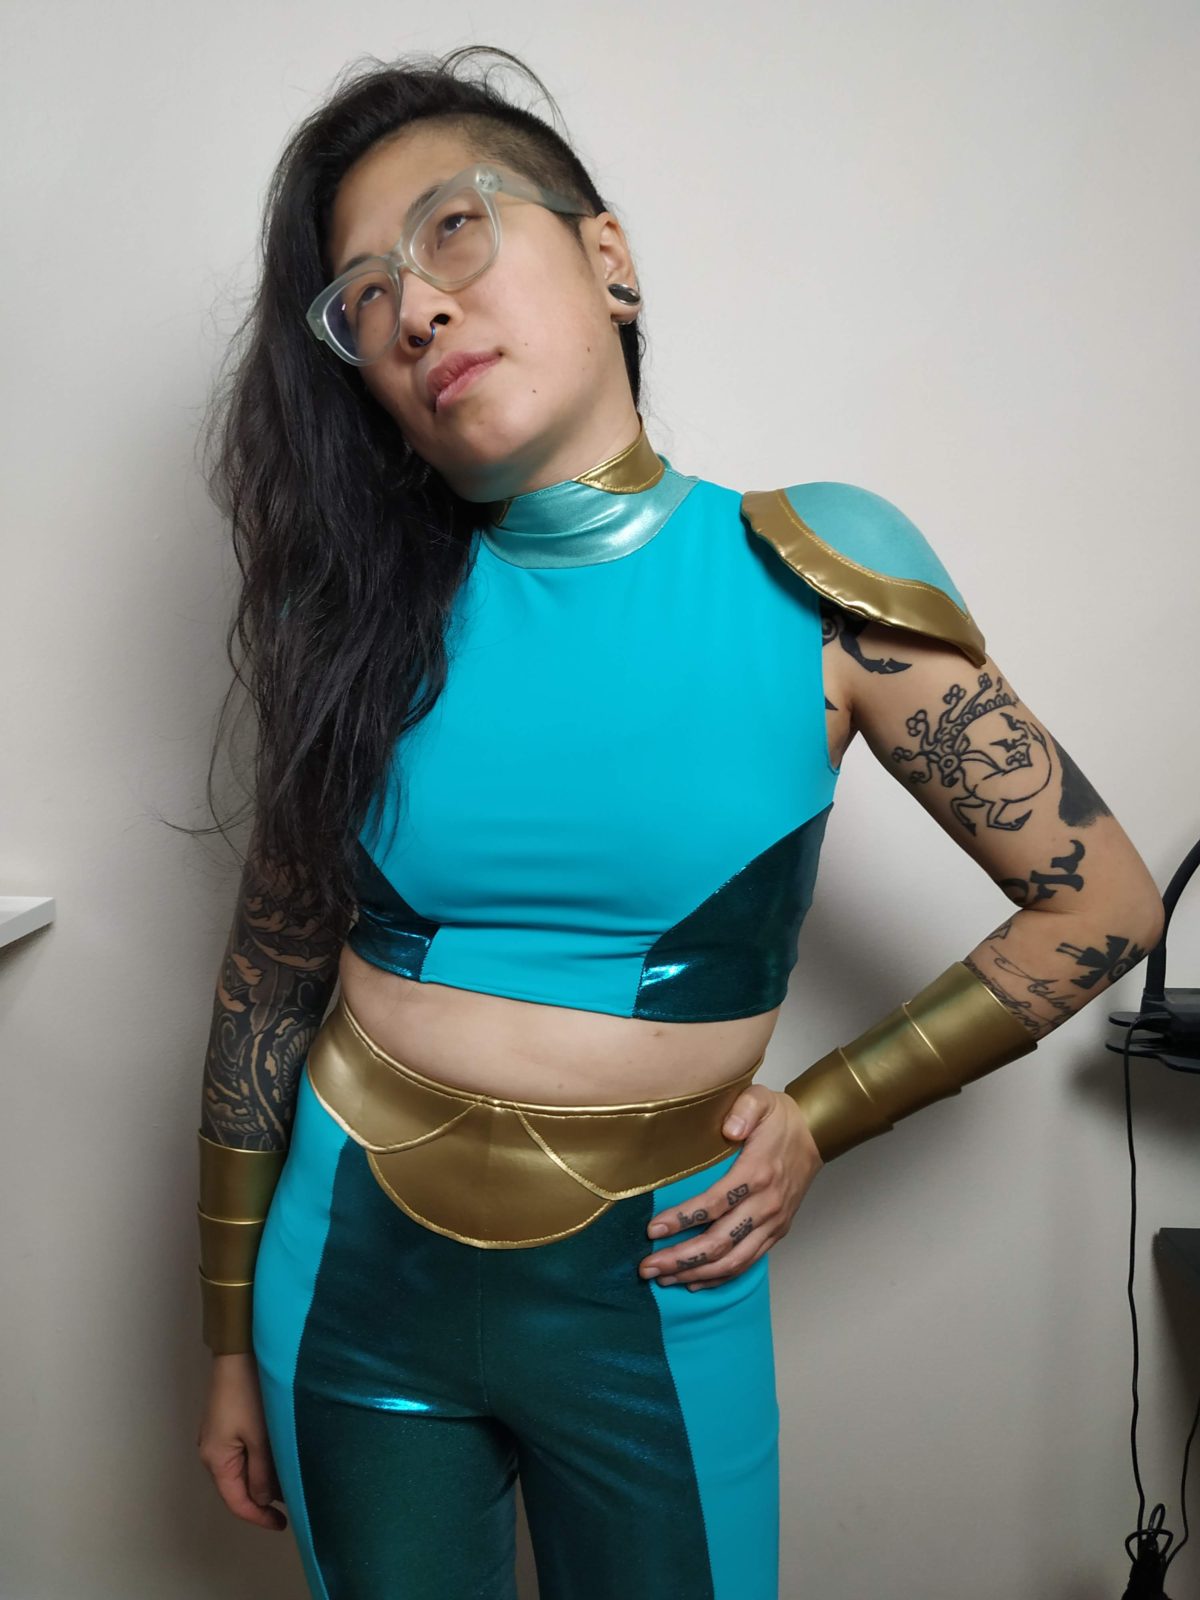
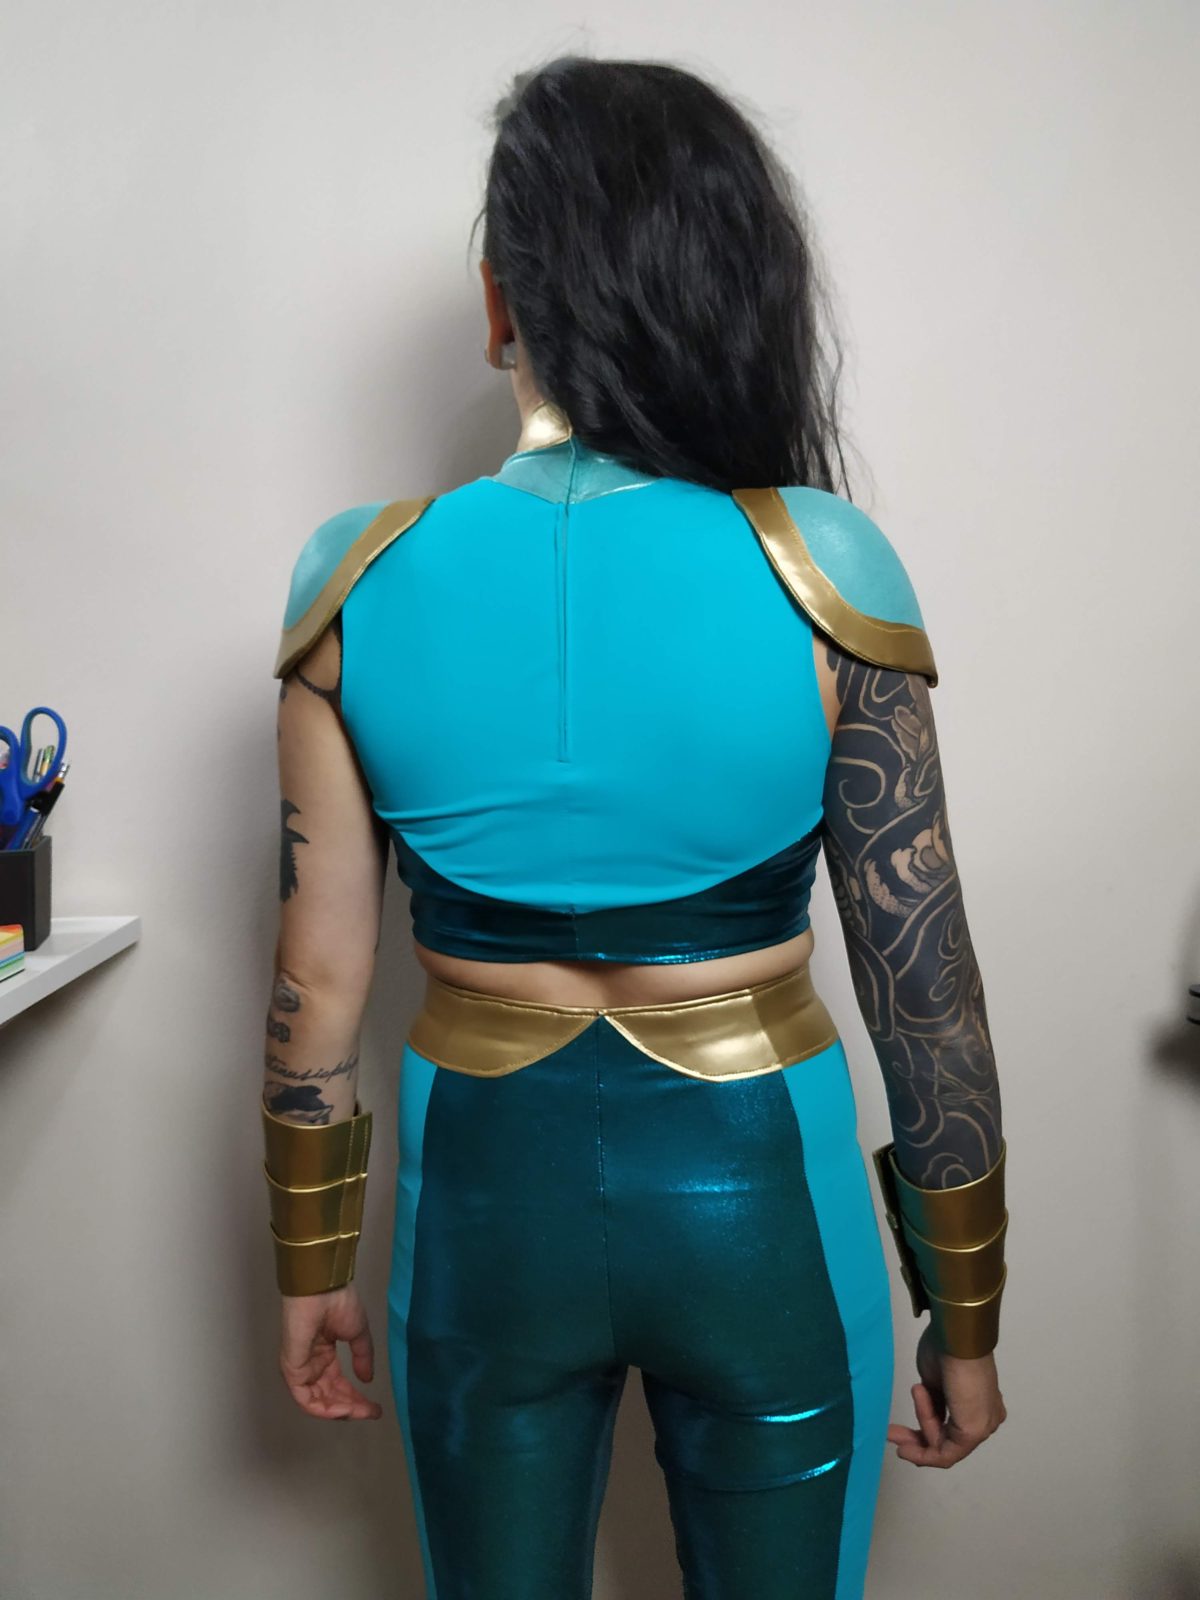
For the pants I started with a basic legging pattern with only a inseam and no side seam. I traced the pattern, and then marked the middle third of each leg, which would be the lighter teal. I cut out each part of the leg and restitched them into the two leg pieces before sewing the legging legs together. I ended up having to do a lot of fitting of the legs to make them super snug. The waistband was finished with 1in of elastic to help keep it secure.
For the gold portion, cut out three pieces, two on each side and one center semi circle. I used Wonder Under to stabilize and top stitched the center circle down first, then each of the two side sections, before folding over the top edge and top stitching. Be sure to use a stretch stitch for this, so the elastic can still stretch! I finished the bottom of the leggings with a simple hem.
Armor and Accessories
Shoulders
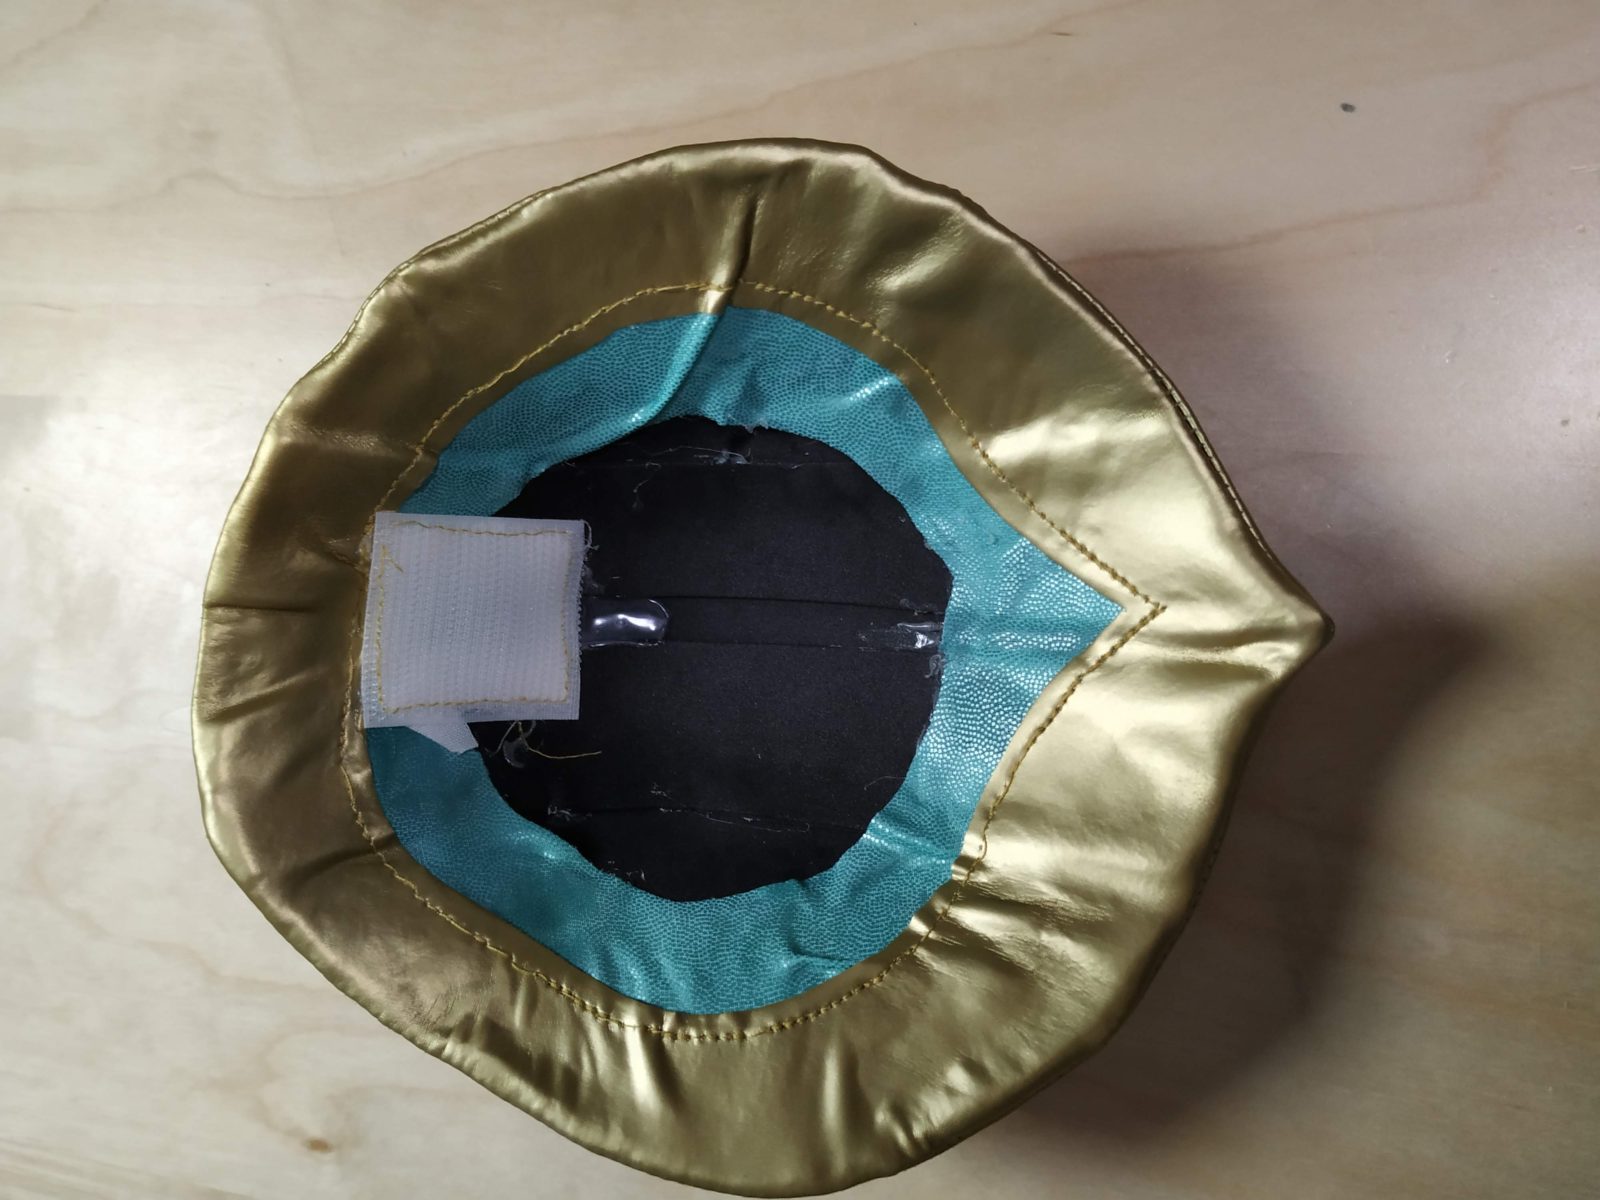
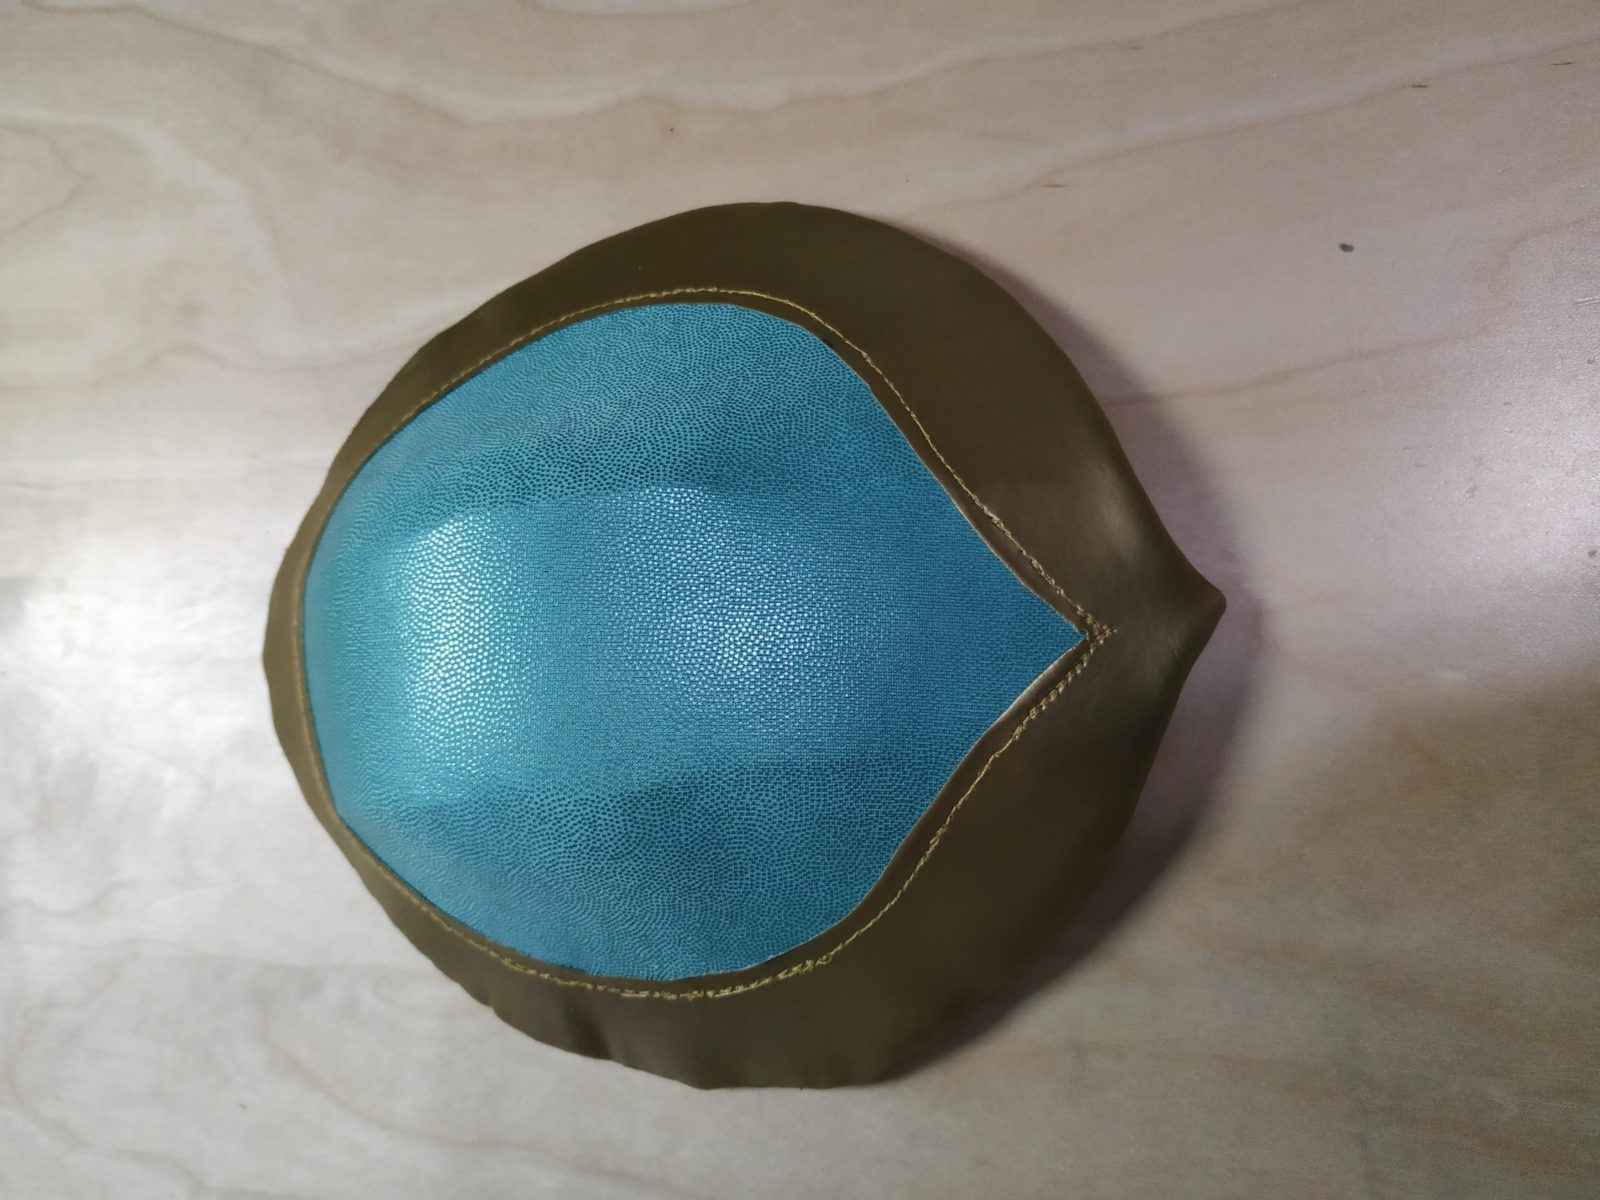
The shoulders were made form 2mm EVA foam using Kamui Cosplay’s Tight shoulder Armor pattern. Steph added some extra EVA foam strip under each of the seams for stability, as well as trimmed the shape slightly to get the nice pointed tips.
I then made the fabric covers. I cut out two pieces for each shoulder, of the light teal fabric, using the outline of the armor pieces as my guide. I then cut out the gold boarders. I top stitched the gold to the teal, and then sewed the the two sections together. Next I cut a big hole in one of the sides, big enough to slip the foam into. I stretched the cover over the foam and glued it in place on the inside using hot glue.
The shoulder pieces stay on with two large pieces of Velcro glues to the inside of the foam and the other part stitched to the shoulder of the shirt.
Bracers
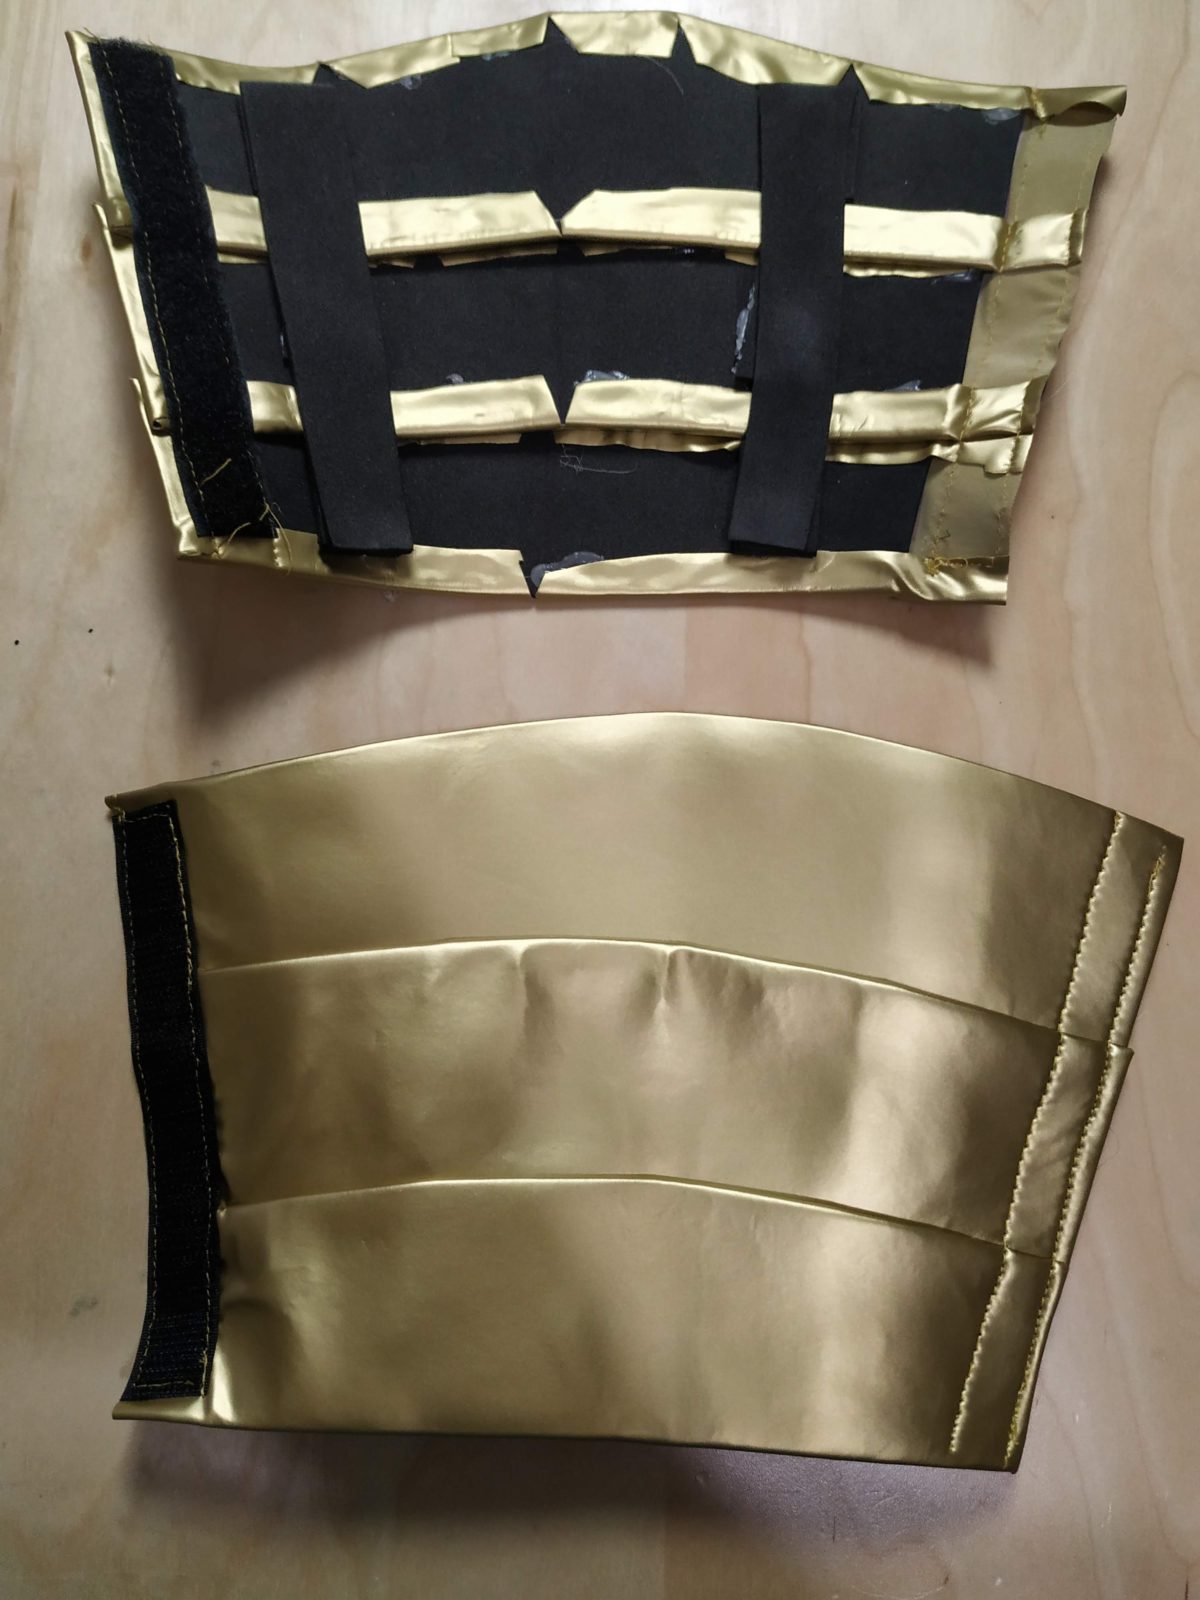
Steph made the bracers using 2mm EVA foam, basing them off the Kamui Cosplay layered bracer pattern. She wrapped each of the individually in the gold pleather gluing it on the inside with hot glue. She then attached the three pieces together using a strip of EVA foam on the inside.
We used a strip of Velcro to close the bracers into a loop. I actually stitched one side directly through the foam and fabric, and the other side to a flap of gold pleather she left on the edge.
Wig
The wig was purchased online, I used a little back combing and hair spray to add some volume to each of the sections.
Shoes
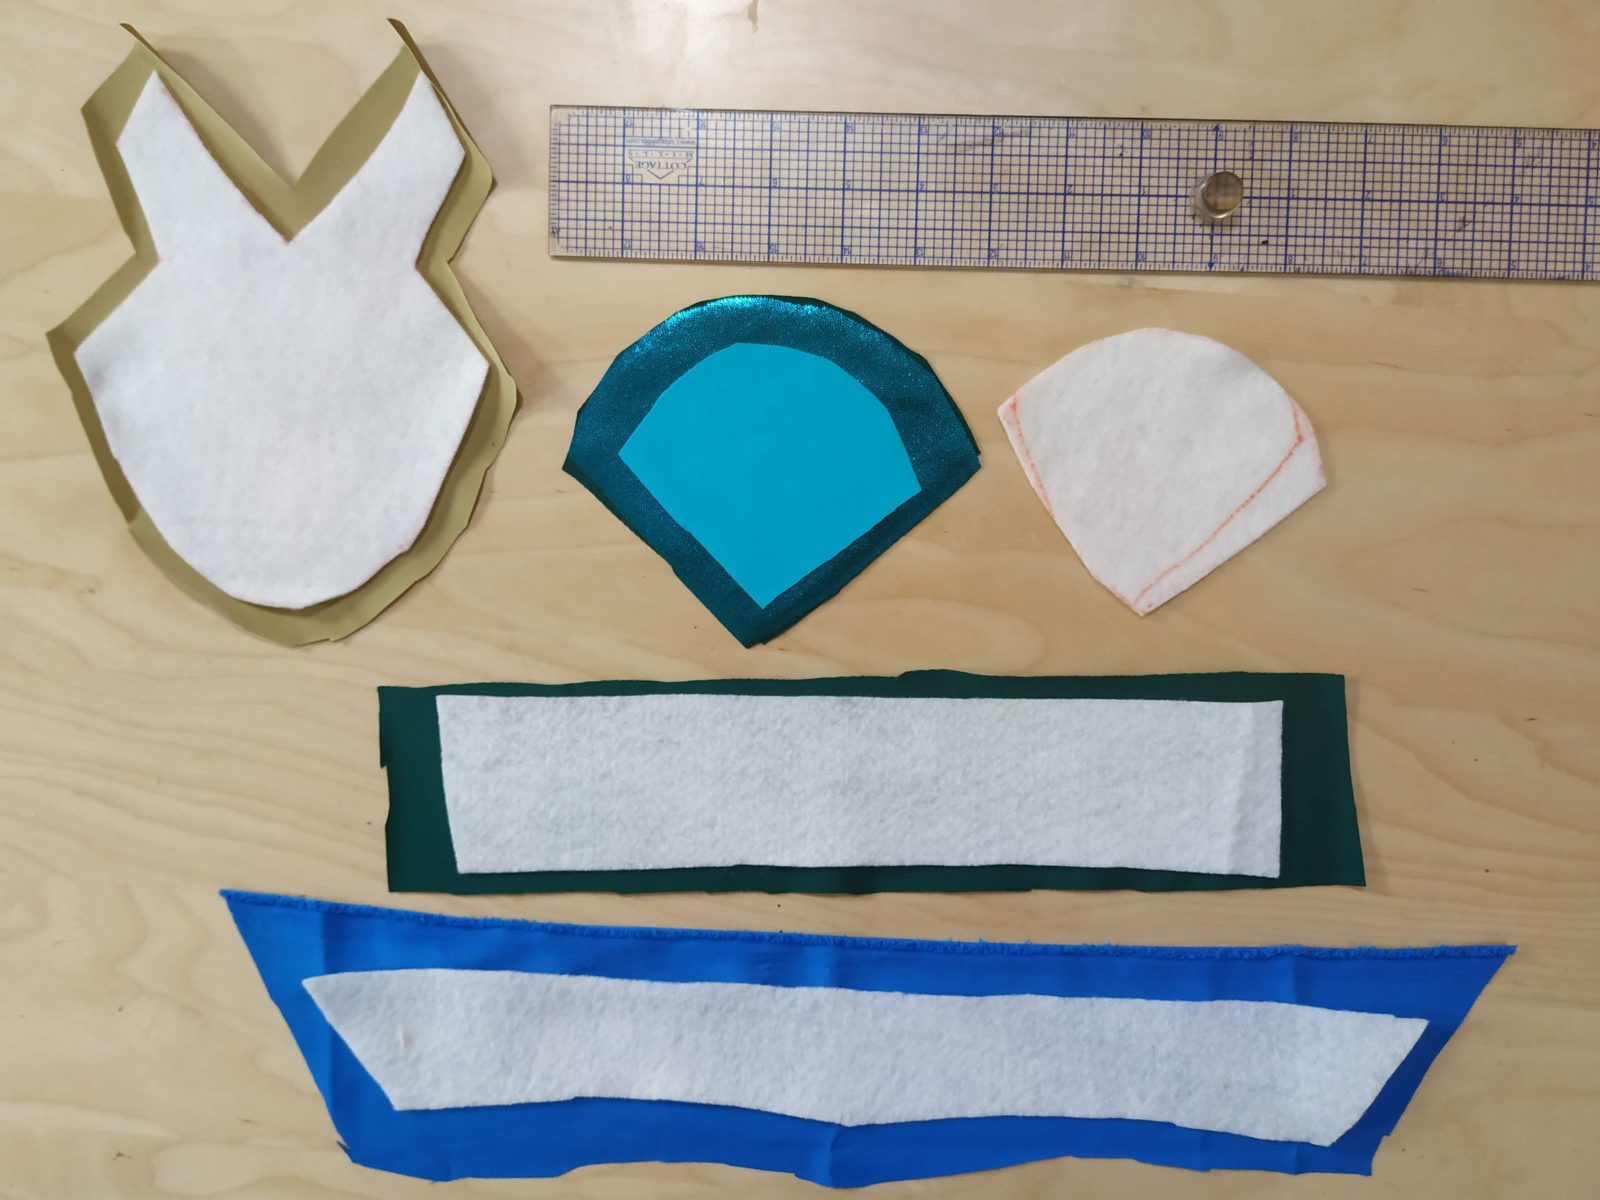
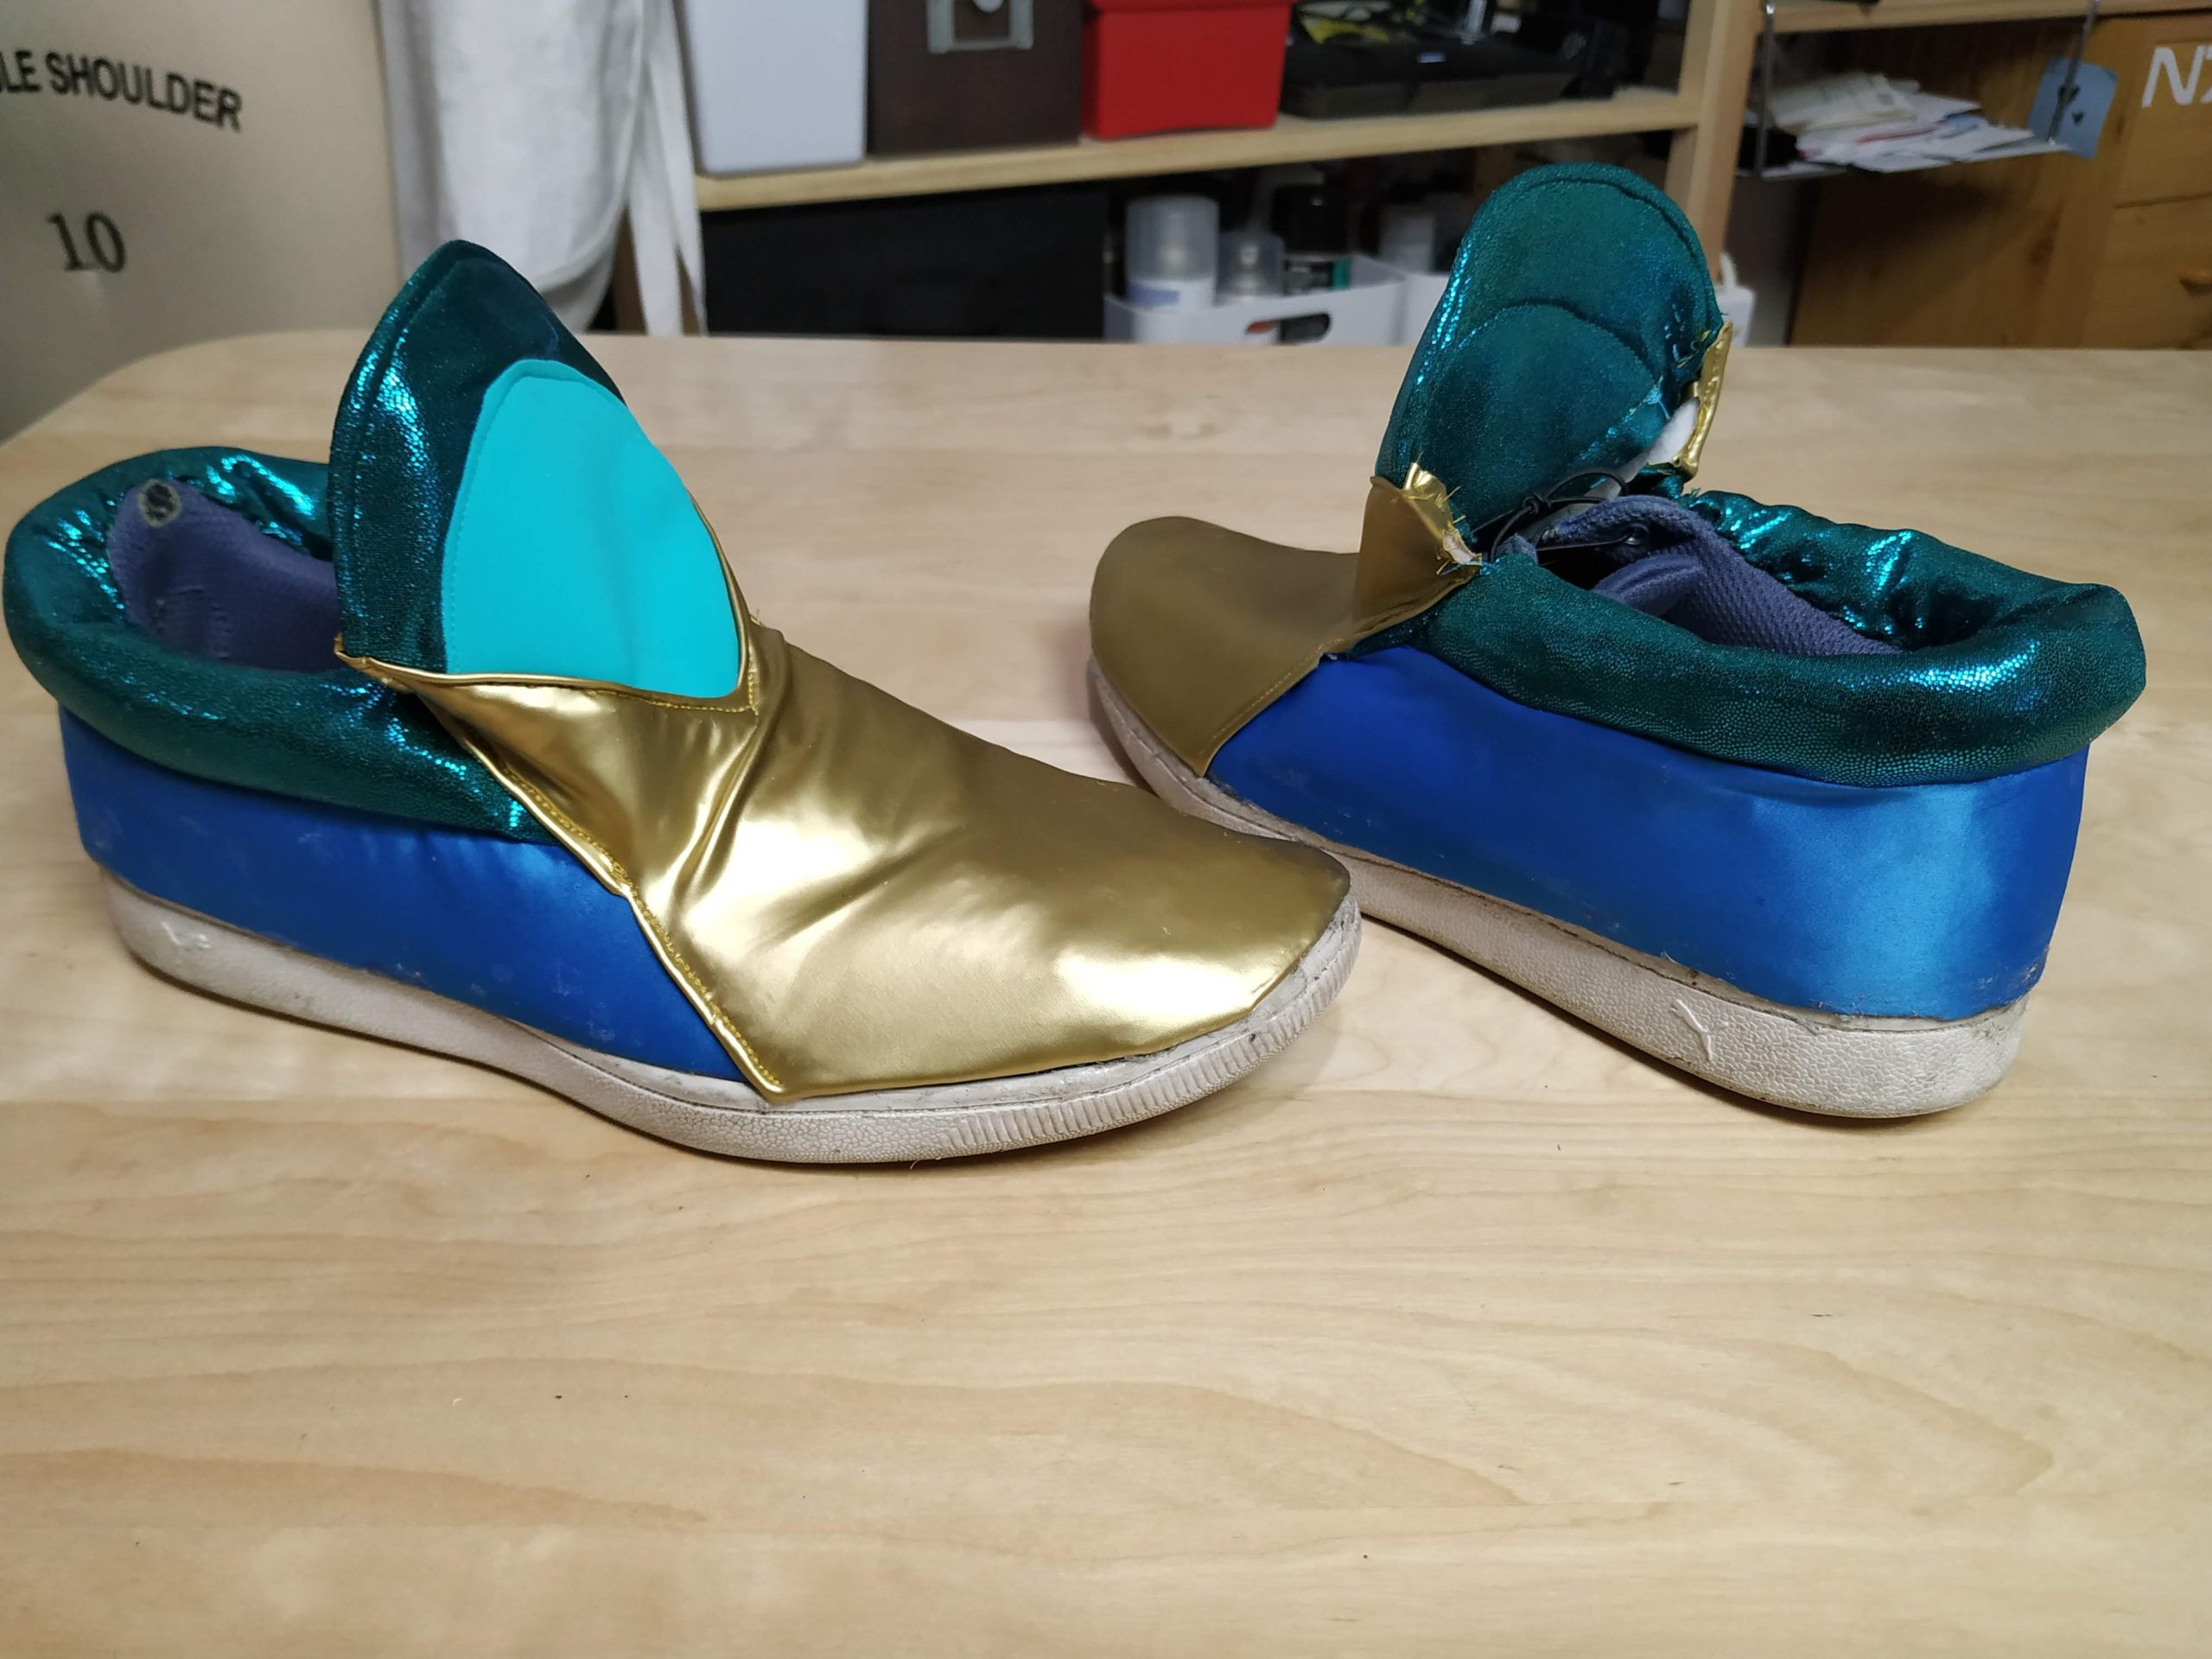
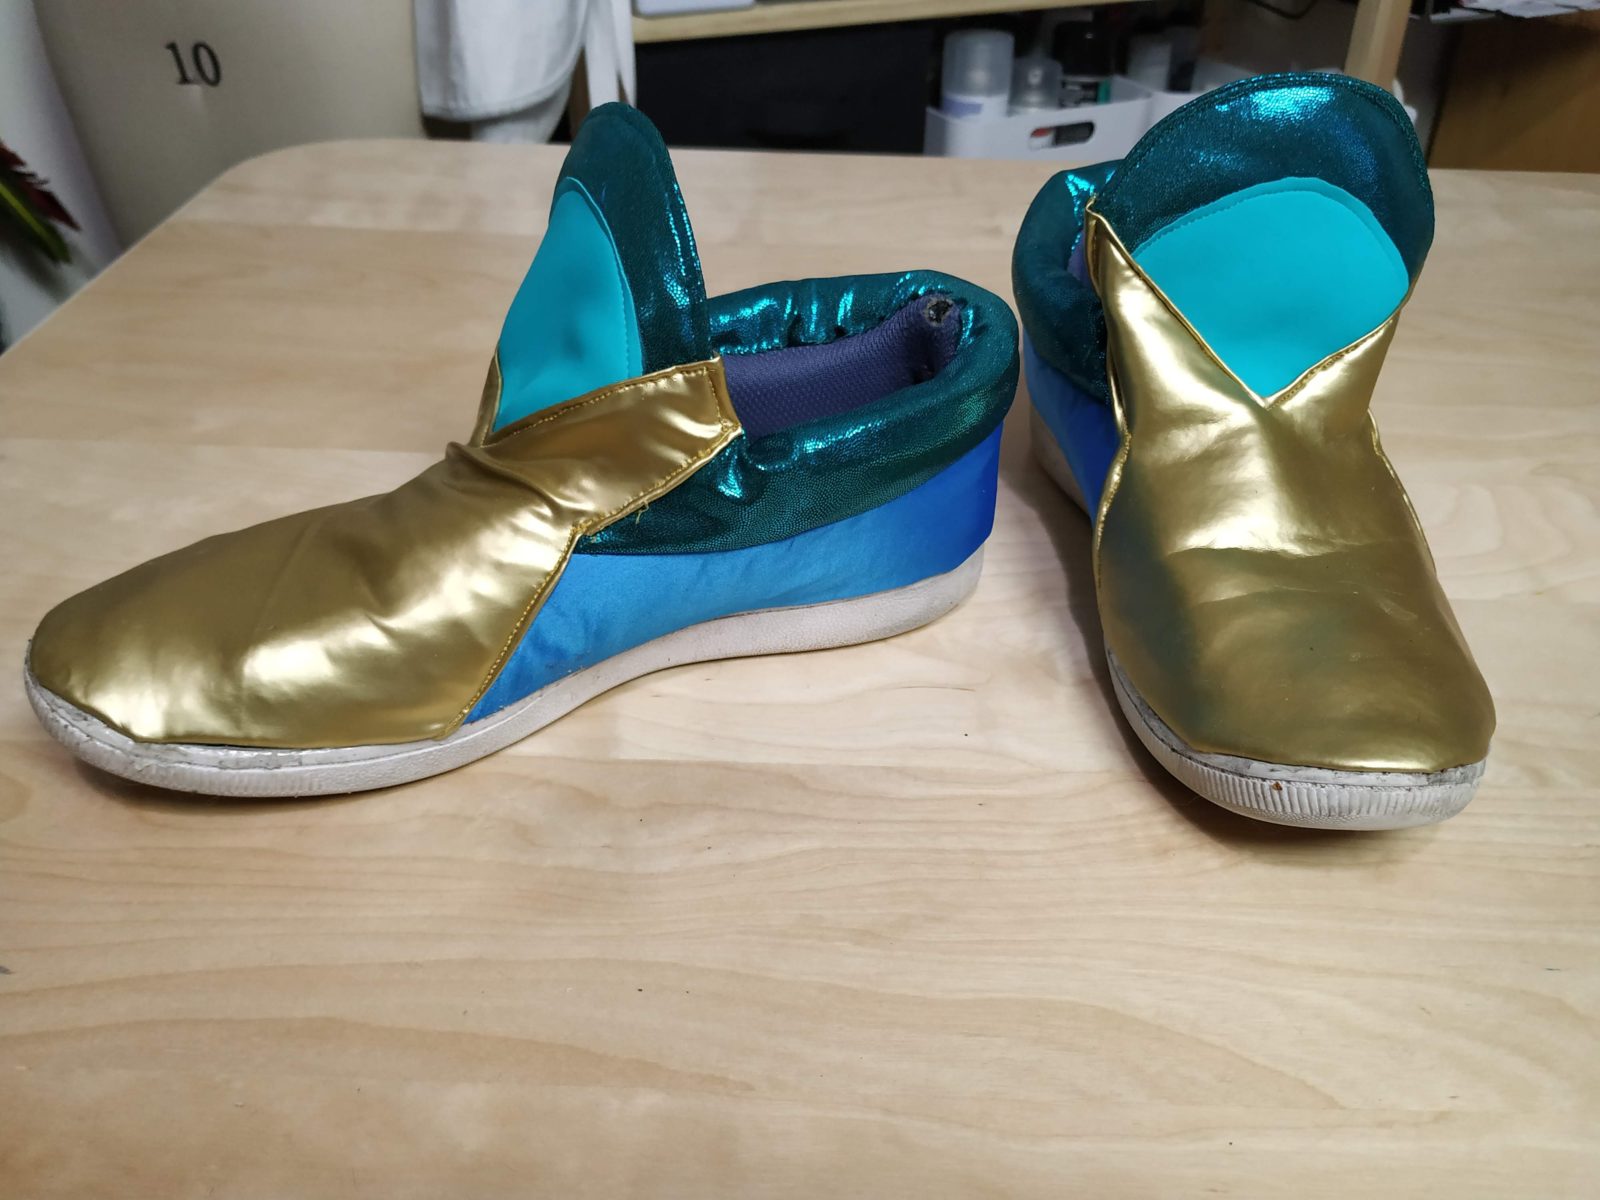
I built the shoes on top of an old pair of sneakers. It took a fair amount of trial and error… I drafted the pieces by draping felt over the shoe, I then cut out those pieces from the felt and wrapped them in fabric, and stitched them together into sections. I used a little bit of stuffing to add the pood on the dark teal section.
I then glued the sections directly to the shoe with E6000 and stitched them in place around the opening. The original laces of the shoes had been replaced with elastic so the shoes were essentially slip on.
