Making Diana Cavendish was a fun sewing challenge, for the most part it was familiar skills but there were a couple of interesting problems I needed to figure out as I went. Overall, I was incredibly pleased with how the cosplay turned out, and had a great time wearing it at my first ever Sakura Con!
This cosplay would not have been possible without the amazing support of my Patrons over on Patreon.

If you are looking to make your own Little Witch Academia cosplay the method I used for Diana will work for most of the hooded dress uniforms, with some adjustments to skirt length your more or less good to go. You can head over to my YouTube for a visual break down of the cosplay as well.
Dress
The core of the cosplay is the dress, I started (as I often do) with a princes seam pattern, each of the bodice pieces were extended to a flared skirt, and I used a basic seam pattern flared at the end for the bell sleeves. For the whole dress I made a mock up first to test the fit, or you can use the pattern in my store.
Once you have a pattern to work with you are ready for construction!
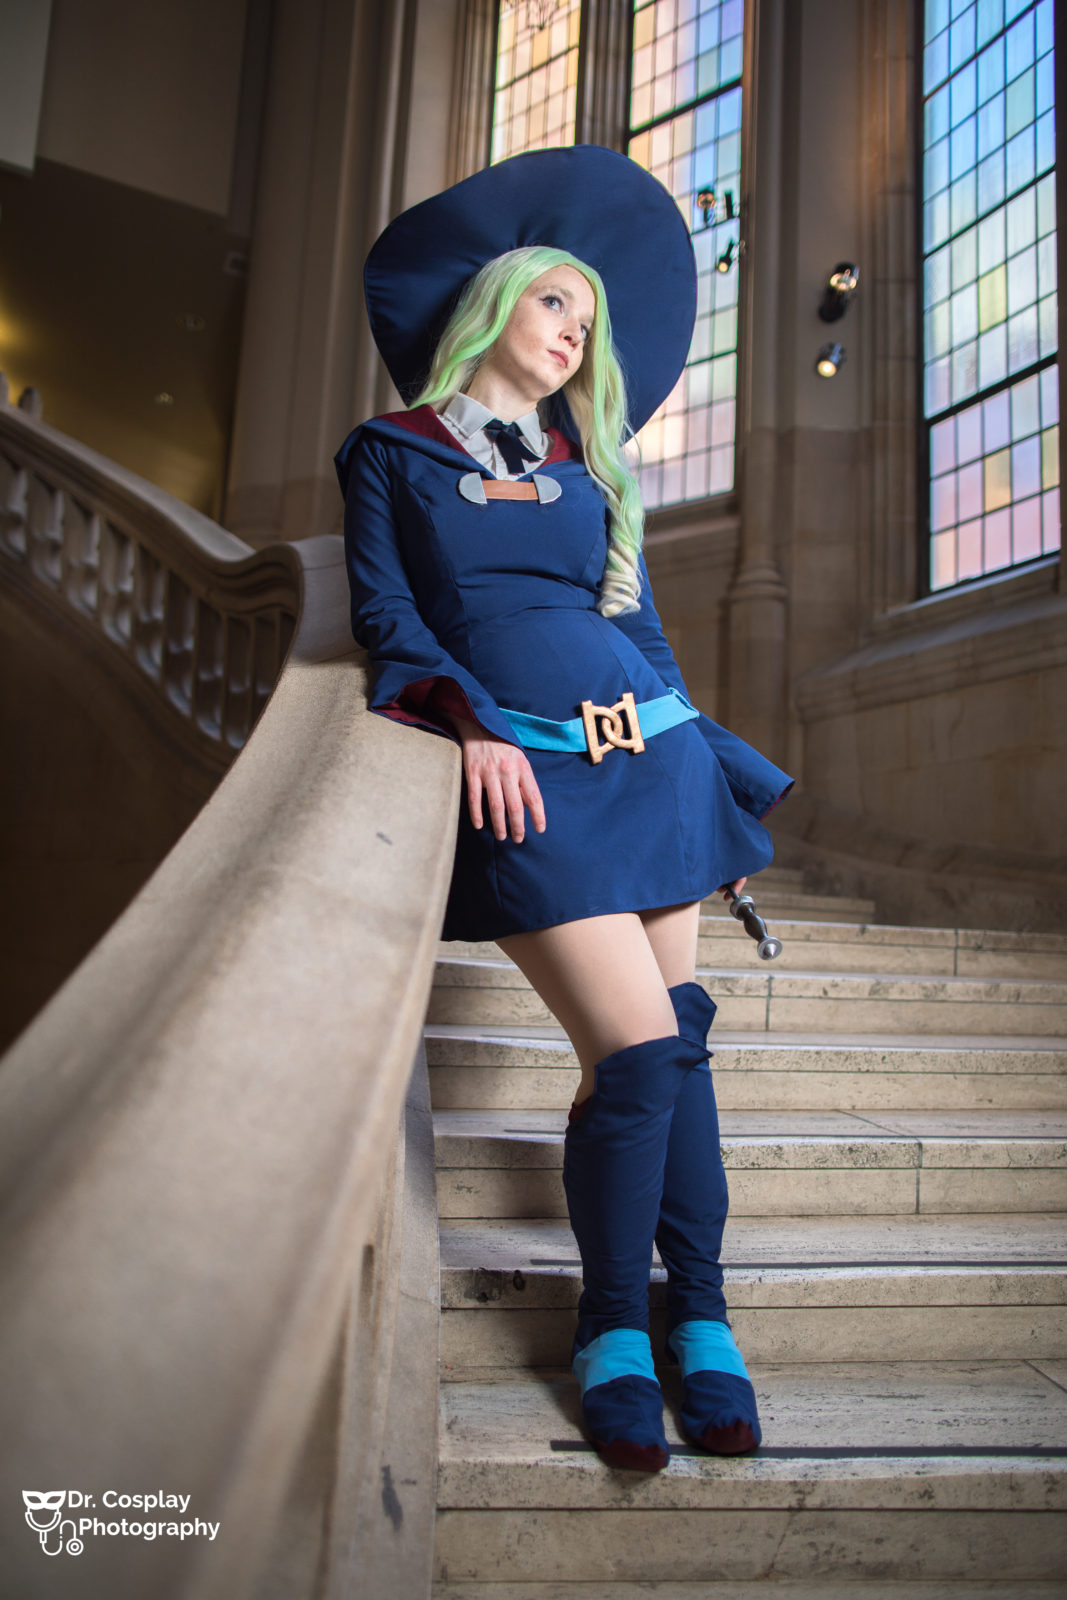
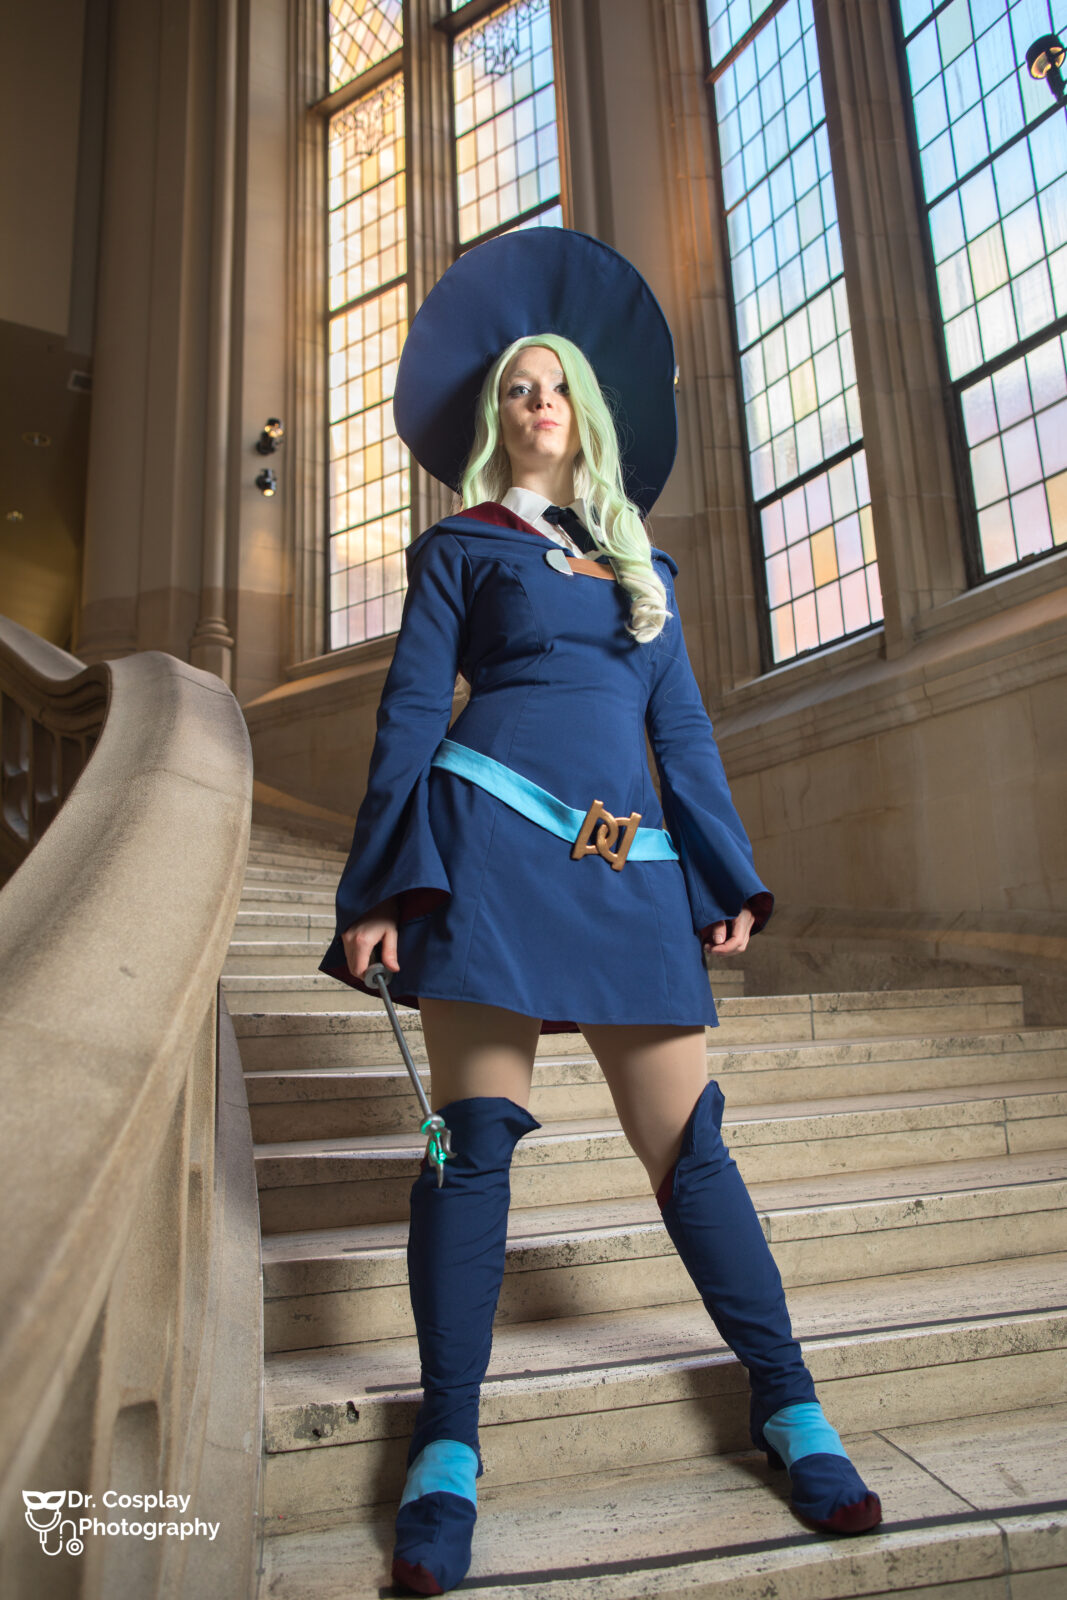
- The exterior of the dress was made from a navy blue suiting fabric, and the interior was a slightly lighter weight matte satin in maroon.
- The pattern pieces for the interior and exterior were identical, once cut out, I sewed each of them together as a dress separately (including the hood and sleeves). So I had two dresses, one maroon, one navy.
- Next I inserted the zipper in the center back seam, by top stitching it in place. First to the outer fabric, and then to the inner fabric.
- I then folded and top stitched the lining to the exterior and the edge of the hood, bottom hem and sleeve hem.
- Depending on how tall you are and which character you are cosplaying you may need to adjust the skirt length longer or shorter.
The shirt was added in separately, to reduce bulk, I took an existing button up white shirt, cut out the collar and chest and stitched it in place using the hood seam to hide where I was sewing it in. The tie was just a navy blue ribbon that I tied in place, it may be worth considering stitching it in place and adding a Velcro closure to the tie instead.
The ‘clasp’ was made out of a strip of folded over pleather, glued directly to the dress. The metal sections was silver pleather folded over EVA foam, and glued in place, before directly gluing to the dress.
Belt
The belt was made from a light blue denim fabric, any matte fabric will work as long as it is the right color, if it is a light weight fabric I recommend stabilizing it with interfacing. The belt pattern is included in the cosplay pattern. The important part is to make the belt curve so that it will sit flat against the hips rather than sticking out.
The buckle is not functional, the belt actually slips on over my head. It was made from EVA foam wrapped in worbla and painted gold, and then glued directly to the fabric of the belt.
Hat
For the brim of the hat I started with a large circle with another circle cut in the center large enough to fit my head, I sewed them together and then turned them right side out and added interfacing in between to give it stability. I also added a wire in the edge of the brim to be able to shape it, and stitched the wire in place at the very edge with a zipper foot to get a tight seam.
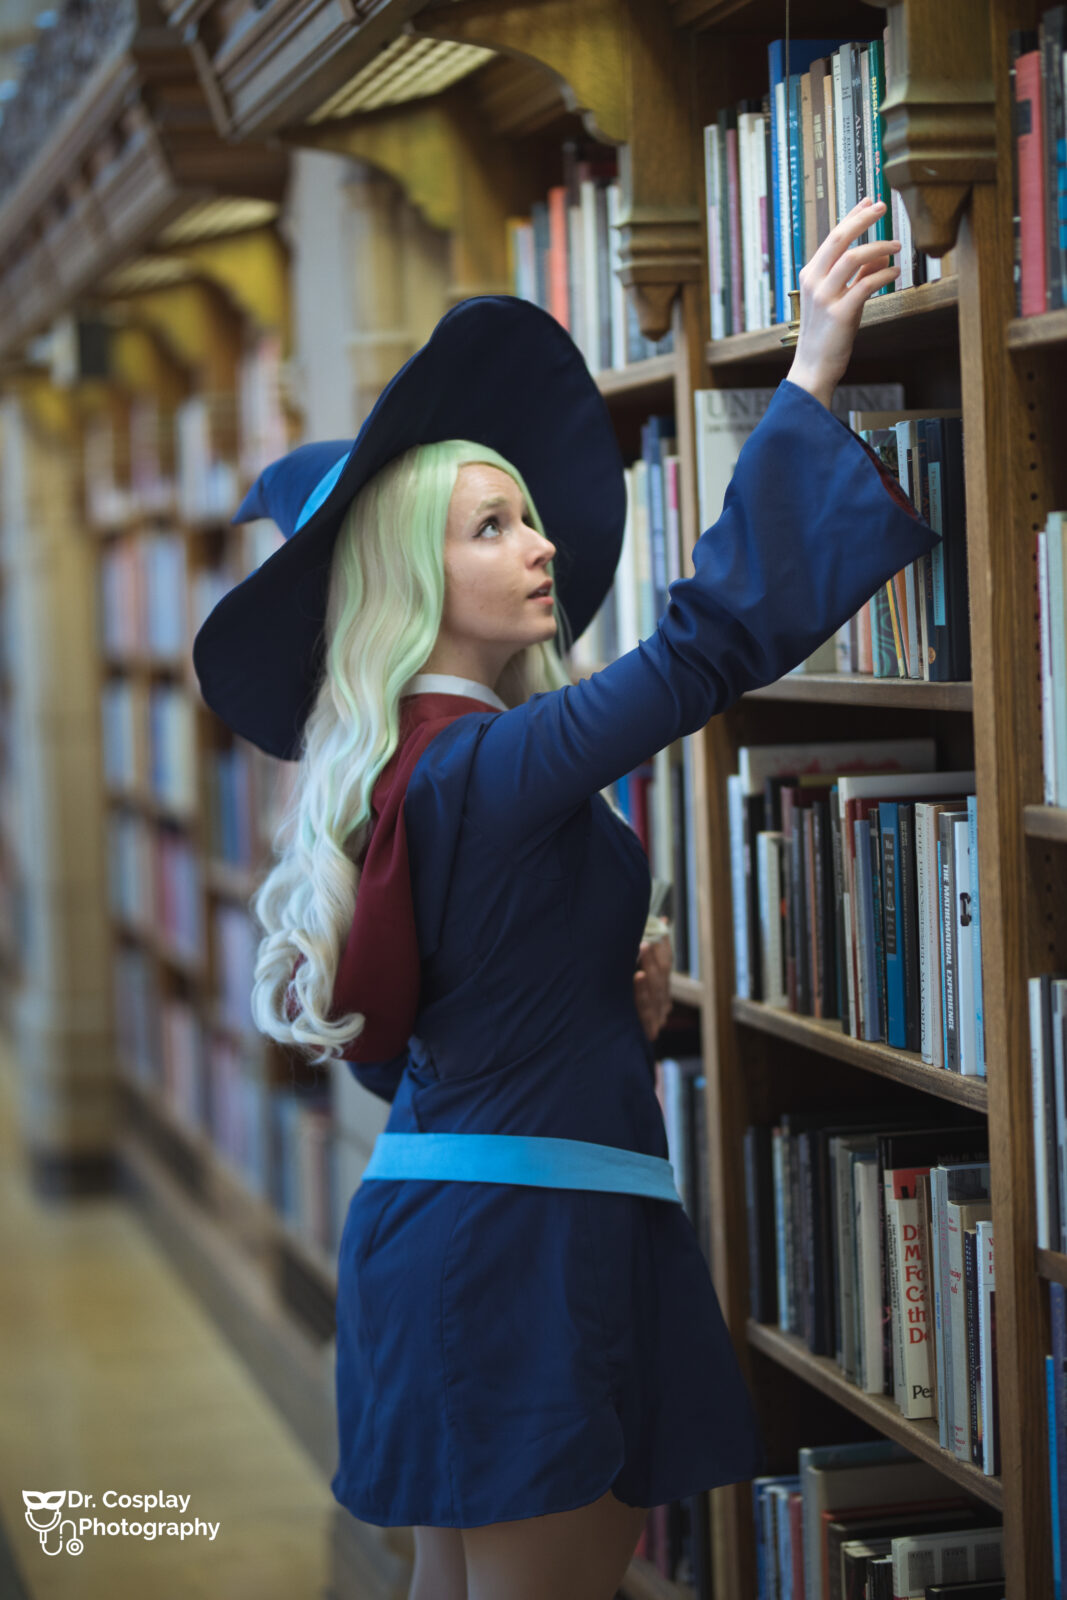
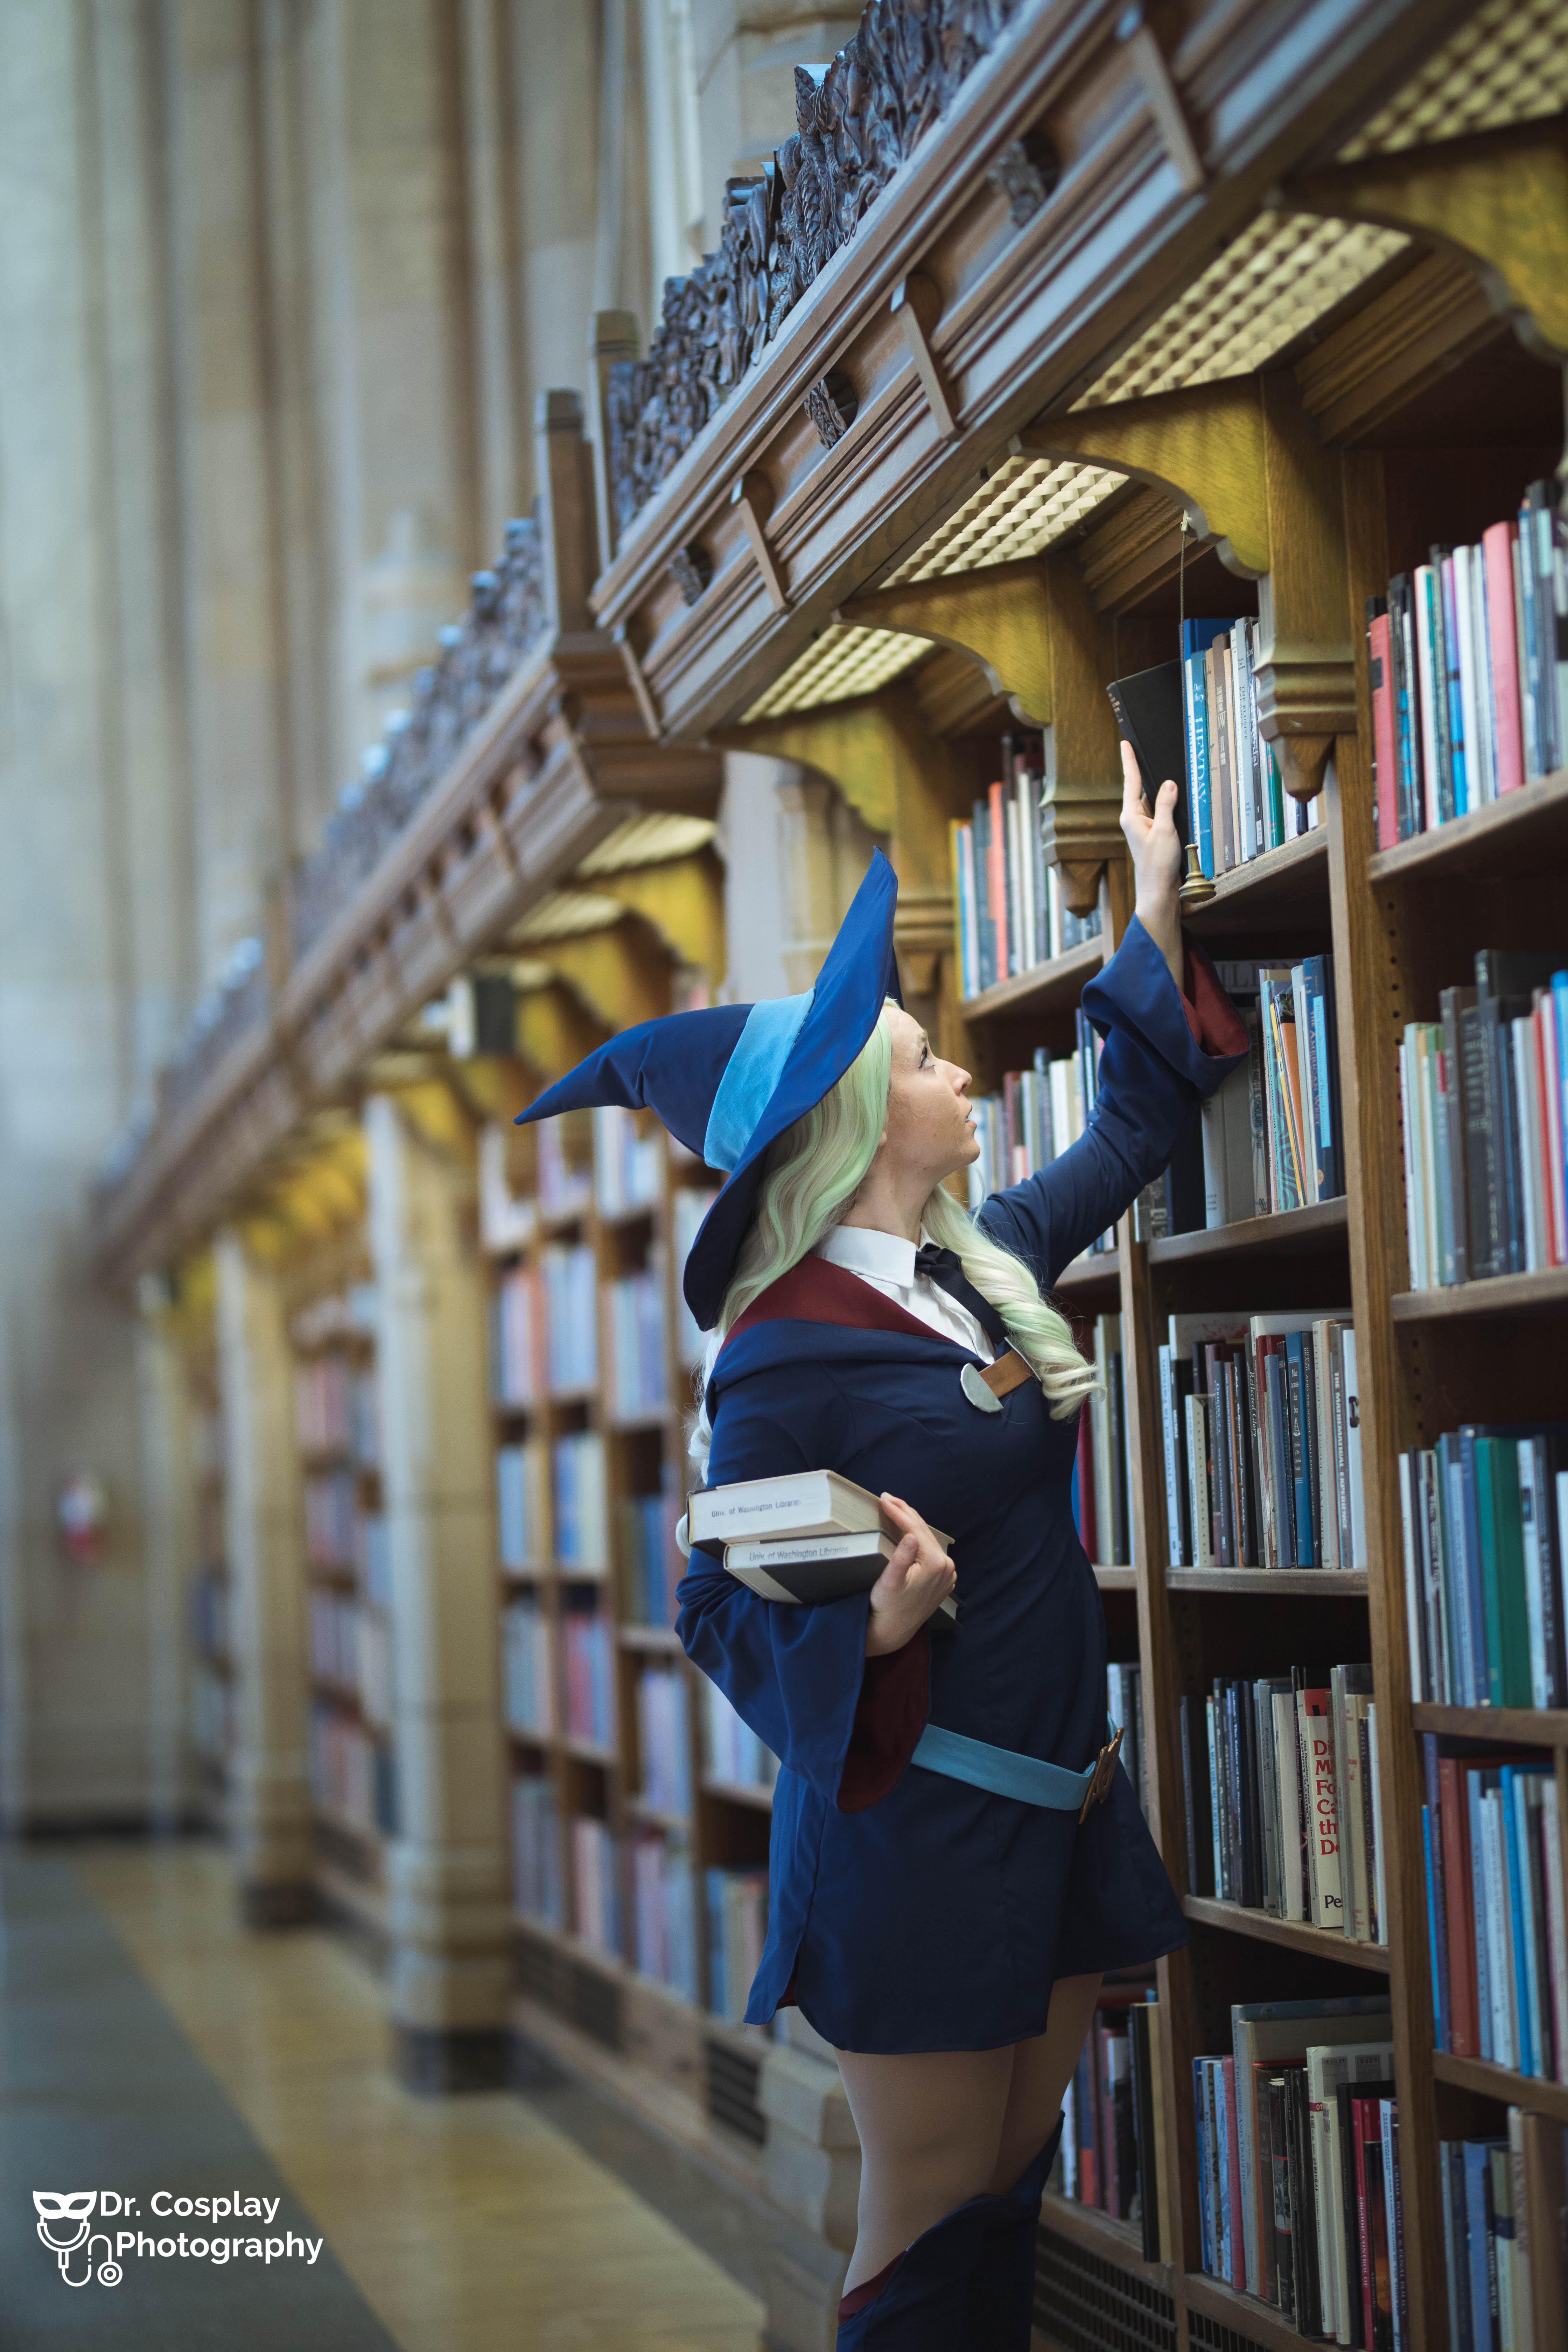
The point of the hat started as a cone with a curved point, I added another dart in the back to keep it flowing towards the back. In the anime the hat has magical properties that mean the point can always be visible, I sadly I had to pick a direction, and chose to have it swoop to the back and sightly to the side. The pattern for the hat is also included in the cosplay pattern.
- I sewed the lining and exterior separately, ironing interfacing to the inside of the lining piece before sewing it.
- I then added some stuffing in the top of the hat to help it keep it;s shape.
- Next I inserted the lining into the exterior so the wrong sides are touching.
- I stitched it directly to the brim of the hat, so the seam was on the inside/ underside, and hand stitched a ribbon on the interior to hide the seam.
- Lastly I added the band out of the same light blue denim as the belt.
The broach of the hat was sculpted out of Sculpey, painted gold and glued directly to the hat.
Boots
I drafted the pattern for the boots by wrapping my leg in cling film and tape, drawing the different pieces and converting them into pattern pieces after I cut myself out. I used heavy duty interfacing to make the boots stable, and added a zipper on the interior to allow me to slip in and out of the boot covers.
The boot covers involve a number of similar shaped pieces, and I am pretty sure I mixed up which was which at one point as one of them ended up oddly twisted… But they work great as long as you don’t mix up your pieces!
Finishing Touches
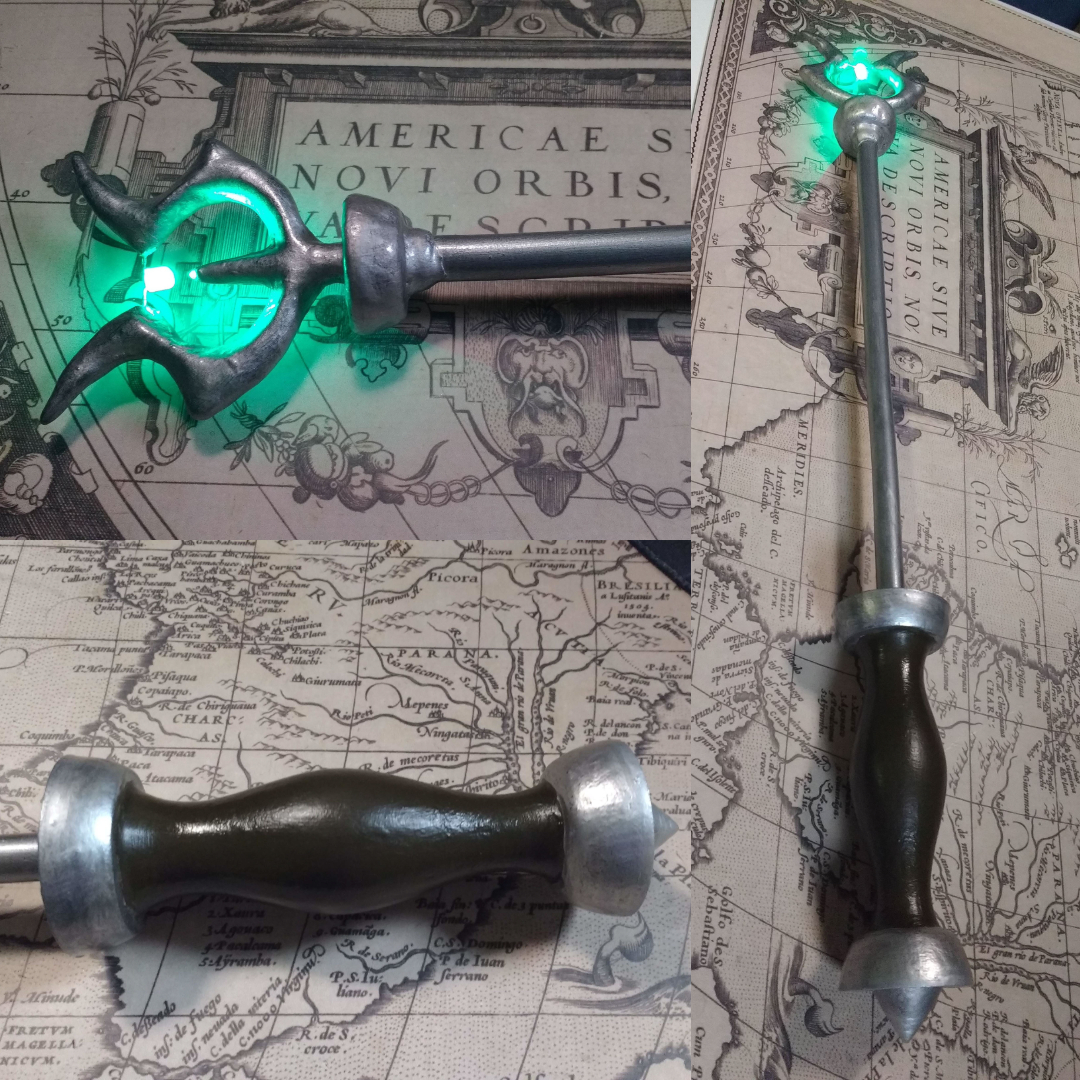
The wand was made with the help of Level23, and was based on this 3D print pattern. We made a few adjustments such as using a tube for the rod, so that we could run very thin wires to the LED light that was suspended in the top section. I also wrapped the top in worbla to make it slightly bulkier as the pattern printed quite small.
The wig was purchased from ezcosplay, and didn’t need much styling.
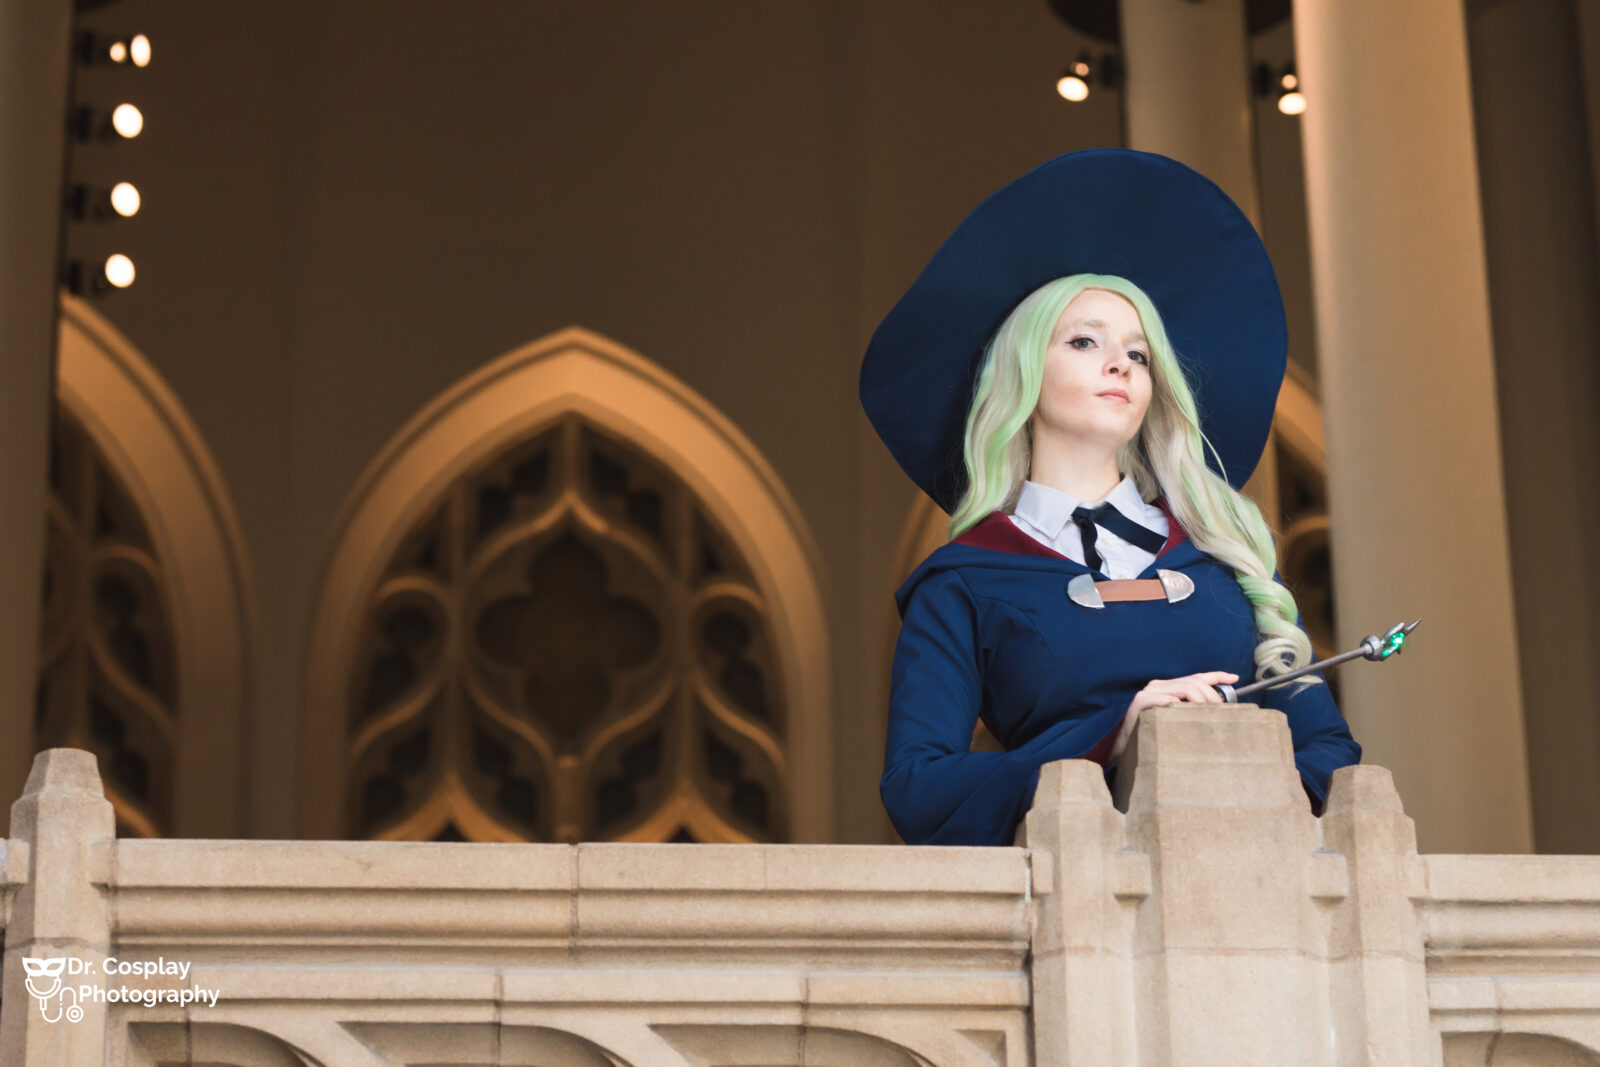
All in all I mostly recommend buying more fabric than you think when making this dress!!!
