I was asked many times when I was going to make a cosplay for my Tabaxi Rouge, Jewel on the Far Coast from the Roll20 Presents Dungeons and Dragons campaign. Eventually I acquiesced, and even manged to convince one of my other cast mates to join me in the adventure!
Adam (Twitter | Instagram) did an amazing job with the photos, and Bluejay (Twitter | Instagram | Patreon)was an most excellent Makaria. Be sure to check out their other work!
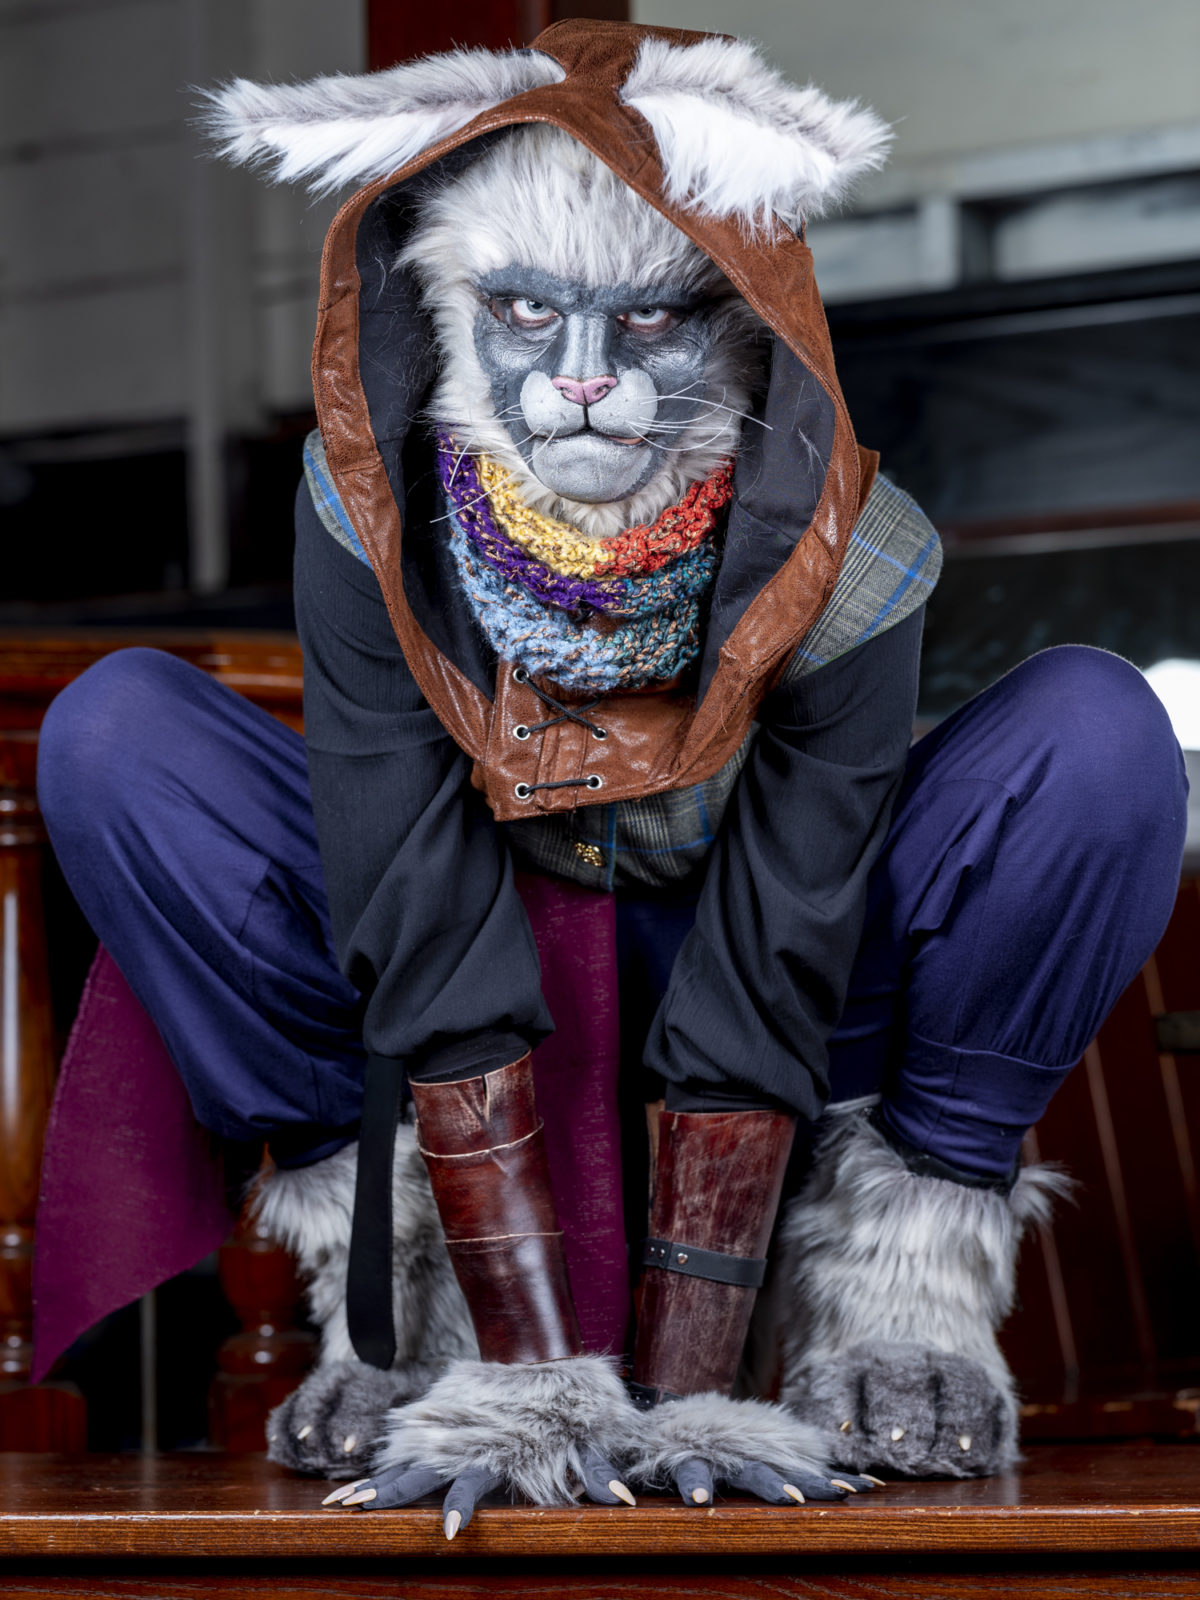
Jewel was an interesting challenge, firstly I had to design the costume myself, having only two ‘official’ images from the campaign art. On the plus side this meant I could take a lot of artistic liberties and make something I though looked cool, but the flip side of that is the amount of research and planning that needs to go into a design. I spent a lot of time on pinterest looking at lots of D&D art and Ren Faire costume.
There was also the added challenge of being a cat person. For this I went in two directions with my research – Furries and Kahjiit cosplays. I settled on making something a little bit more ‘human’, and given I’ve never really worked with prosthetic before I think the overall outcome was pretty good!
If you are looking to make your own Tabaxi cosplay, or maybe just a cool new Ren Faire outfit, then this tutorial has you covered!
This cosplay and tutorial was made possible by my generous Patrons, head over to Patreon to check out the full set of photos, exclusive wallpapers and many other rewards.

For a visual walkthrough of how I made my Jewel cosplay, check out my video:
Underlayers
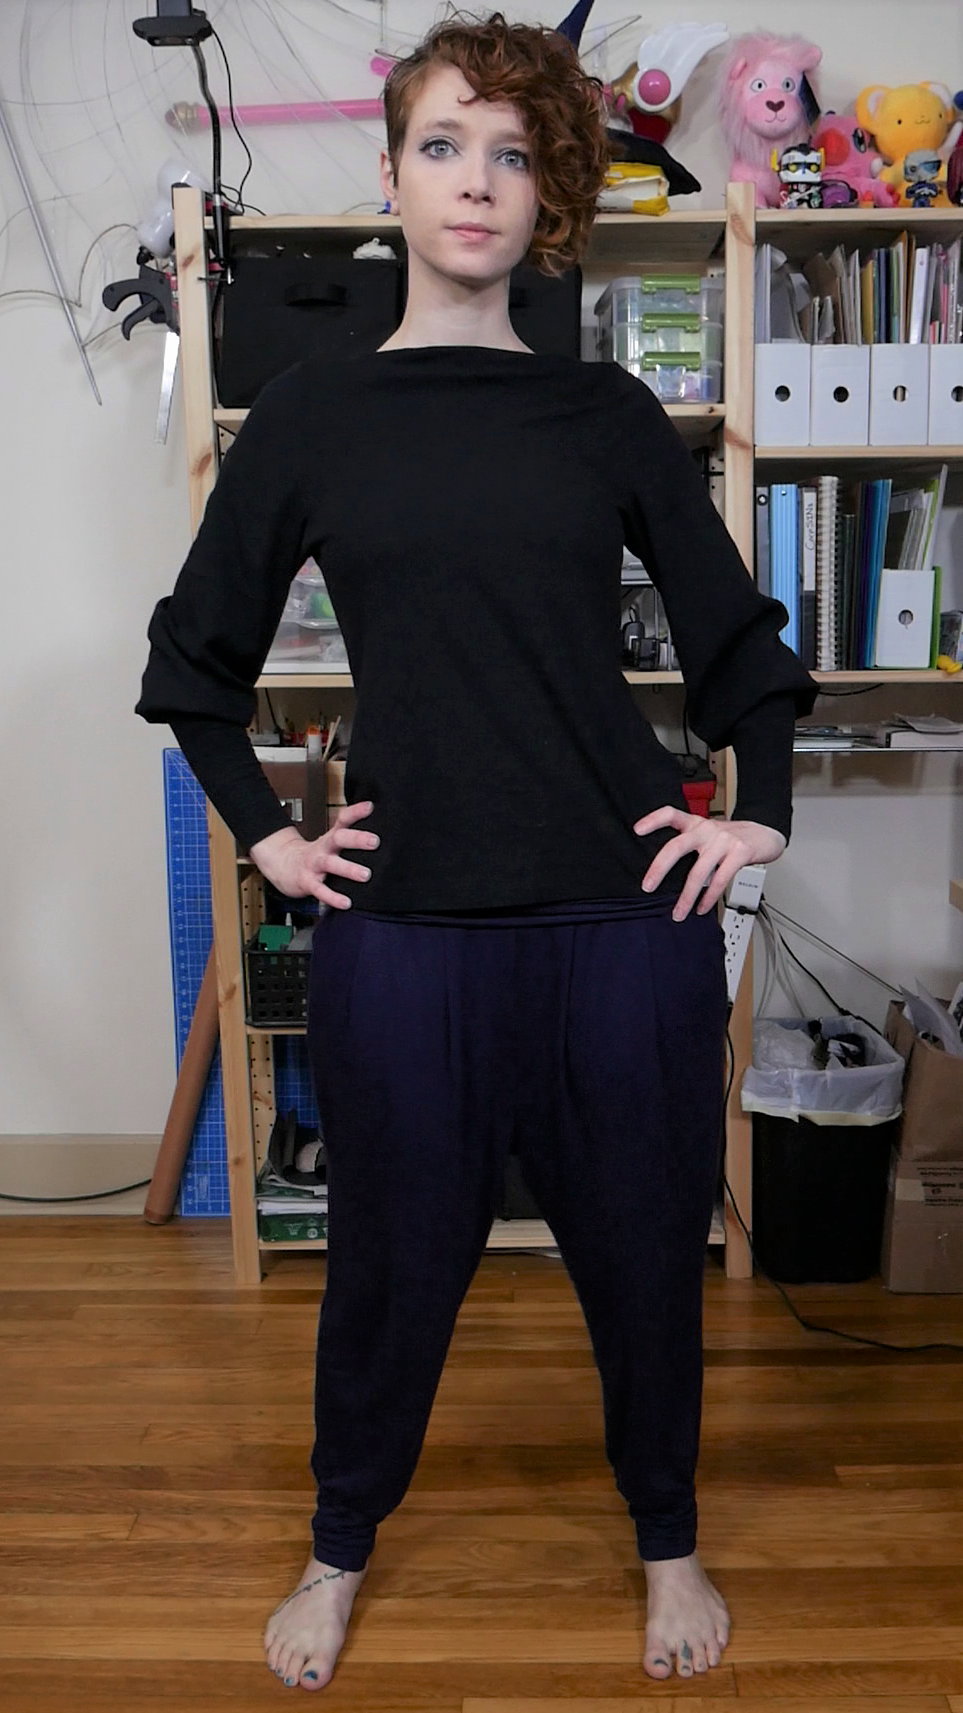
The very base layer of this cosplay was a pair of navy blue hareem pants that I purchased. I really liked the contrast between the more slimmer fit of the upper layers and the looser fit of the baggy pants, I felt like they made the look more “fantasy” and less modern. I also didn’t want to pad out my legs or add any shaping to make them look more digi-grade, by having baggy pants, they helped create a bit of an illusion and disrupt my human silhouette.
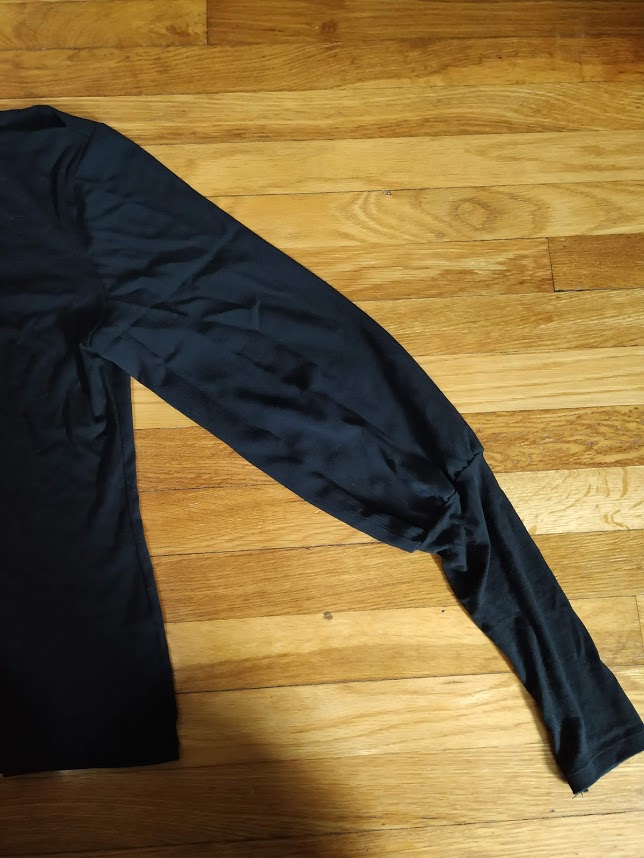
The under shirt started as a plain black t-shirt that I purchased from a thrift store. I then removed the sleeves and added a new top sleeve section, making it intentionally baggy and out of a drapey material. I then reattached a portion of the original sleeves on the bottom to complete the puffy sleeve look. This gave a nice slim and comfortable layer under the clothing, but still had some of the “peasant shirt” feel.
Surcoat
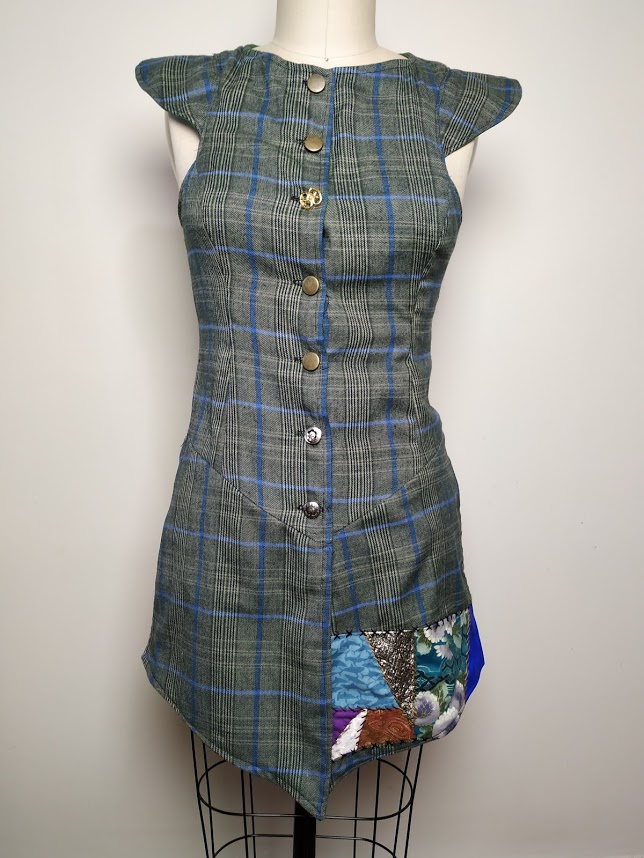
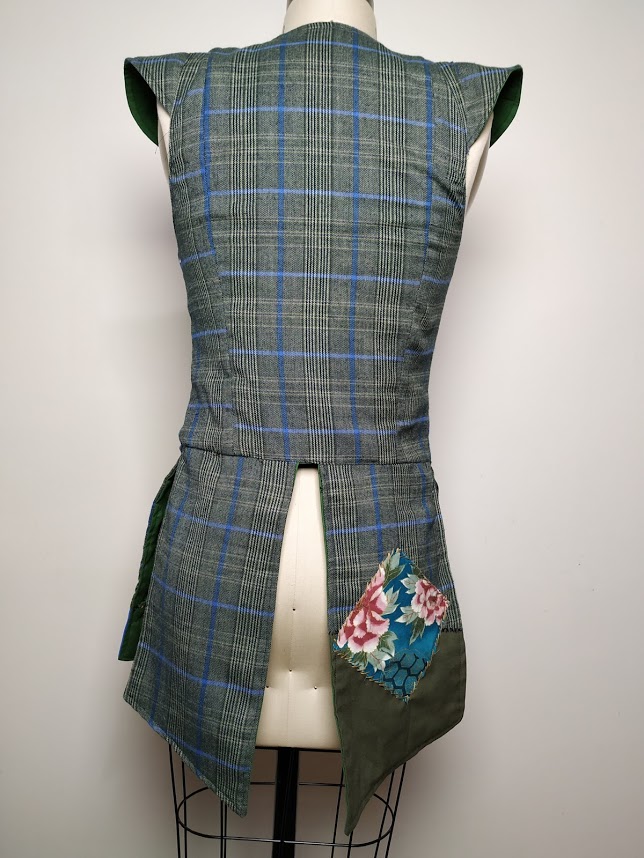
The surcoat (or jerkin, or doublet, not really sure what to call it) was, you guessed it, based off a princess seam bodice pattern! You can grab a pattern for the coat over in my store. The base shape is a princess seam bodice that extends slightly to a point in the front, and sits back just bellow the natural. wait at the back. The bottom flaps are rhombuses that are sized from center seam to side seam.
I used a plain quilting cotton for the lining, and the outer fabric was a wool (I think) tweed, plaid that I pulled from my stash. I added some extra details like patches and mis-matched buttons to make it more of a character piece than just a generic look.
Harness and Hood
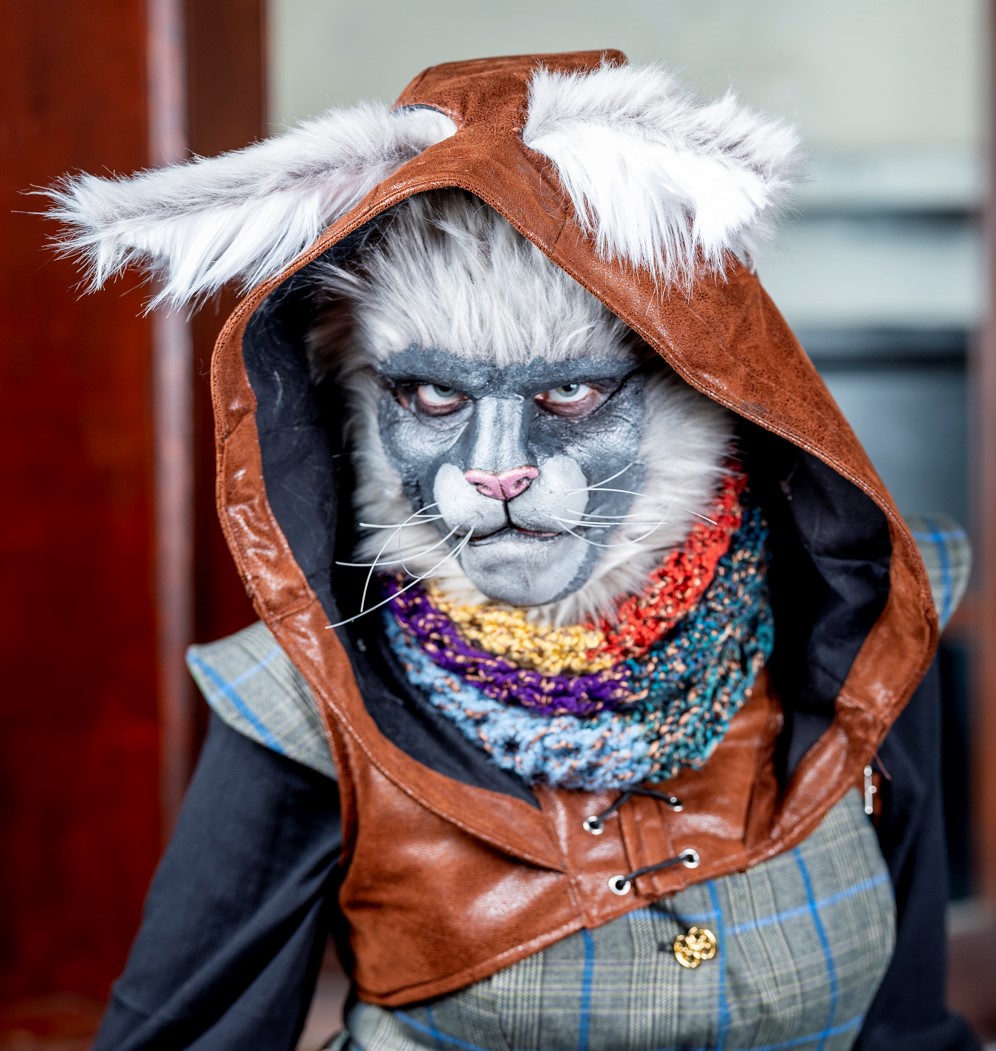
The harness hood combo was honestly the first thing I was certain I was doing for this cosplay. I wanted something roguish, and what’s more roguish that a hood?
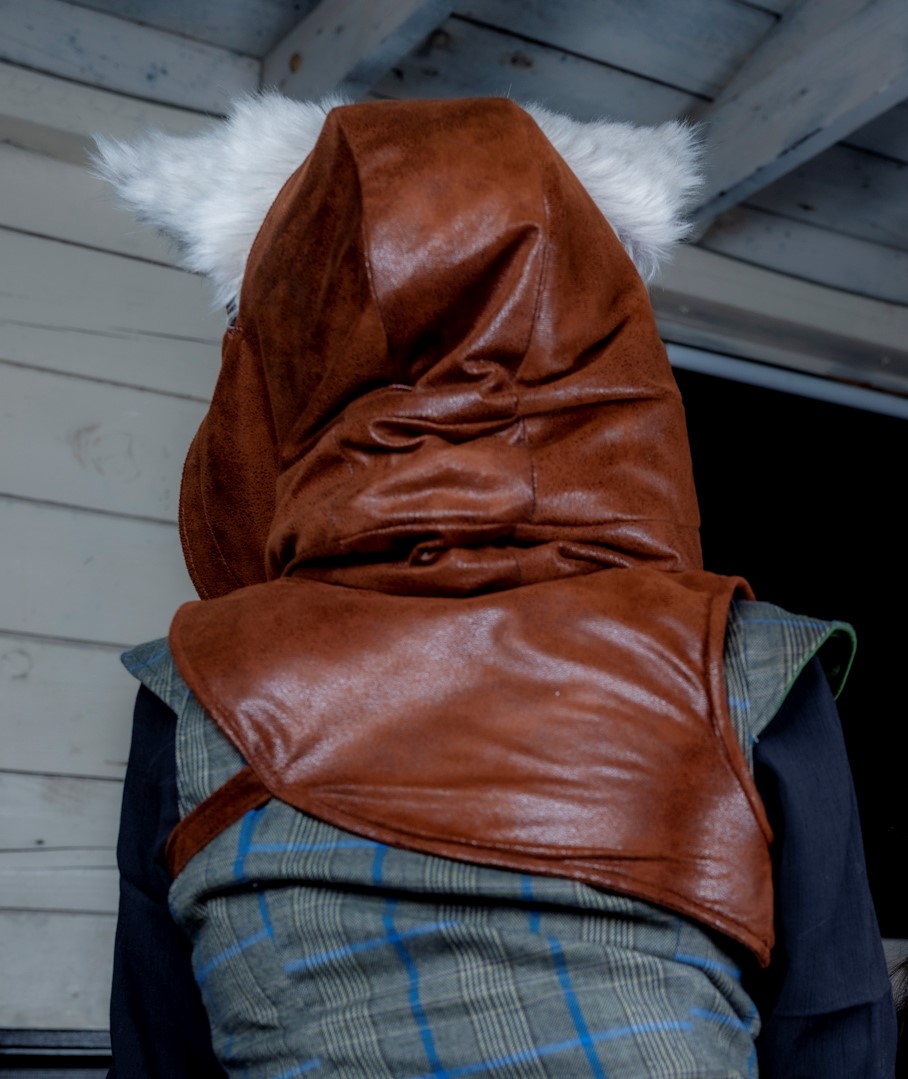
I based the pattern on a few different inspirations, again I went down another pinterest rabbit (kitty) hole on this one. The basic shape is in two parts, the harness which is essentially a portion a jack, with one sleeve hole lacing in the front and a strap to go under the other arm. The hood, which is a three part hood pattern is then attached directly to it. You can grab a pattern for the harness/hood in my store.
For materials I used a faux suede from Joann as the outer fabric, though it is quite light weight so I lined it with felt on the body section, and a canvas with interfacing on the hood. I did add a bit of the suede as a trim on the inside of the hood as I didn’t want the whole thing to be black. The ear holes were added after the head was made, and are obviously optional.
Cat!
The cat portions were certainly the trickiest and the parts that I had the least knowledge about. I very intentionally covered as much of myself as I could with clothing in order to avoid having to make too many furry sections.
Gloves
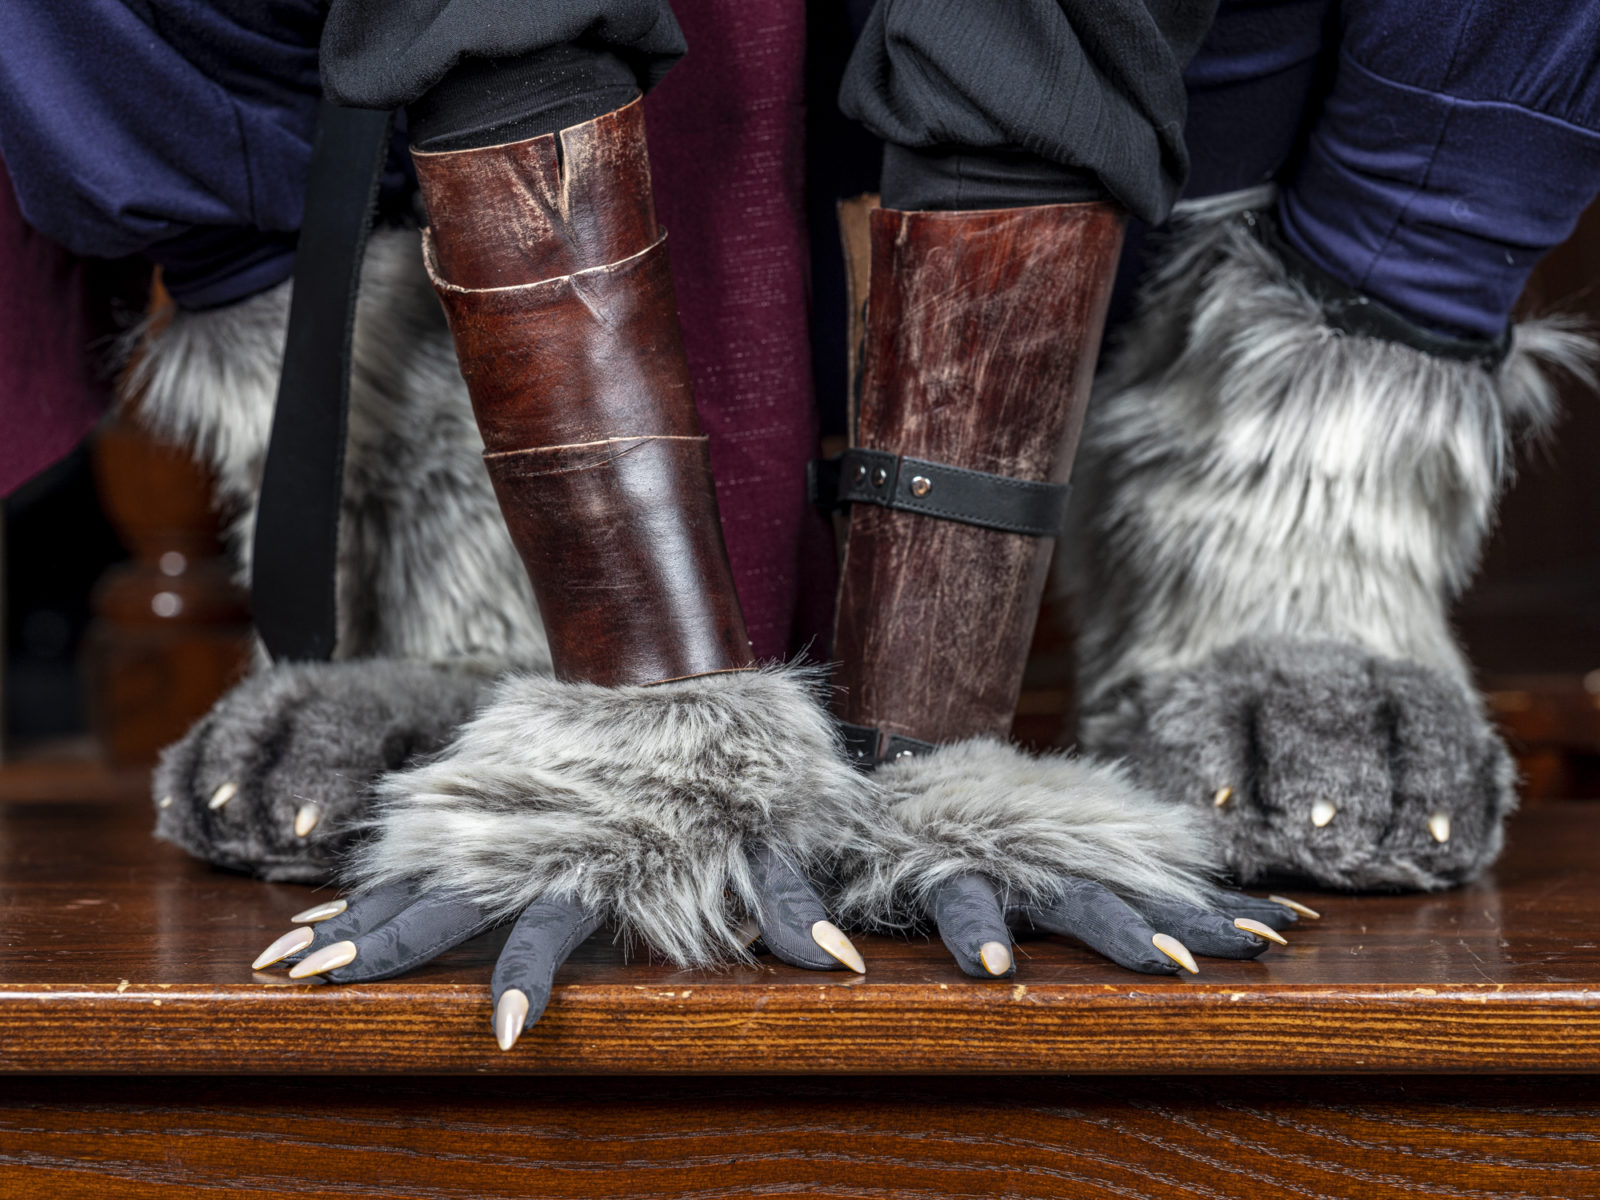
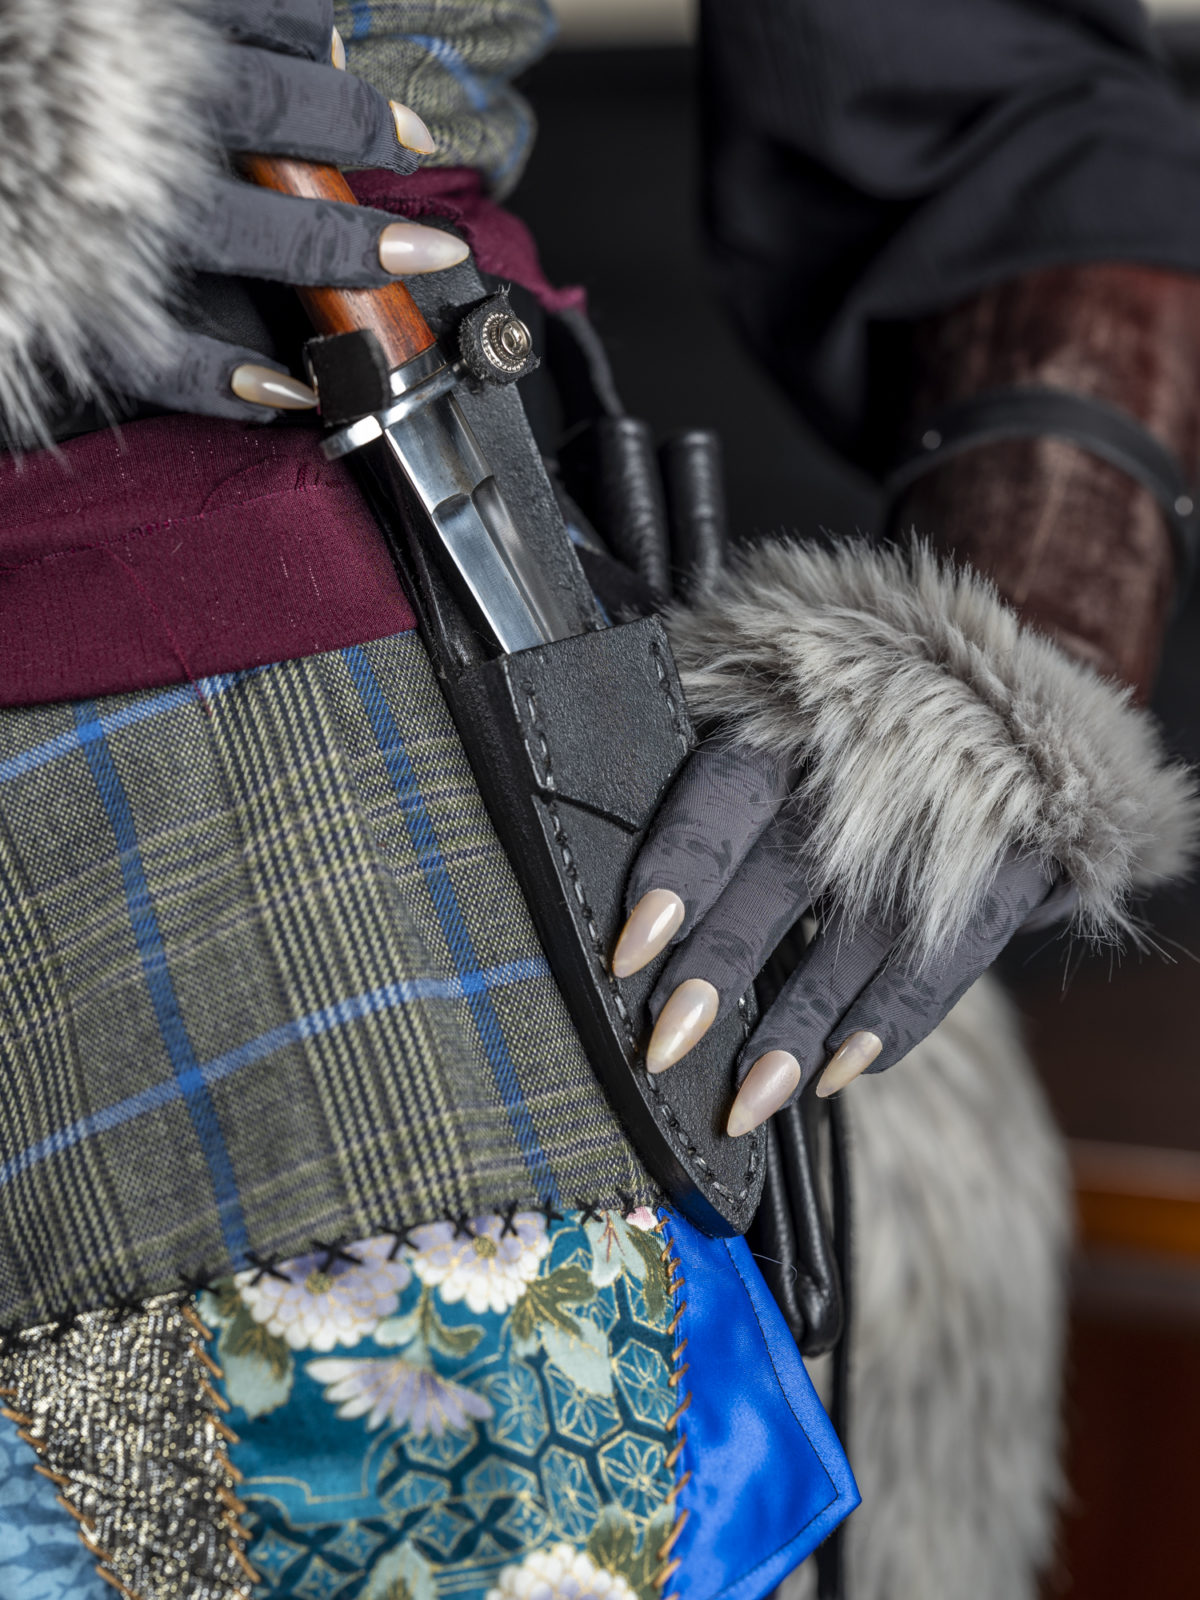
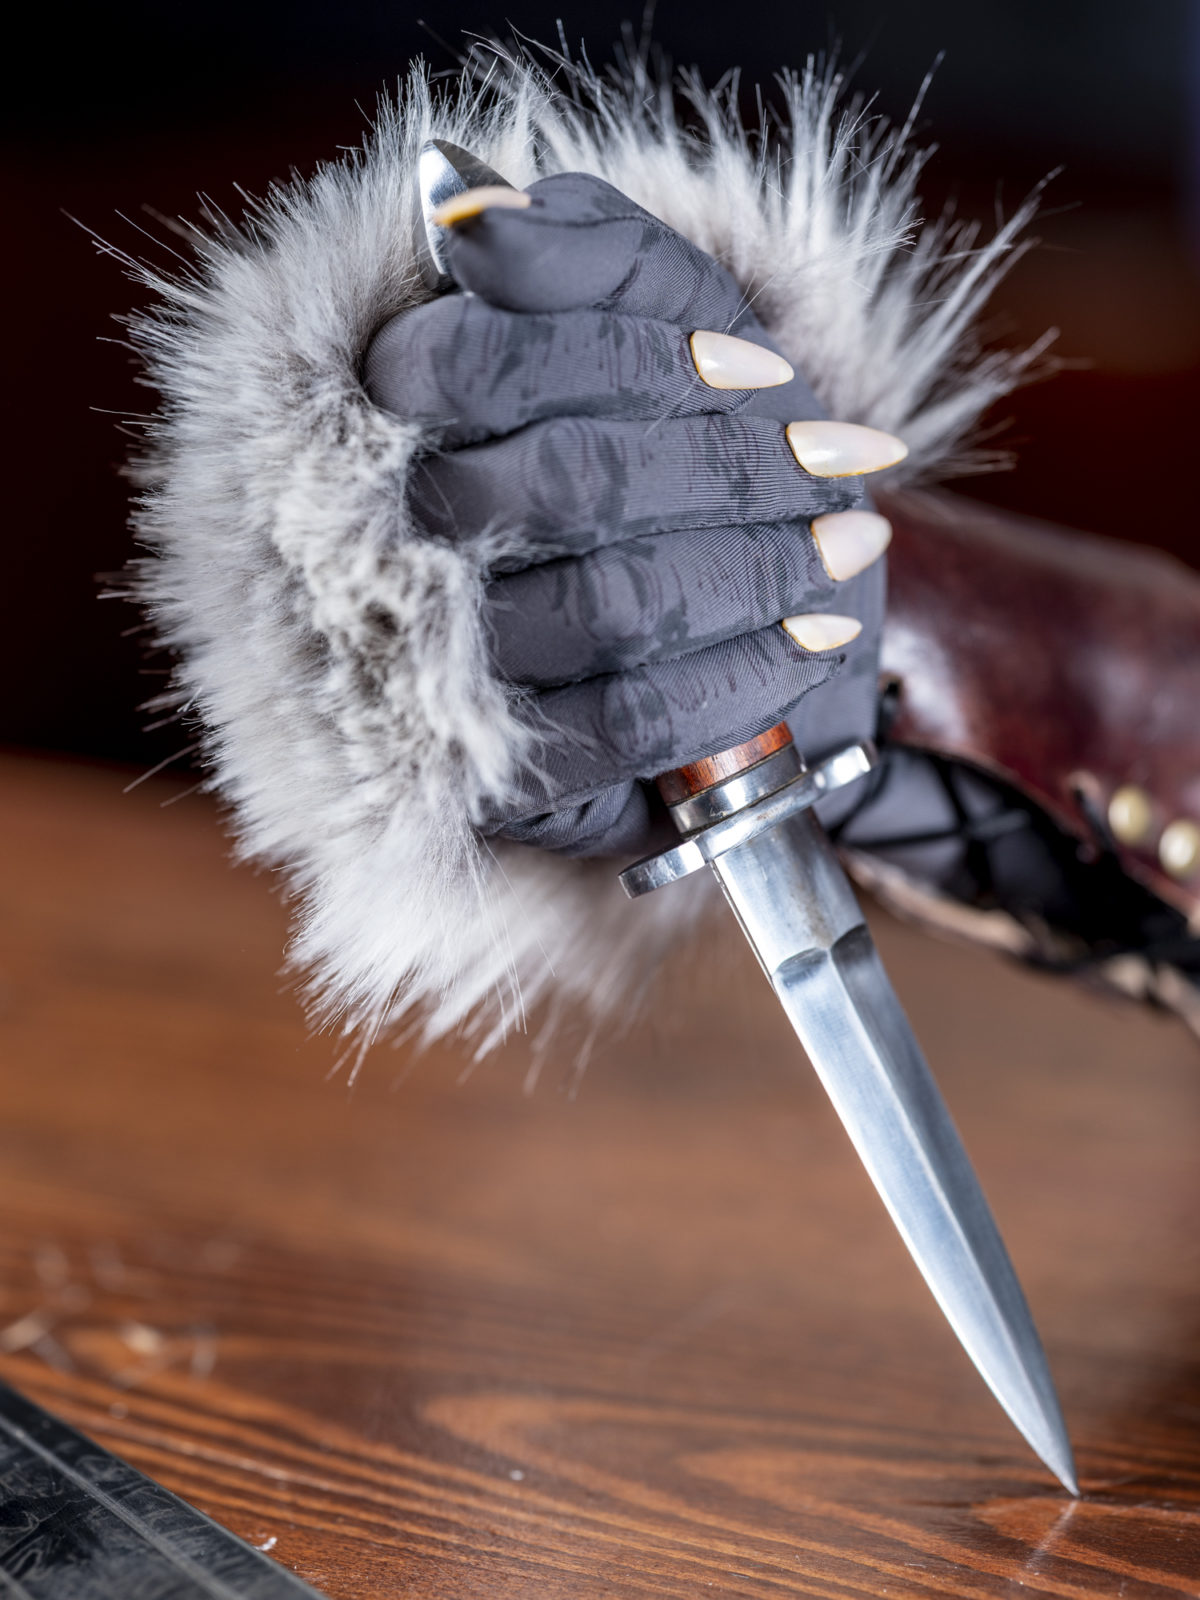
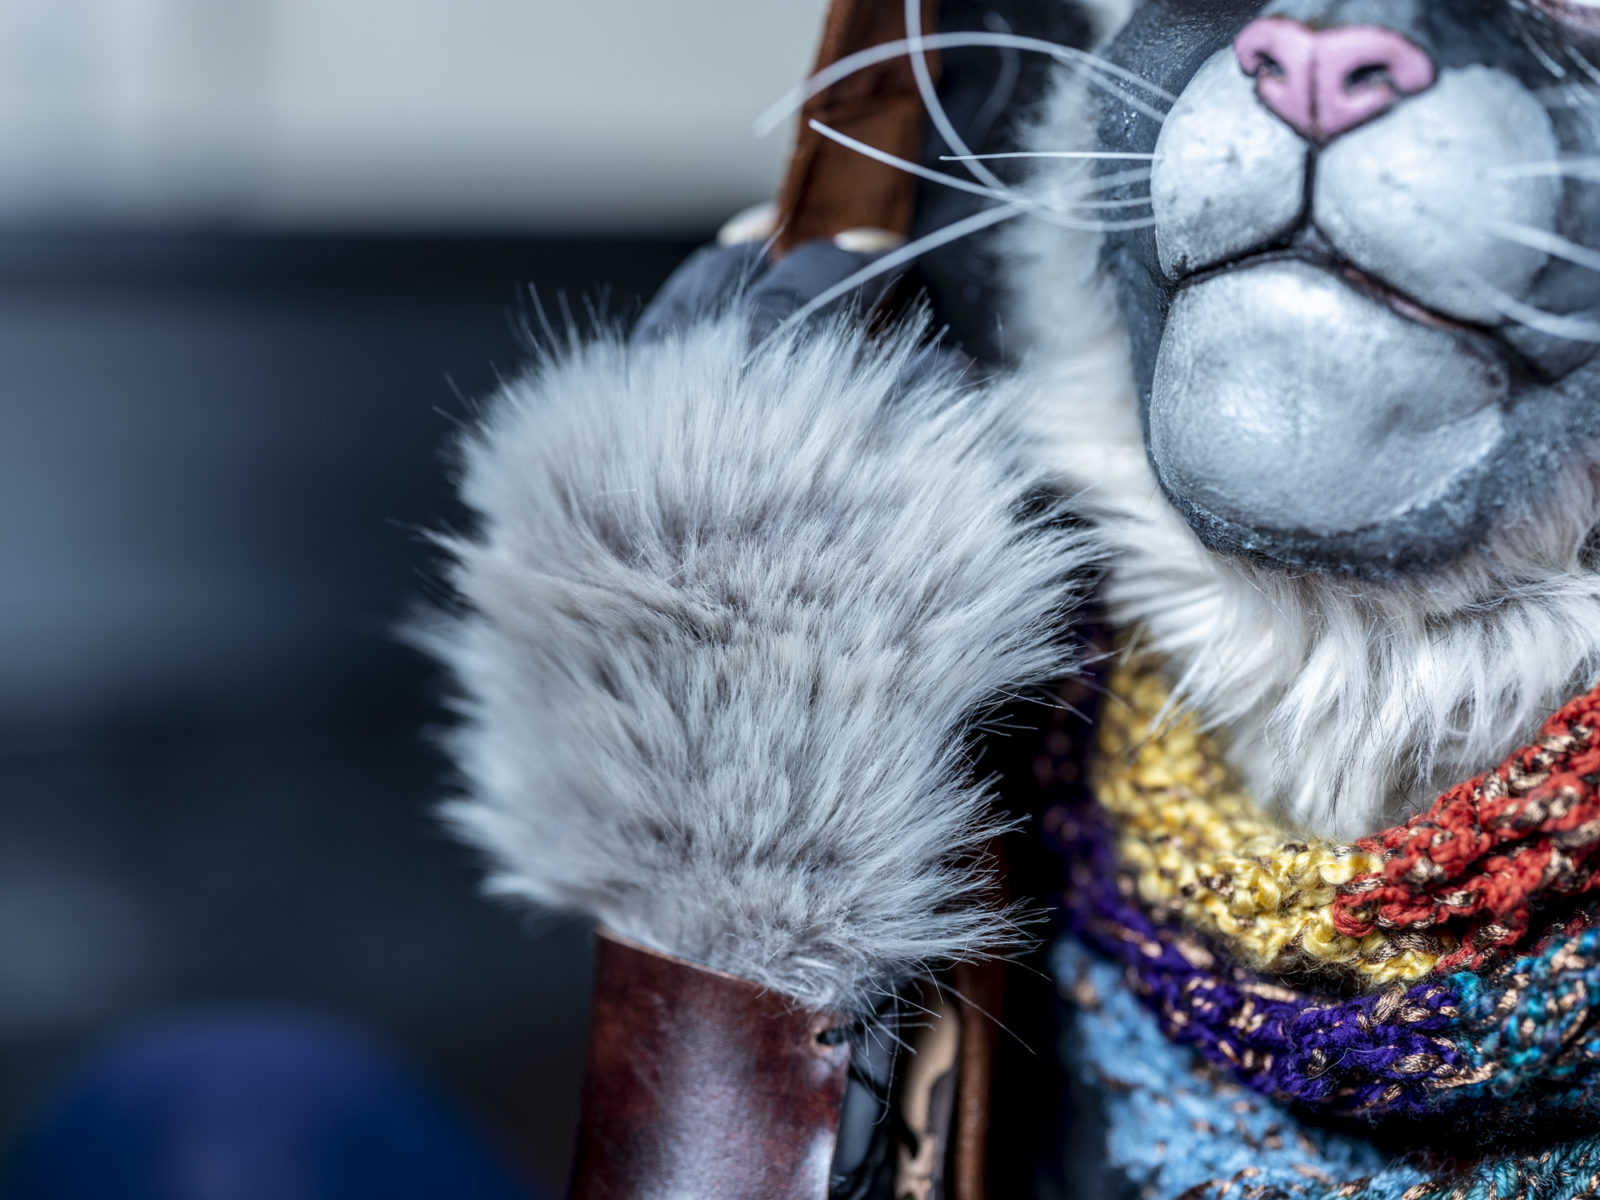
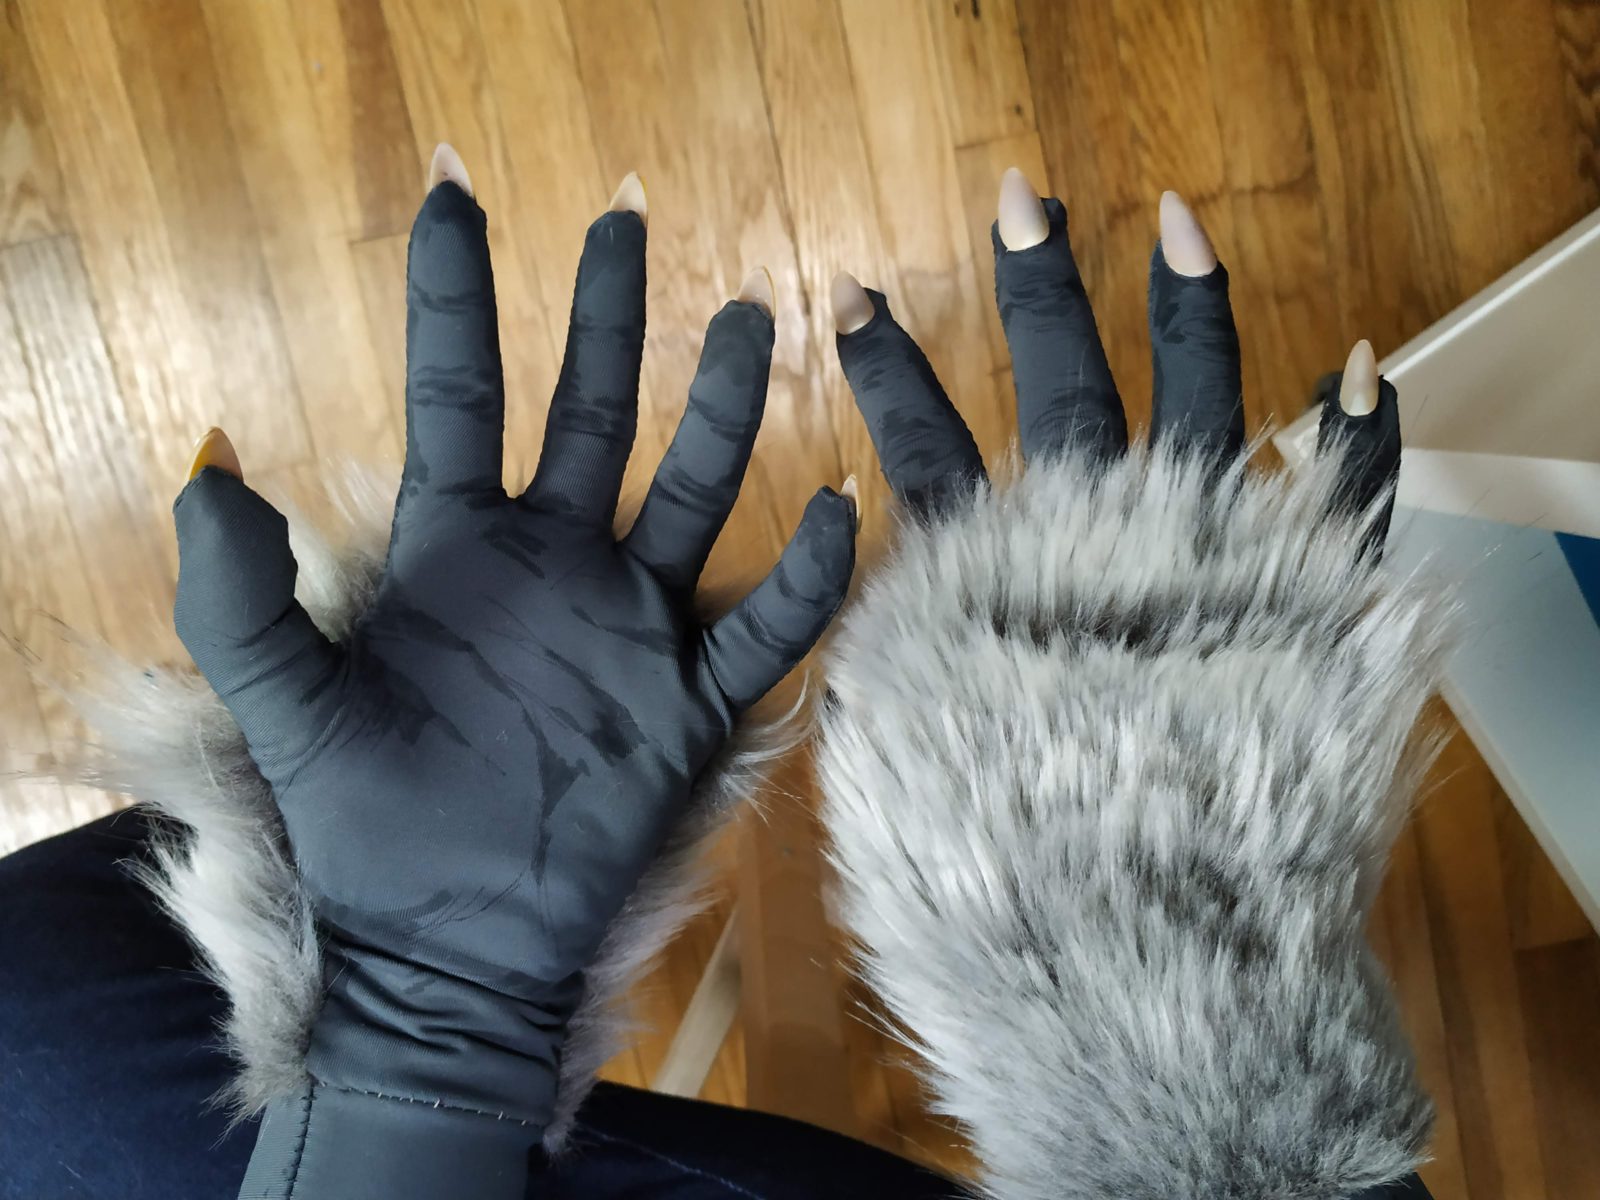
The gloves started as a basic two part glove pattern, the sort where you trace around your hands and then stitch the two pieces together. I then cut away the back of the hand and replaced that with a section of fur. Be sure to make the fur larger than the fabric you’ve cut away as the furs doesn’t have any stretch. I hand stitched the fur into place and shaved it down to the right length.
The details on the hands were added by Steph MHC using a fabric pen. The claws were made of two fake acrylic nails colored with a tan sharpie in the middle and the glued together, to give a more natural claw sort of look.
Paws
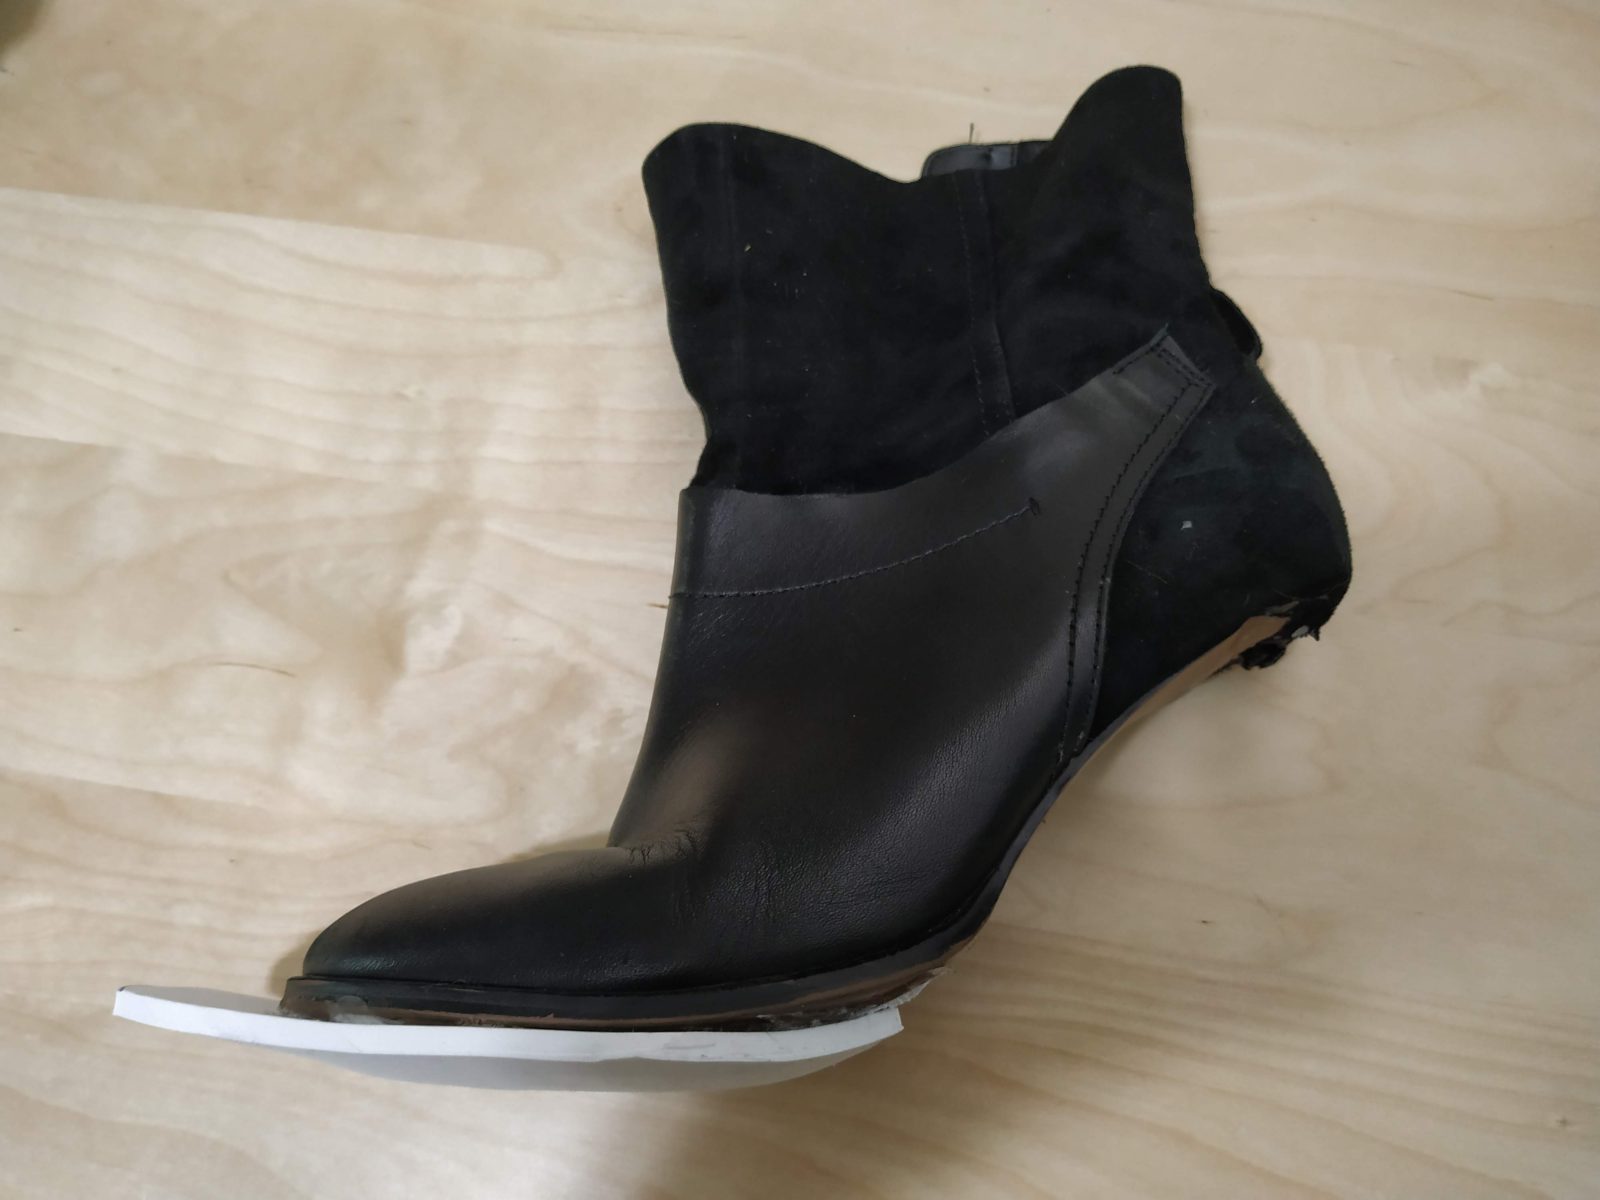
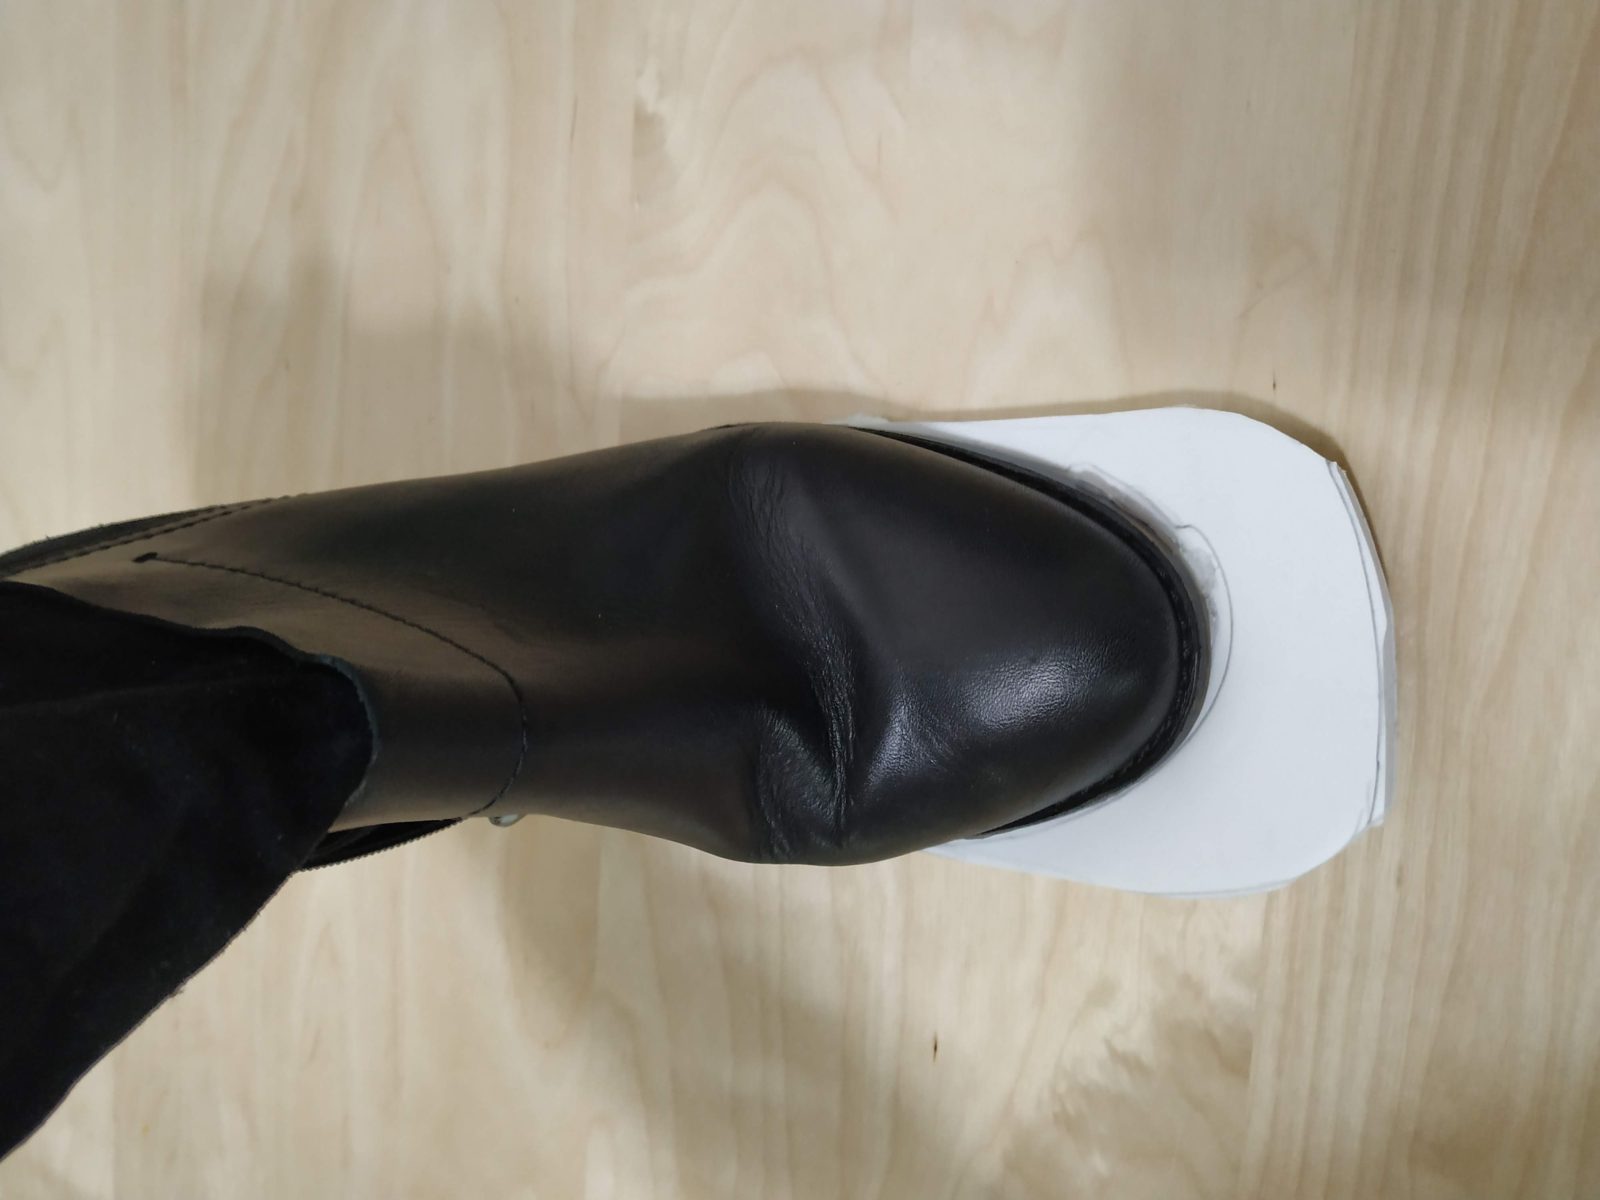
The paws were made from a base of a high heeled boot with a zip closure. I removed the heel on the boot, and then created a bit of a toe extension out of EVA foam that I hot glued to the base of the shoe.
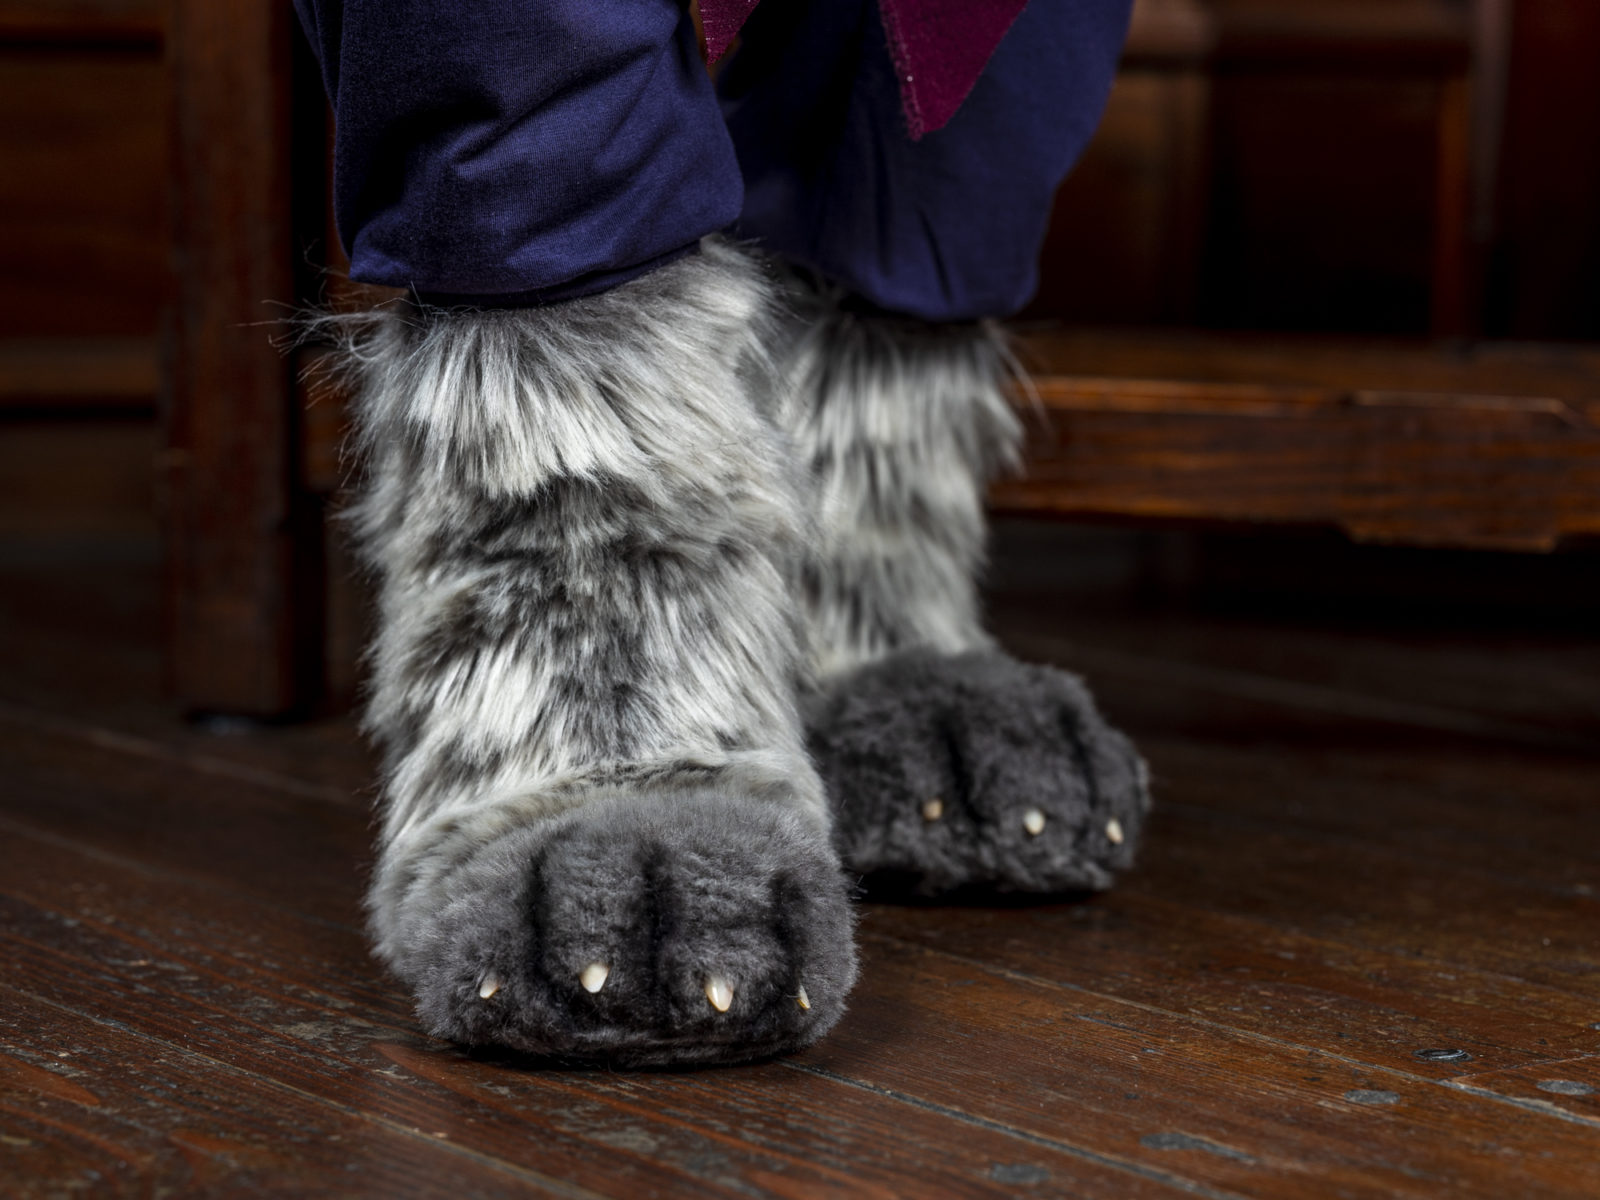
The entire thing was then covered in fur, hot gluing it in place in sections, and sewing a few portions together as well. I added some stuffing to the toes to make them slightly more rounded, and used a fabric marker to add shadow to give the impression of toes and the fur made the seams disappear. There was also lots of shaving and trimming the fur to the right length, try to have a vacuum on hand if you can!
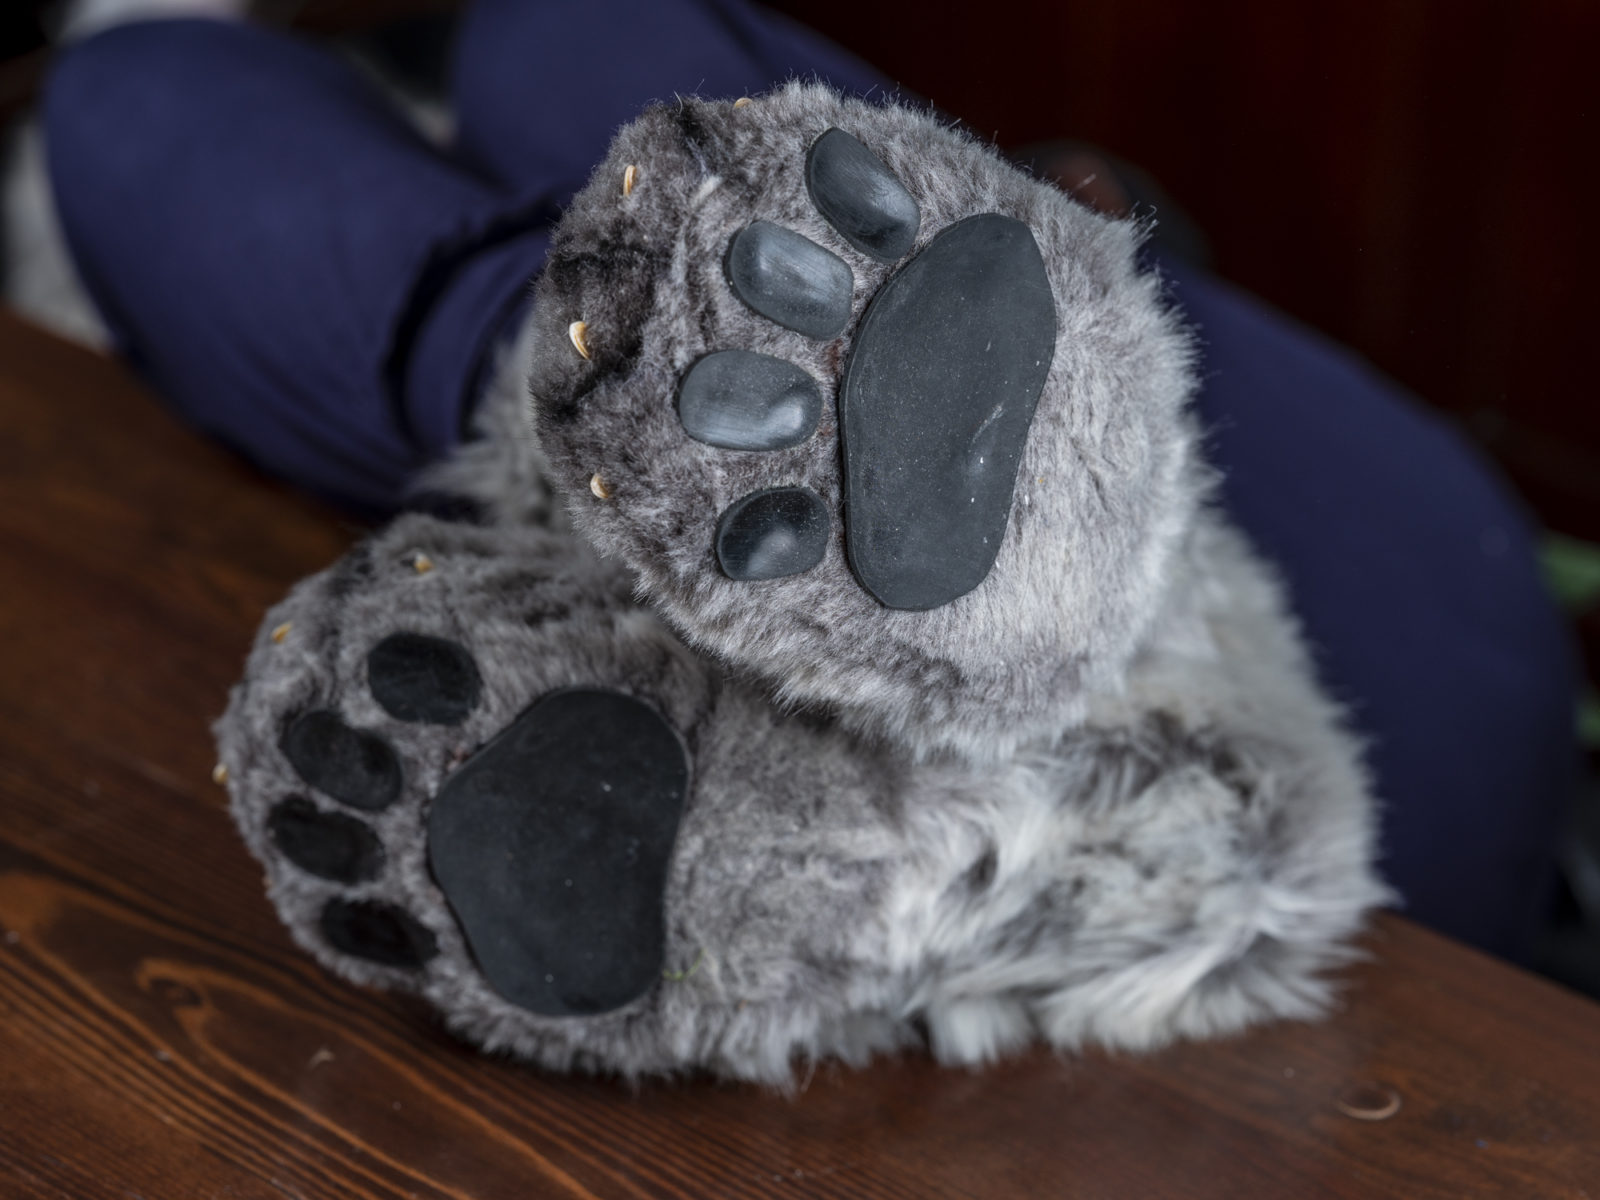
The underside of the foot I cut out some rubber sheeting to look like cat toes and glued them in place with E600 so that I had at least a little bit of tread in the costume and didn’t fall over. The finishing touch was added another set of double layered acrylic nails, I cut a very small hole into the toes and then hot glued the nails in place so they are just poking out.
Tail
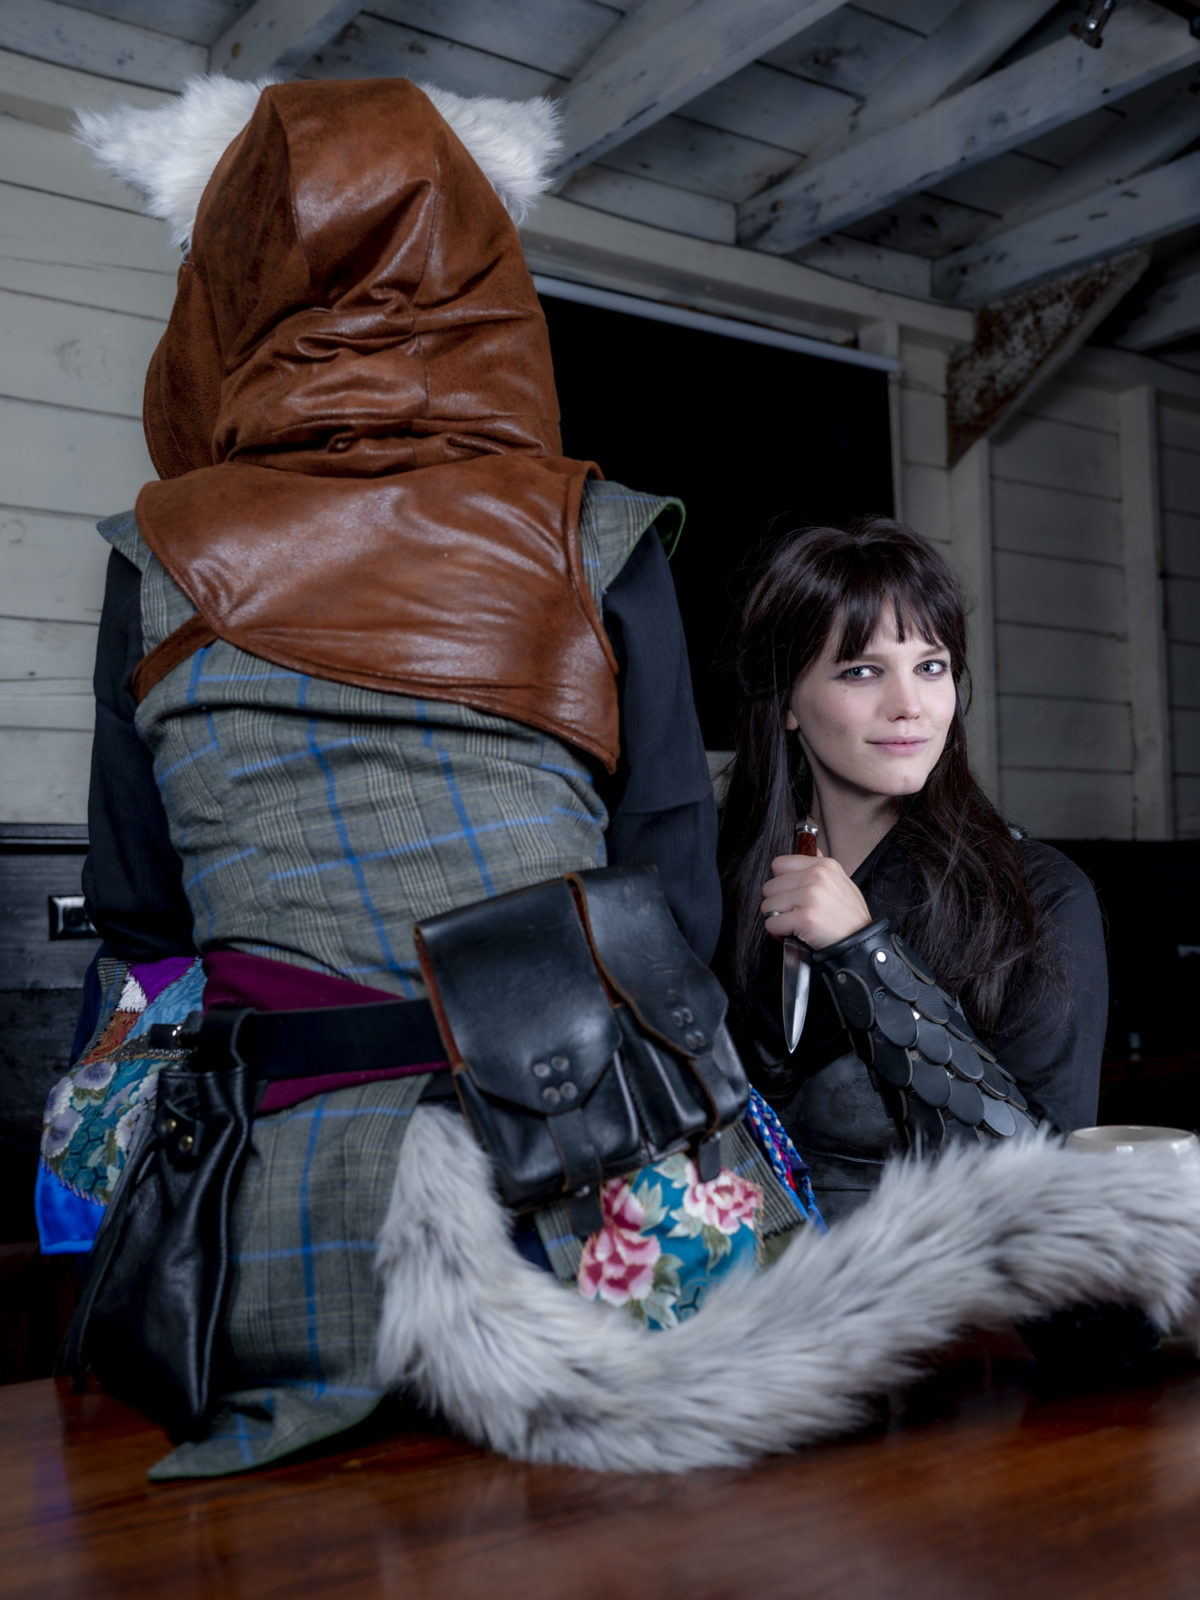
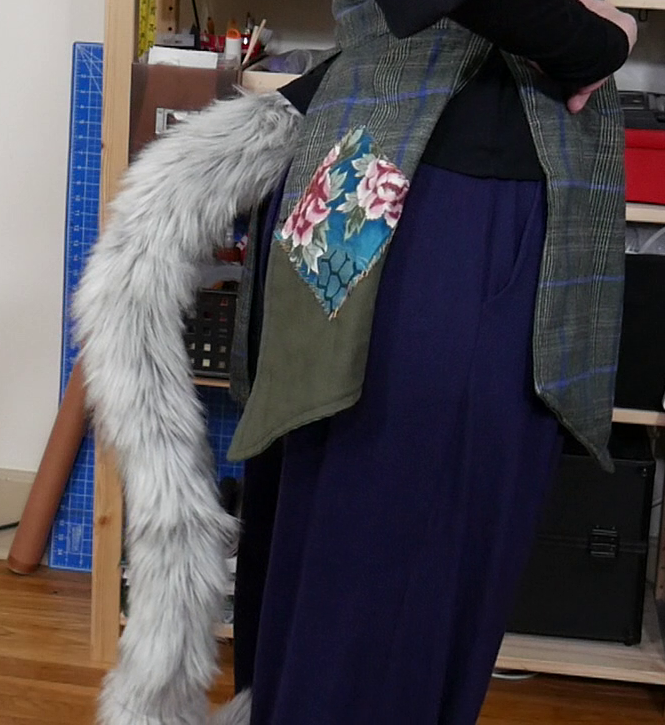
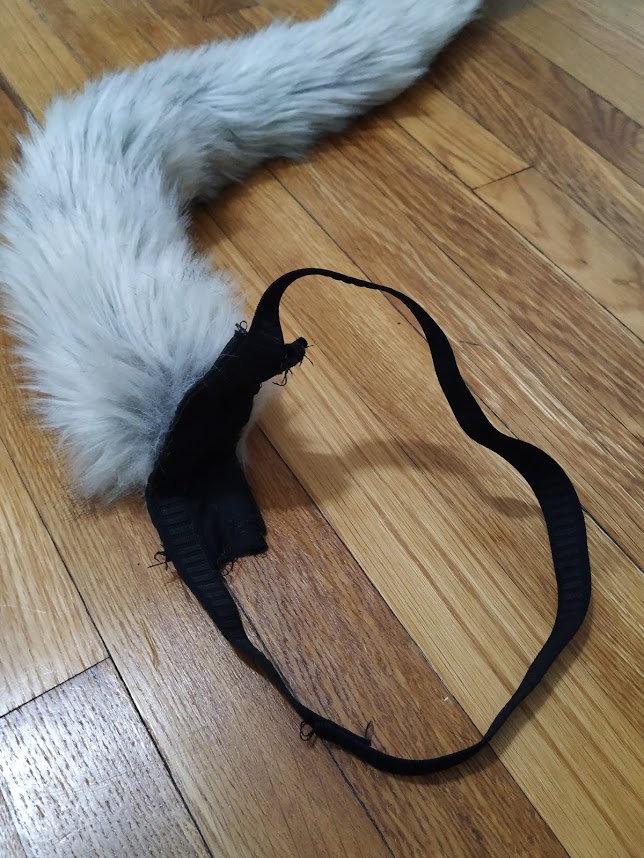
The tail was pretty basic. I made a long tube out of the fur, and hand stitched the end of the tube closed. I then added a wire through the tail and stuffed it using poly-fil. For a little extra stability I added some upholstery foam in the very top section, right where it attaches to the body, and ran the wire through the foam. This helped it droop a little less.
The tail was then hand stitched to a tab of fabric, which was then stitched to a loop of elastic. To put it on I just step through and make sure it is in place under the surcoat.
Head and Face
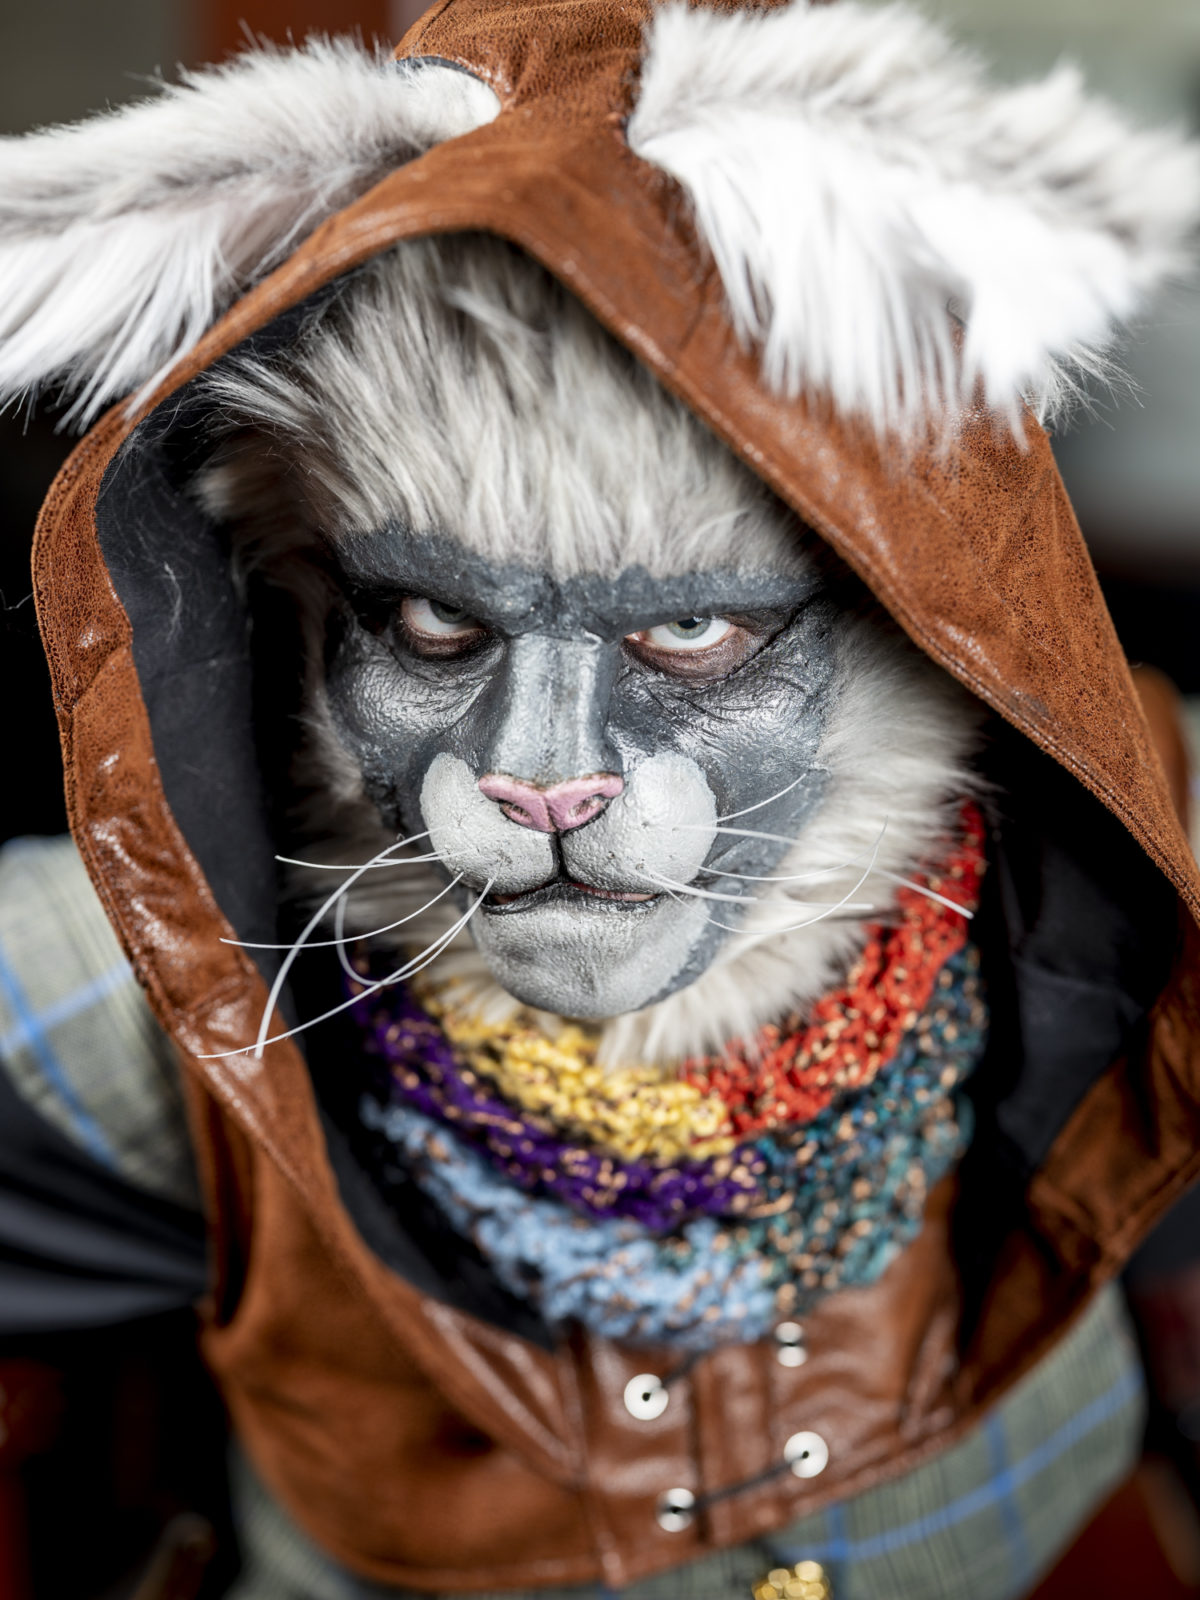
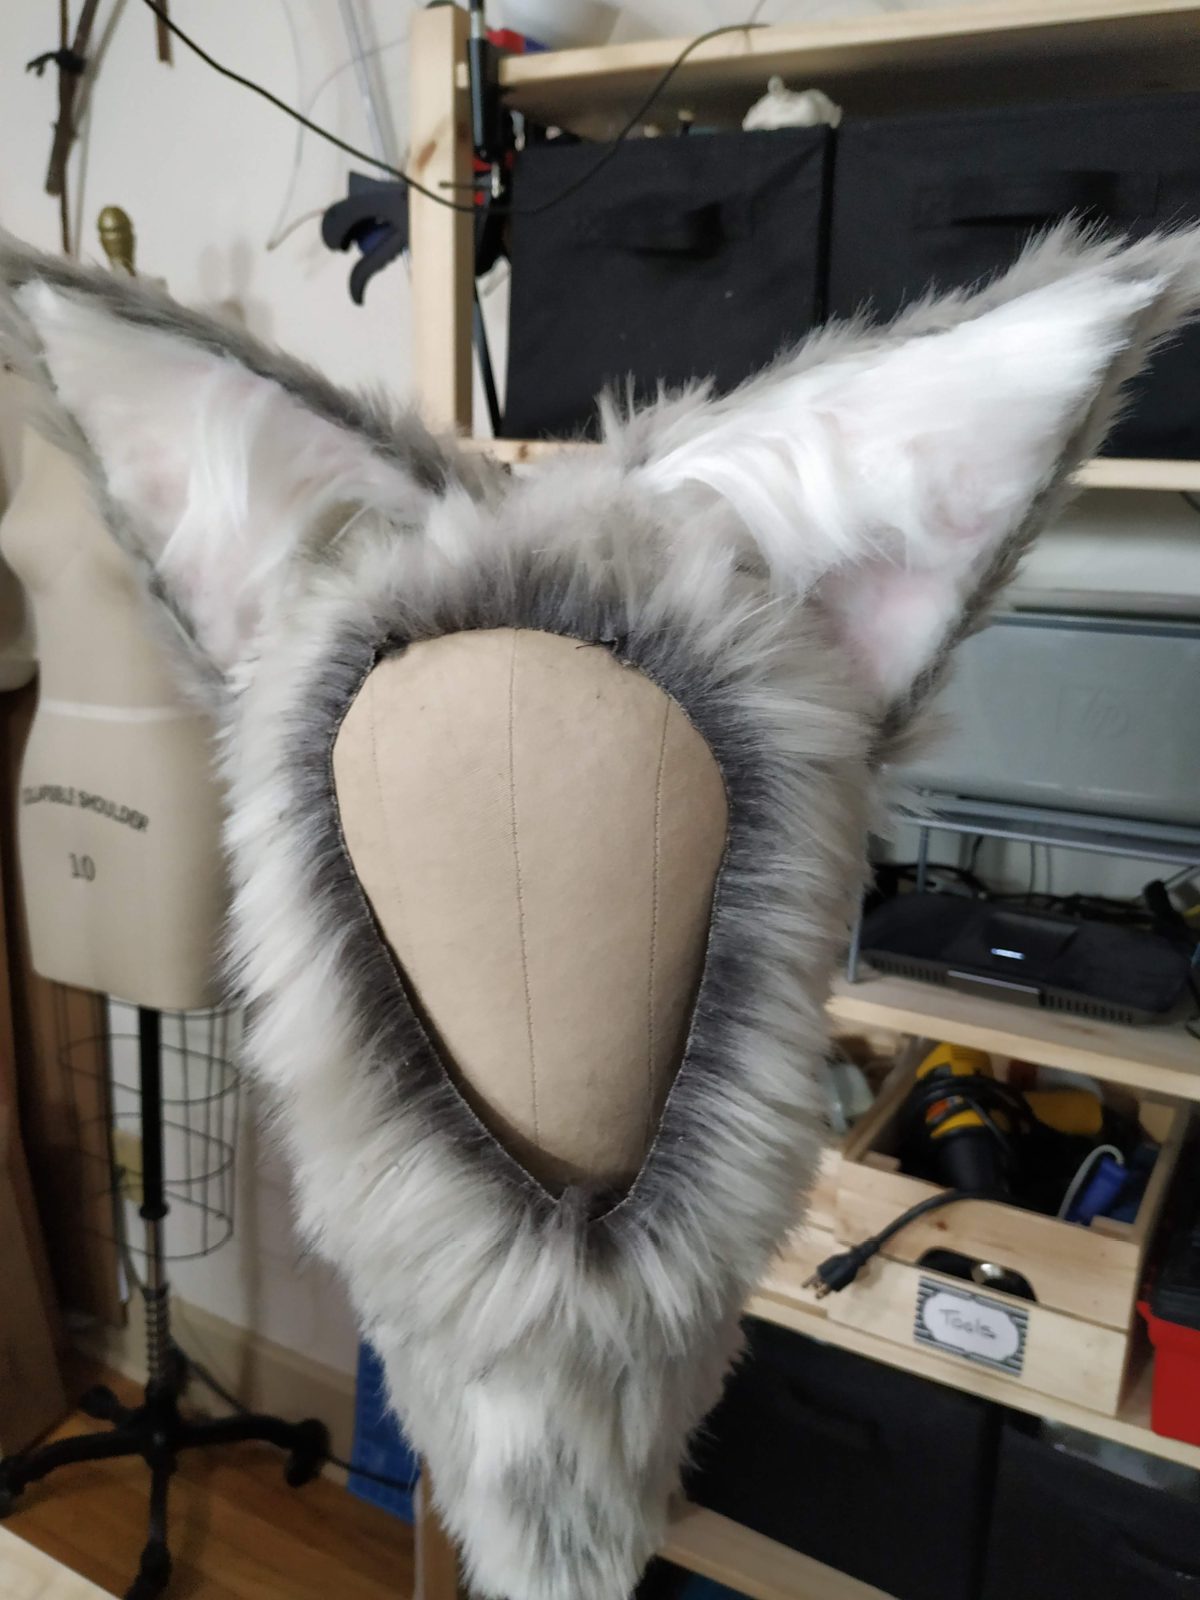
The had and face were by far the more complicated portions of the costume. I create a balaclava type hood out of fur in order to cover most of my face and then used a prosthetic for the rest.
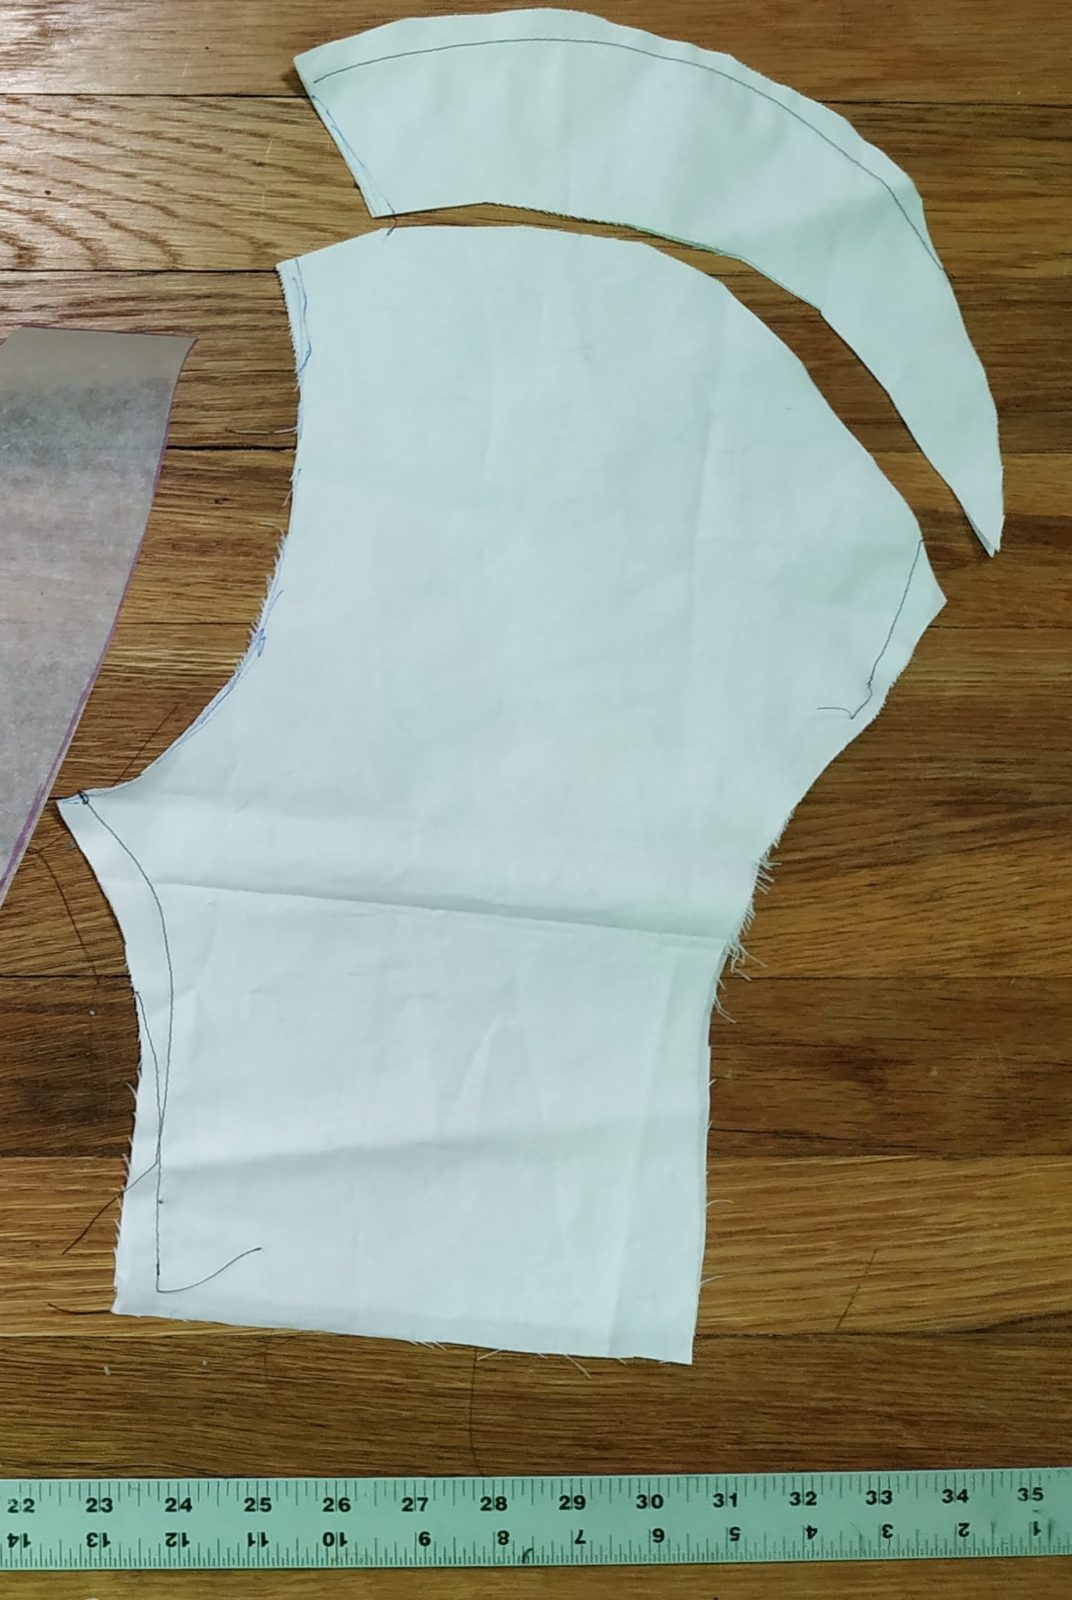
The hood was drafted by making a side view of my head, based of the measurements for the widest and narrowest parts. I then cut the face hold as large as I needed it to be, I also added a third section to the hood, the top center is a different piece in order to get the fur to lay flat away from my face and not have an awkward center part.
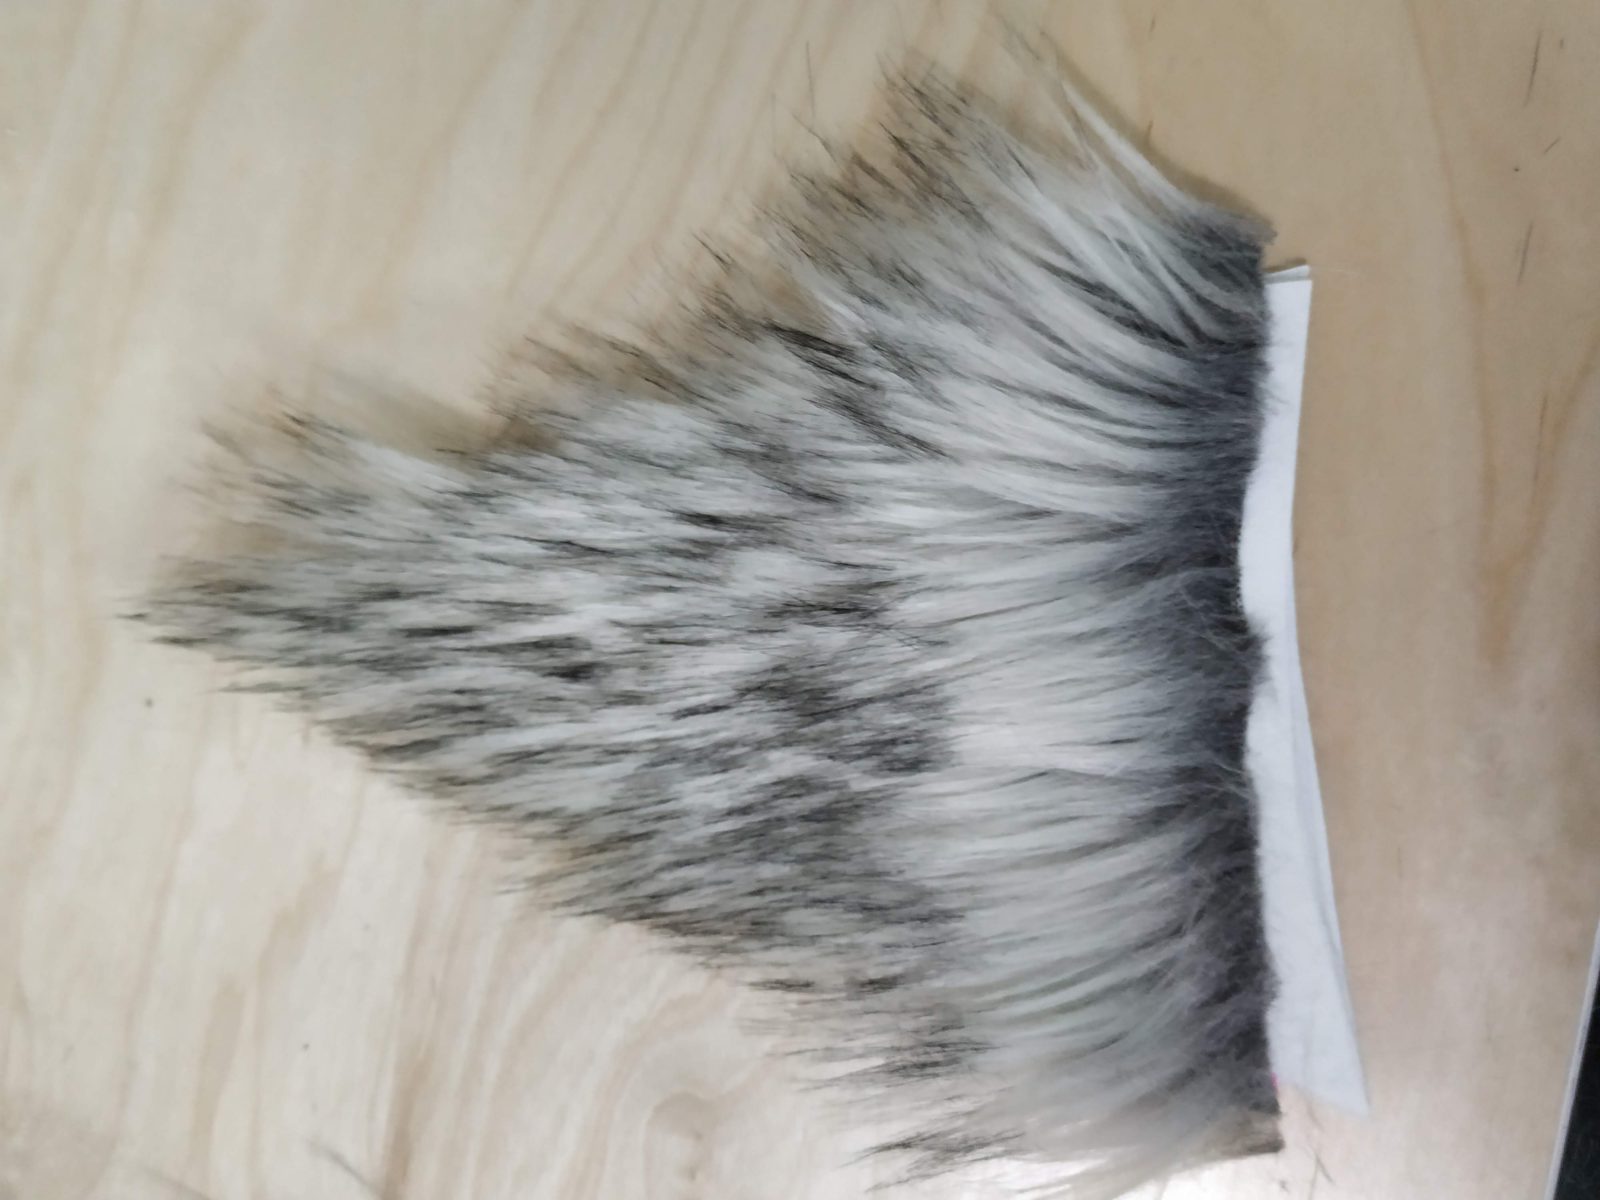
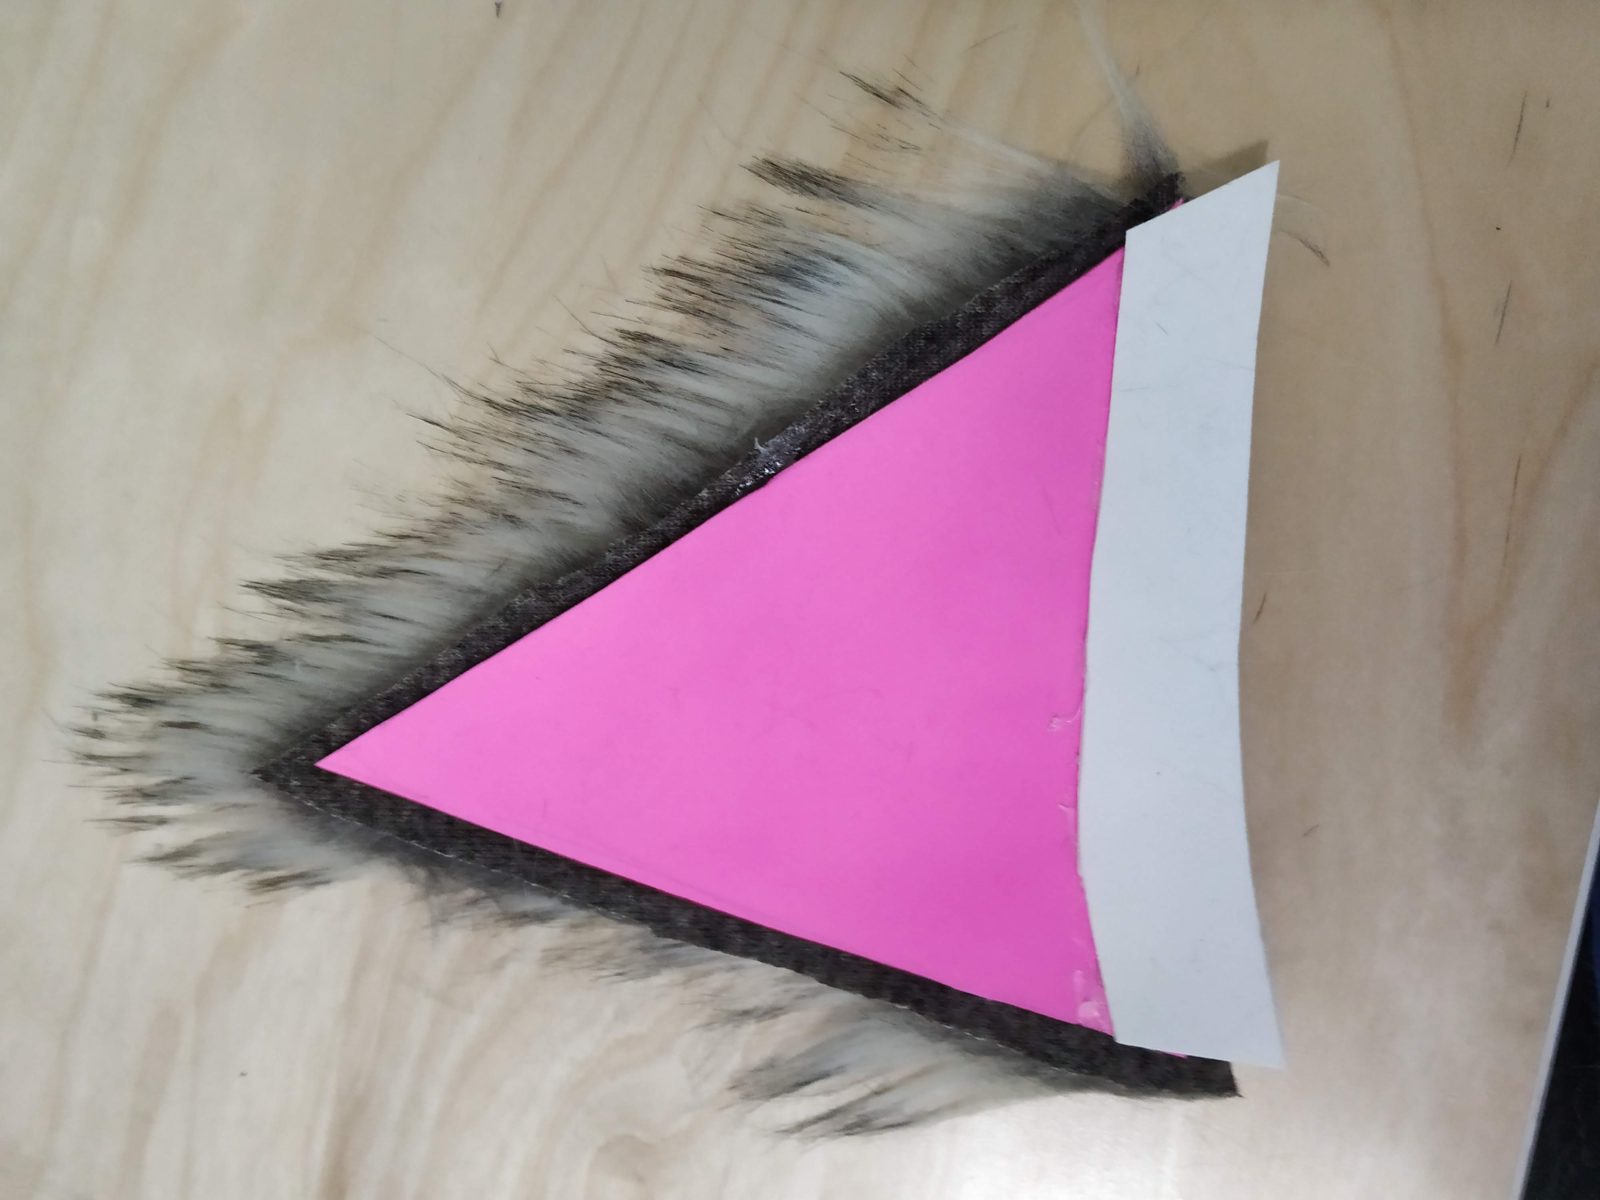
The ears were made from a base of pink EVA foam, sandwiched between grey furn on the back and white fur on the front. The pink EVA shows through just slight which gave a great effect. I added a set of tabs on the bottom of the ears which I folded out and used to stick the ears directly to the hood, curving them slightly for a more realistic look.
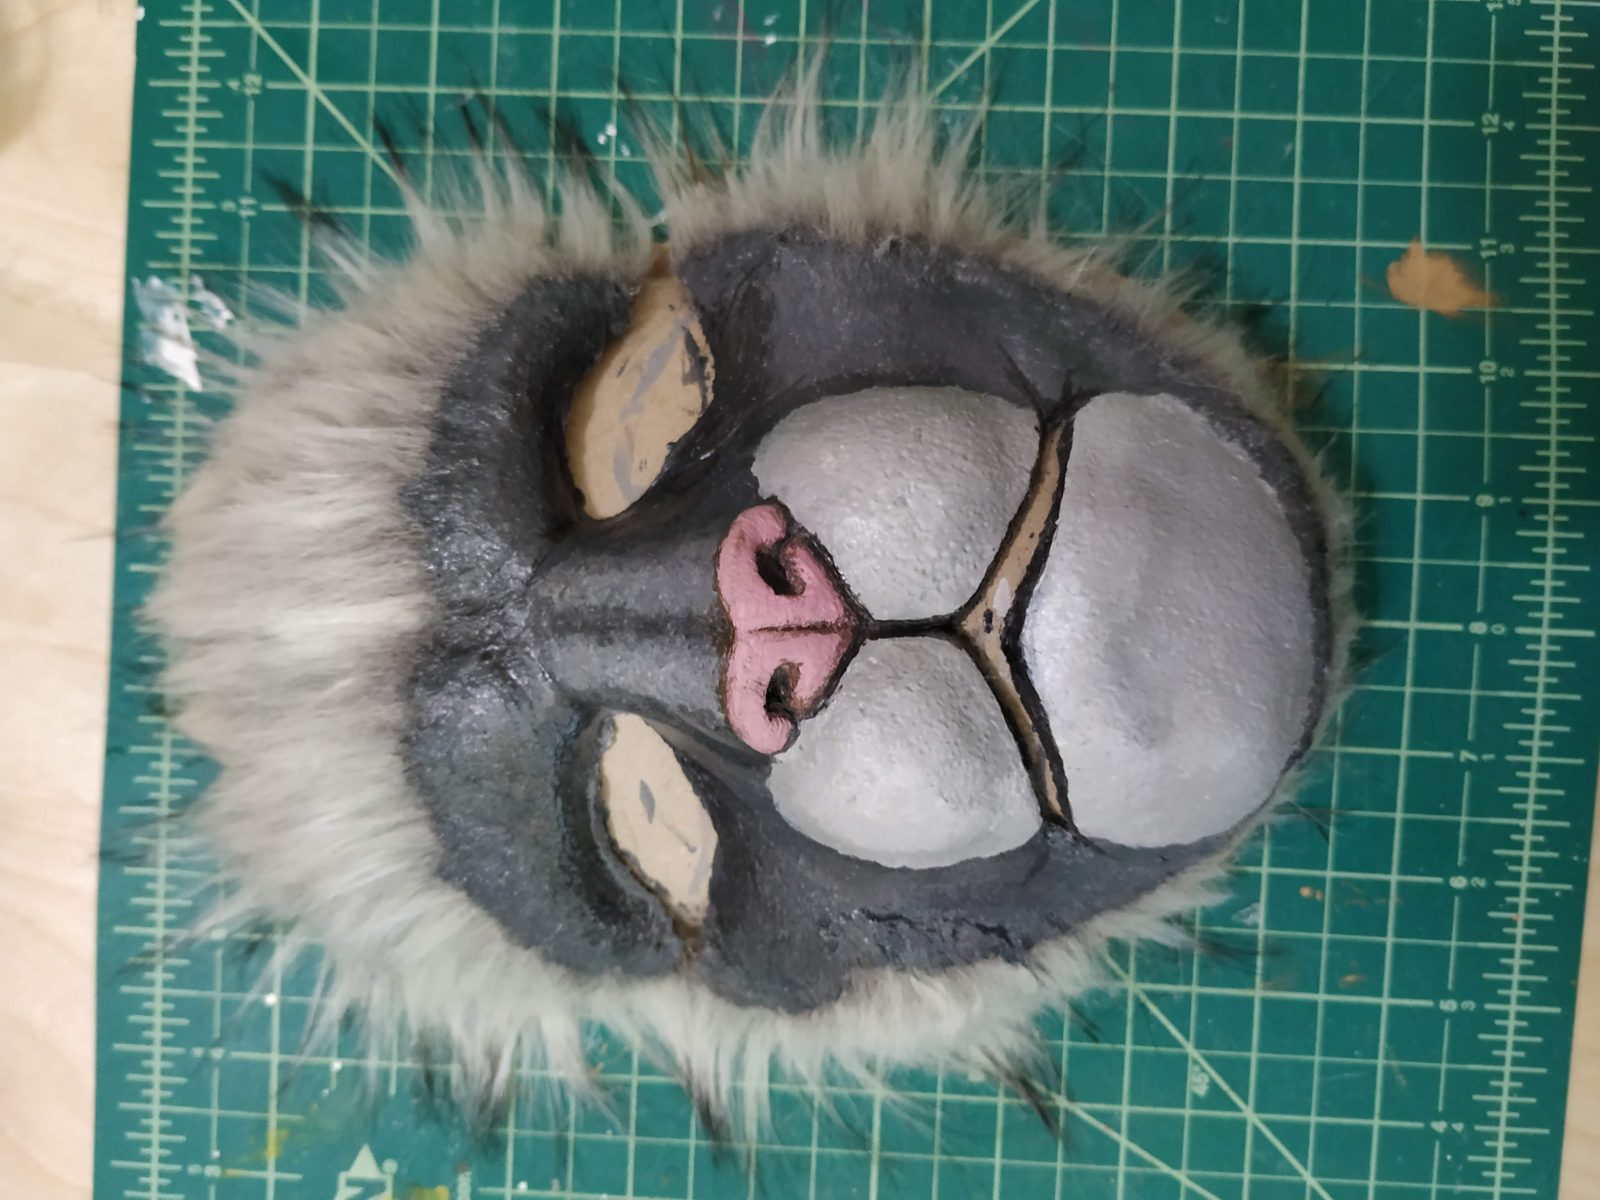
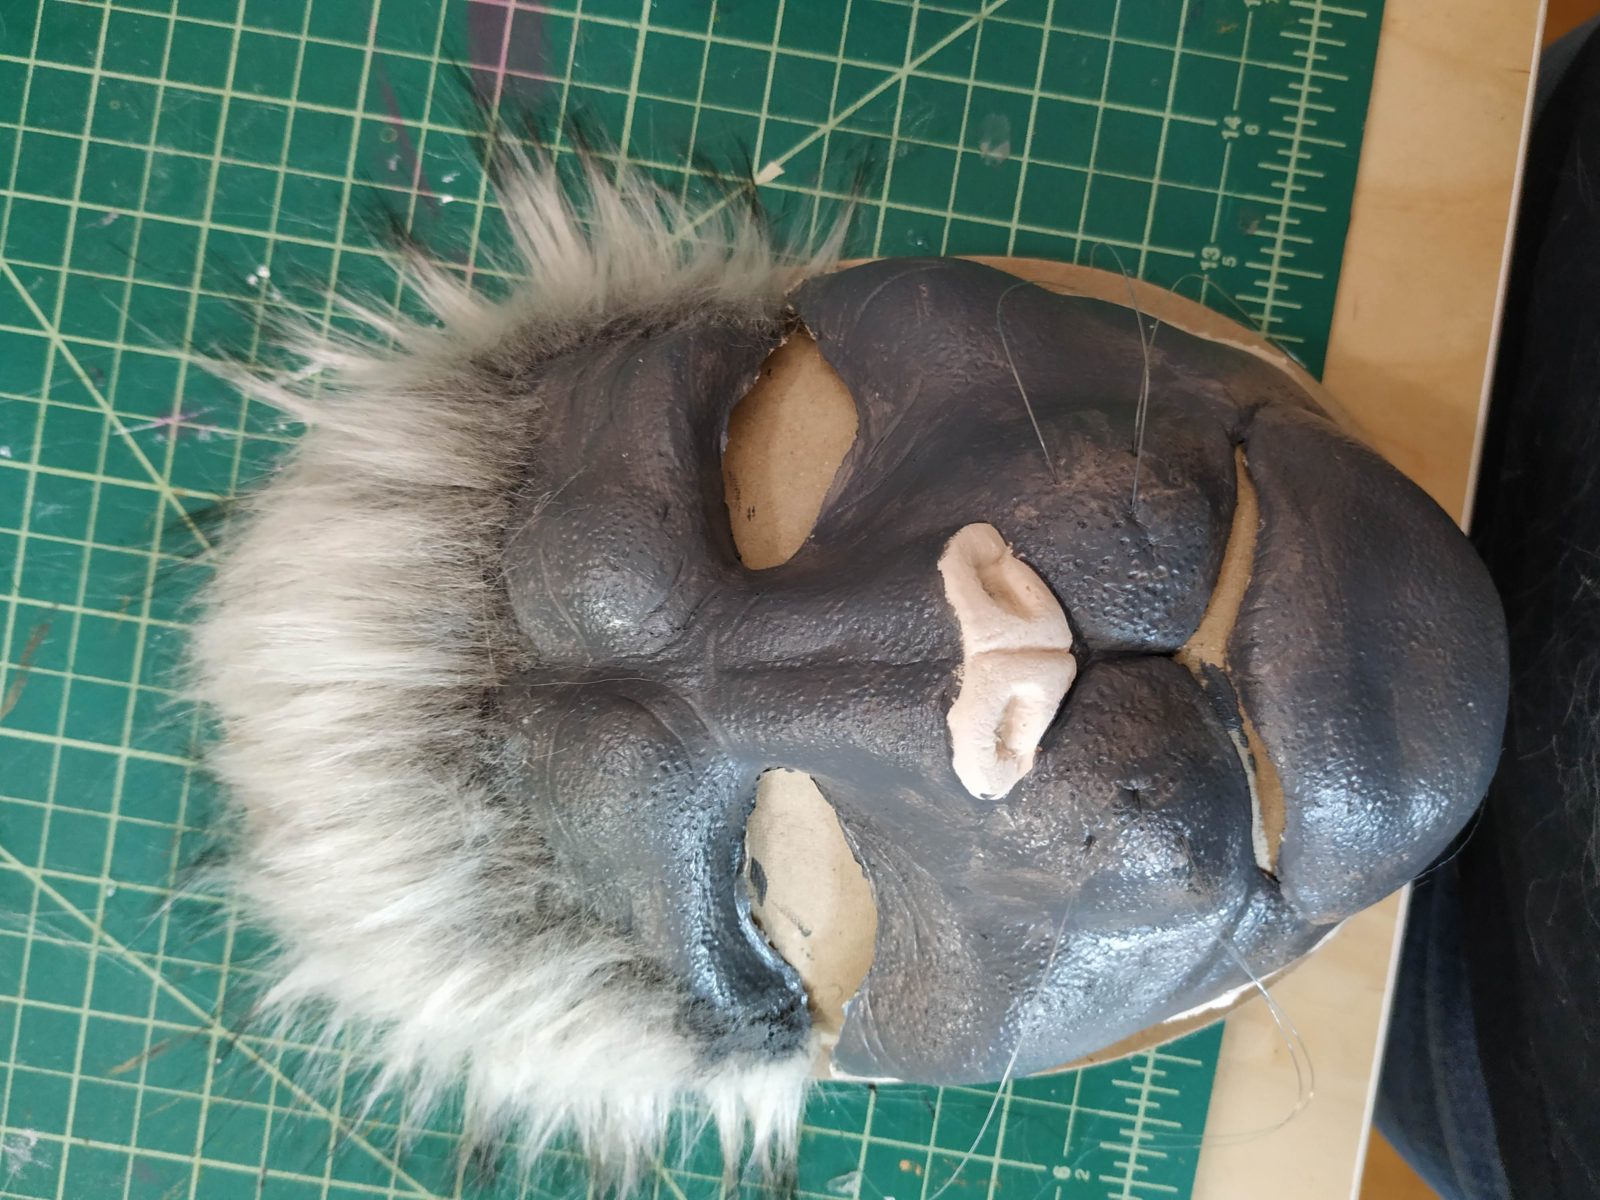
For the face I purchased a full face latex foam prosthetic. For a non custom prosthetic it fit my face pretty well, and was much easier than trying to make it from scratch.
I prepped the mask by painting is using PAX paint, which is a mixture of non-tack Pros Aide adhesive and acrylic paint. It is very durable but still elastic. I then hot glued a ring of fur around the edge of the prosthetic so that the face would blend in with the rest of the hood.
I painted on a few more details and added whiskers from fishing wire, which I sanded slightly to give them a more opaque look before poking them into the foam.
To apply I used regular Pros Aide adhesive, and blended the eyes and mouth in with make-up. There are a lot of great resources about this online, including my video walk-through with details of how I put it on.
Accessories
Scarf
Many of the accessories were things I had on hand, or made from scraps. I think the accessories are really what gave the costume some depth and more of a character feel.
The scarf was hand crochet, using scrap yarn I had on hand, and I just sort of kept going until it was the right length and I was out of yarn scraps. I wanted it to be eclectic and add a pop of color. Honestly, I think I’ll add it to my normal scarf rotation. The pattern was a crochet diamond mesh, a pretty great beginner project!
Bracers
The bracers were made from 6oz lather scraps I had left over from the Kassandra cosplay, you can find more details on working with the material in my post. I made a quick pattern out of paper focusing on keeping the design simple, and then cut the leather out. I formed the leather by soaking it in warm water and then rolling it into a circle and left it to dry over night.
The leather was then dyed using leather dye and the sections and details were riveted in place. I used a fine grit sand paper at the end to add some weathering to the whole thing.
Other Bits
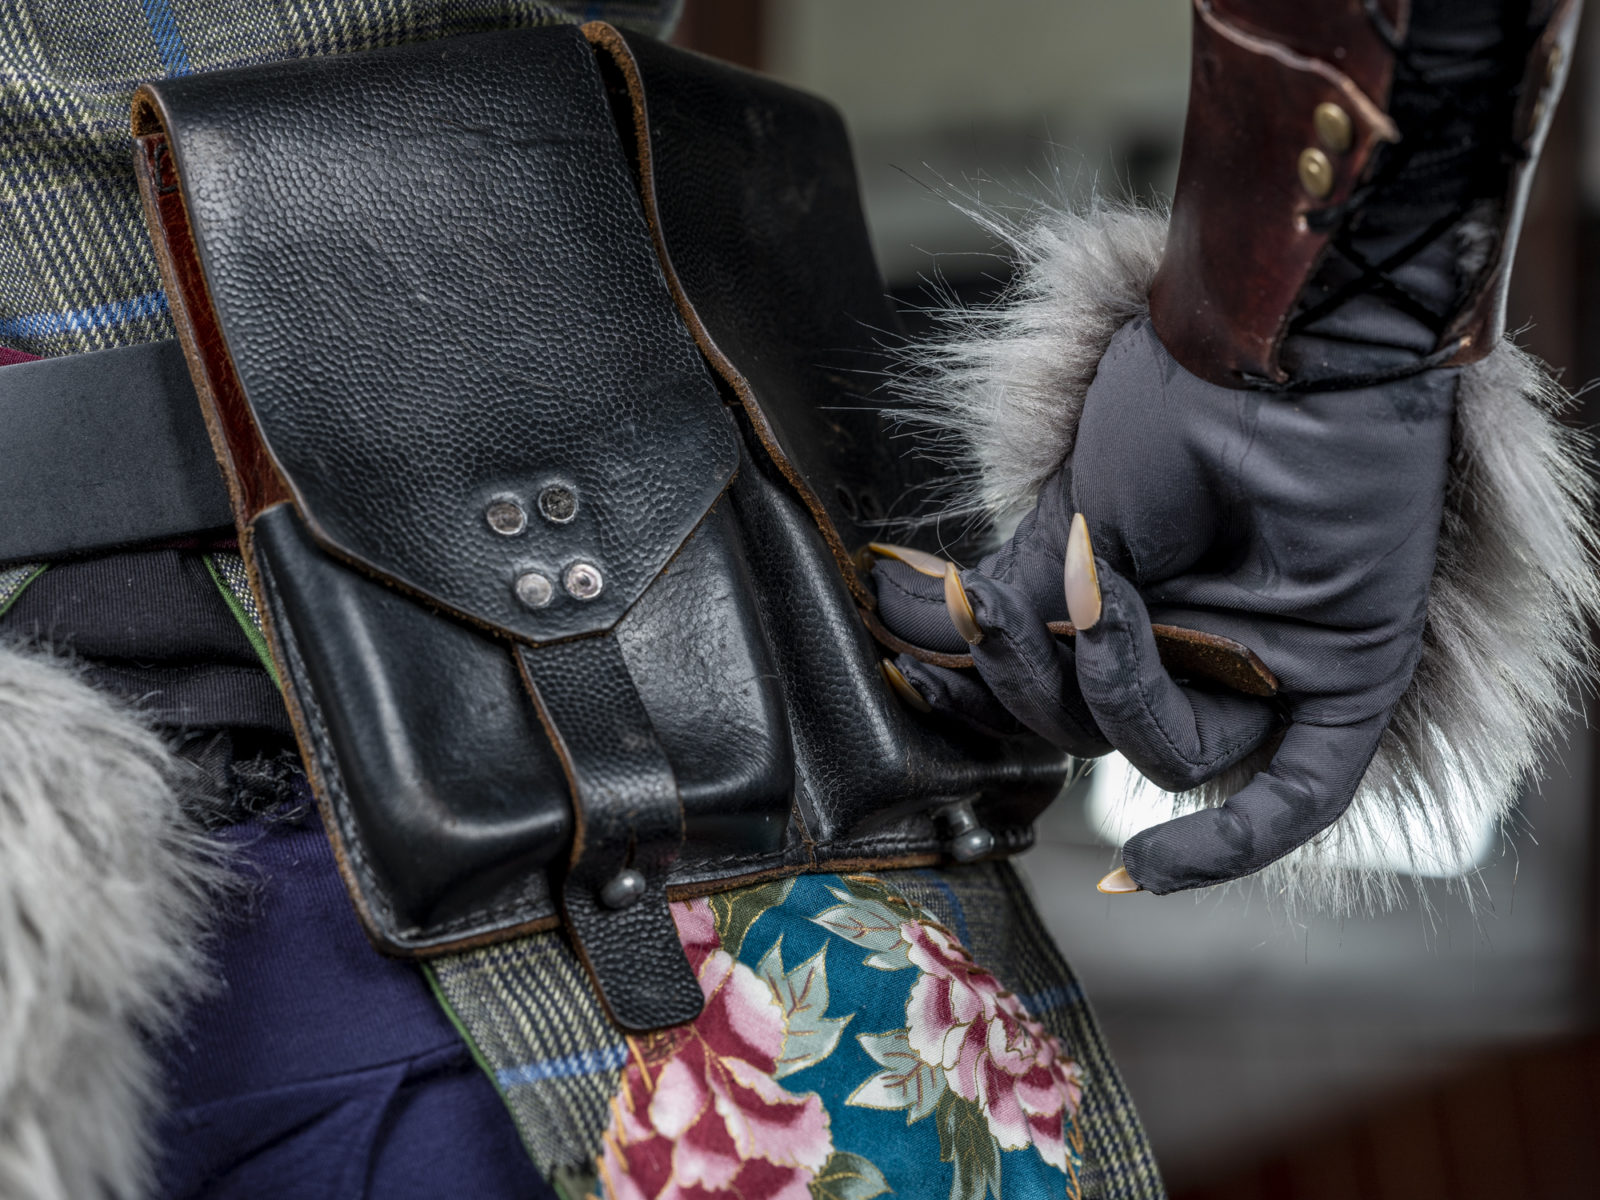
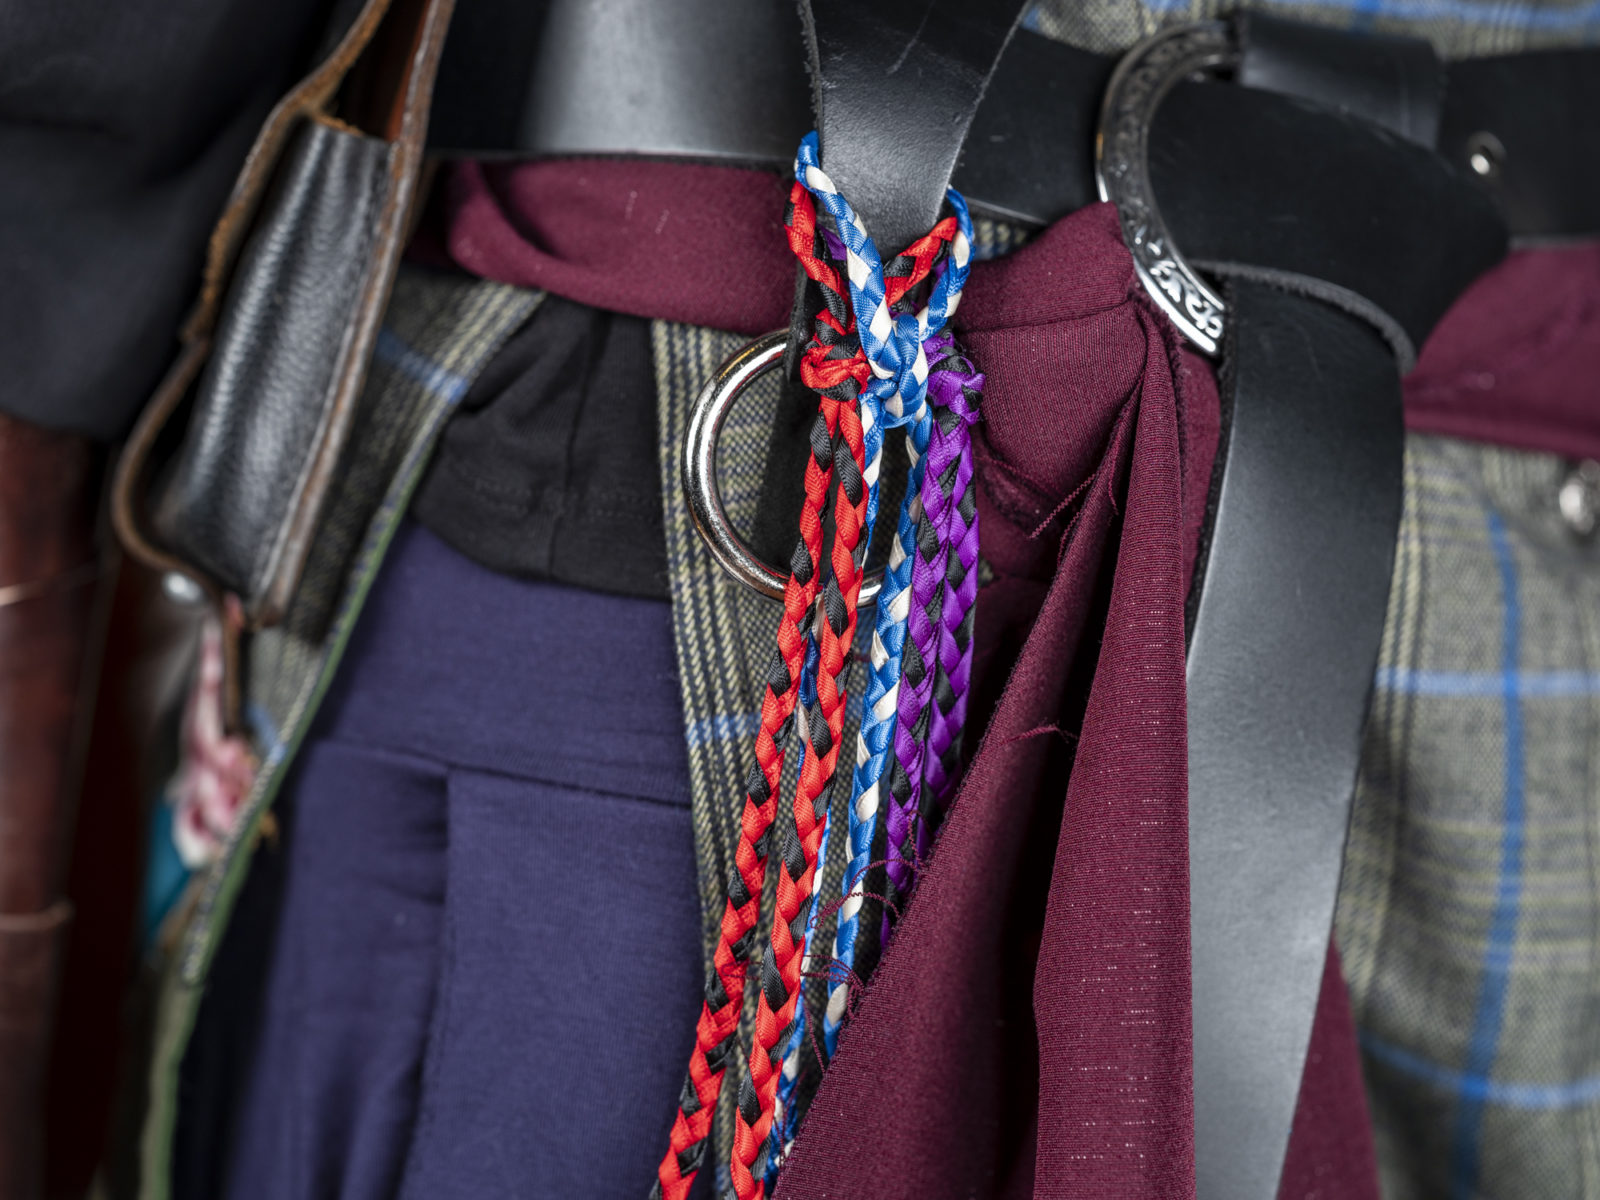
The final bits were things I had on hand, some pouches from the Ren Faire, a sash made from a strip of fabric, and various weapons to add some finishing touches.
